Go Back
Slice of caramel ladyfinger cake with creamy layers and glossy caramel topping on a white plate.

Caramel Ladyfinger Cake

No ratings yet
A no-bake caramel ladyfinger cake made with layers of dipped ladyfingers, whipped mascarpone cream, and a smooth caramel topping. Easy, creamy, and perfect for make-ahead desserts.
Prep Time 20 minutes
Chill Time 1 hour
Total Time 1 hour 20 minutes
Course: No Bake Cakes, No-Bake Dessert

Ingredients
  

For the Cake Layers
  • 200 g ladyfingers
  • 150 ml coffee with milk or plain milk
  • 250 ml heavy cream
  • 250 g mascarpone cheese
  • 2 tablespoons caramel cream
For the Topping
  • 3 tablespoons caramel cream

Method
 

  1. Prepare a 20 × 20 cm square pan.
  2. Dip each ladyfinger briefly into the coffee with milk, making sure they are moistened but not soaked.
  3. Arrange the dipped ladyfingers in a single, even layer on the bottom of the pan.
  4. In a mixing bowl, whip the heavy cream until it reaches soft peaks.
  5. Add the mascarpone cheese and 2 tablespoons of caramel cream. Continue mixing until smooth and semi-firm.
  6. Divide the mascarpone filling into 2 equal portions.
  7. Spread the first half of the filling evenly over the ladyfingers.
  8. Dip the remaining ladyfingers into the coffee with milk and arrange them over the cream layer.
  9. Spread the second half of the filling evenly over the second layer of ladyfingers and smooth the top.
  10. Refrigerate for at least 1 hour so the layers can set.
  11. Gently melt the caramel cream for the topping over steam. If it is too thick, add a small amount of milk until it becomes pourable.
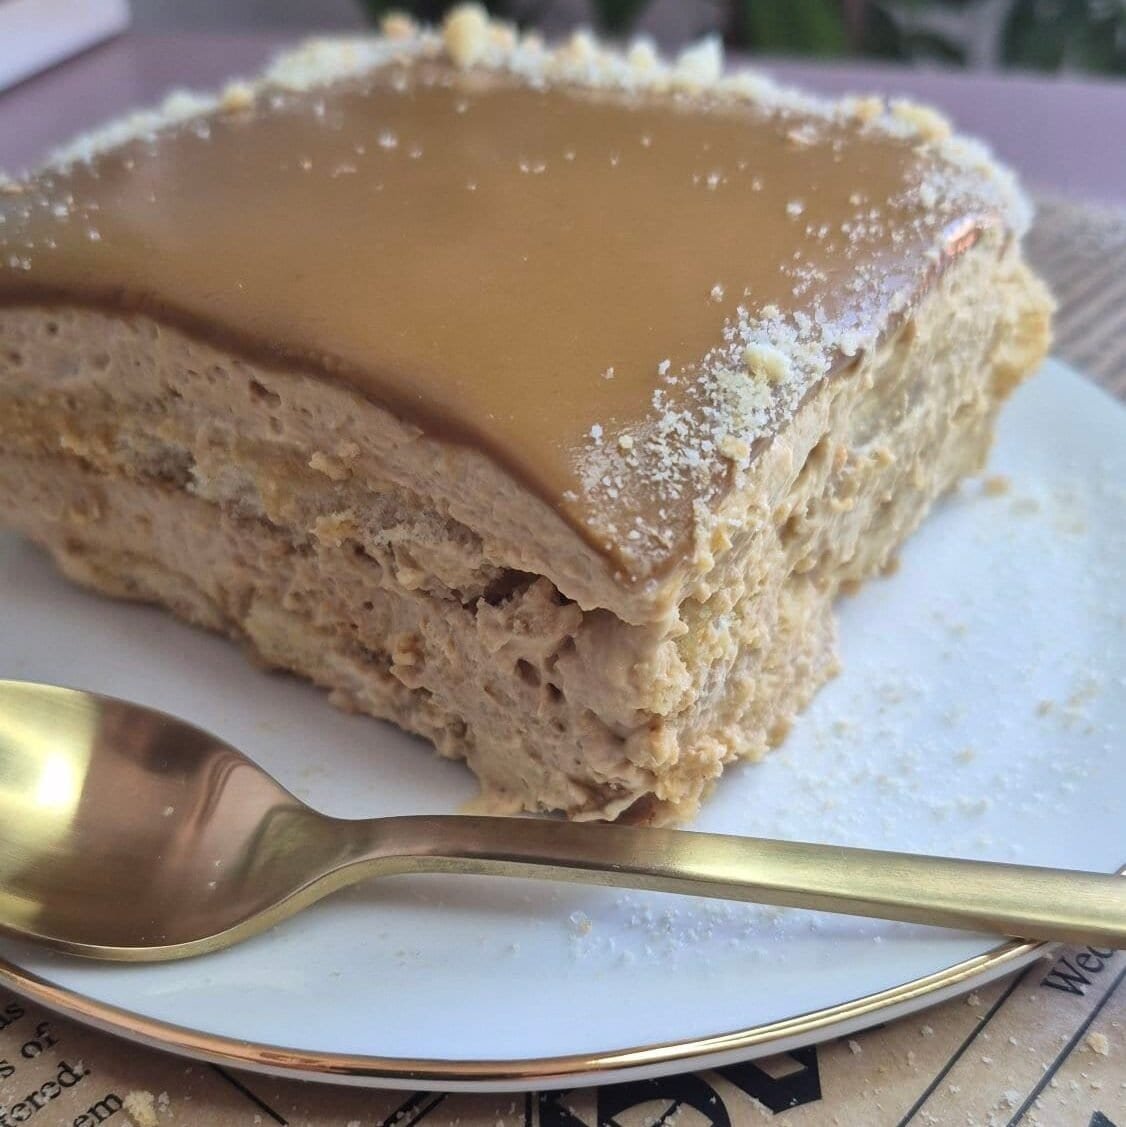
  12. Let the caramel cool slightly, then pour it evenly over the chilled cake.
  13. Decorate as desired, slice, and serve.

Video

Notes

  • Dip the ladyfingers quickly to avoid oversoaking and to keep the cake structured.
  • Use cold heavy cream for better whipping and a more stable filling.
  • Do not overmix after adding the mascarpone, so the texture stays light and creamy.
  • For best results, chill the cake an additional 1–2 hours before slicing.
  • Store covered in the refrigerator for up to 3–4 days.

Tried this recipe?

Let us know how it was!