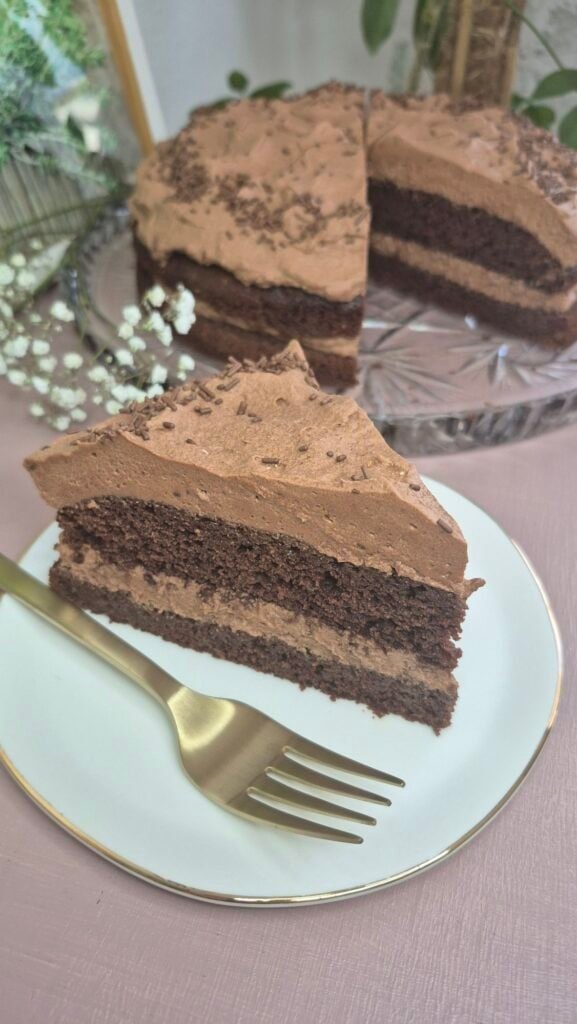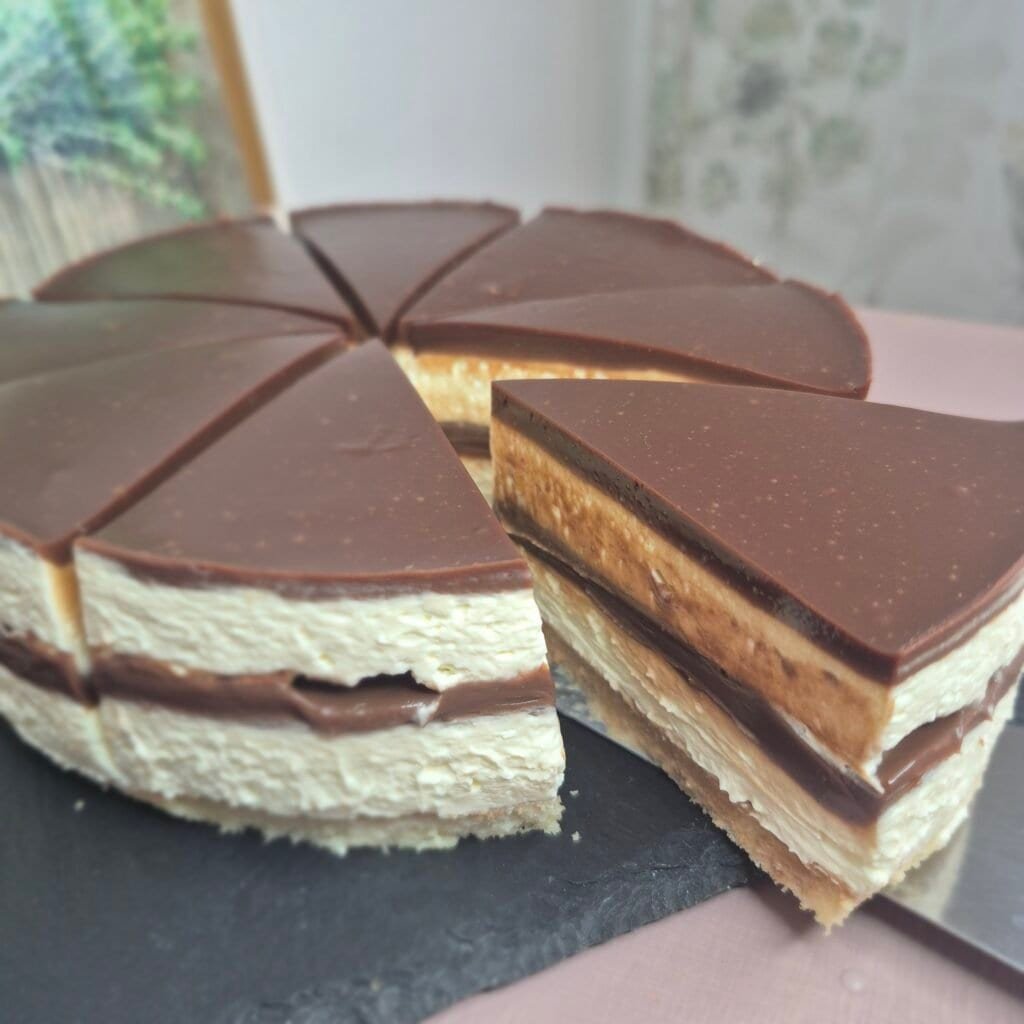
This Nutella layered cake is built with a light sponge base, two layers of mascarpone cream, a soft chocolate ganache center, and a glossy chocolate topping. Once sliced, it has those clean layers that make a simple cake look like more work than it actually is.
What I like most here is the balance.
The base is thin and soft, so the cake stays creamy instead of feeling dry or heavy. The mascarpone filling gives it structure without making it dense. The ganache in the middle adds a firmer chocolate layer, and the topping pulls everything together.
It is the kind of cake that needs a bit of chilling between steps, but none of the steps are hard. That makes it a good option when I want something neat, sliceable, and reliable.
The overall flavor sits in that same direction people usually want from a Nutella layered cake. It is creamy, chocolatey, smooth, and not overly sweet. The mascarpone keeps the filling from tasting flat, and the milk-soaked sponge gives the cake a softer bite.
What this cake is like
This is not a tall bakery-style layer cake with multiple baked sponges and lots of decoration.
It is lower, cleaner, and more compact.
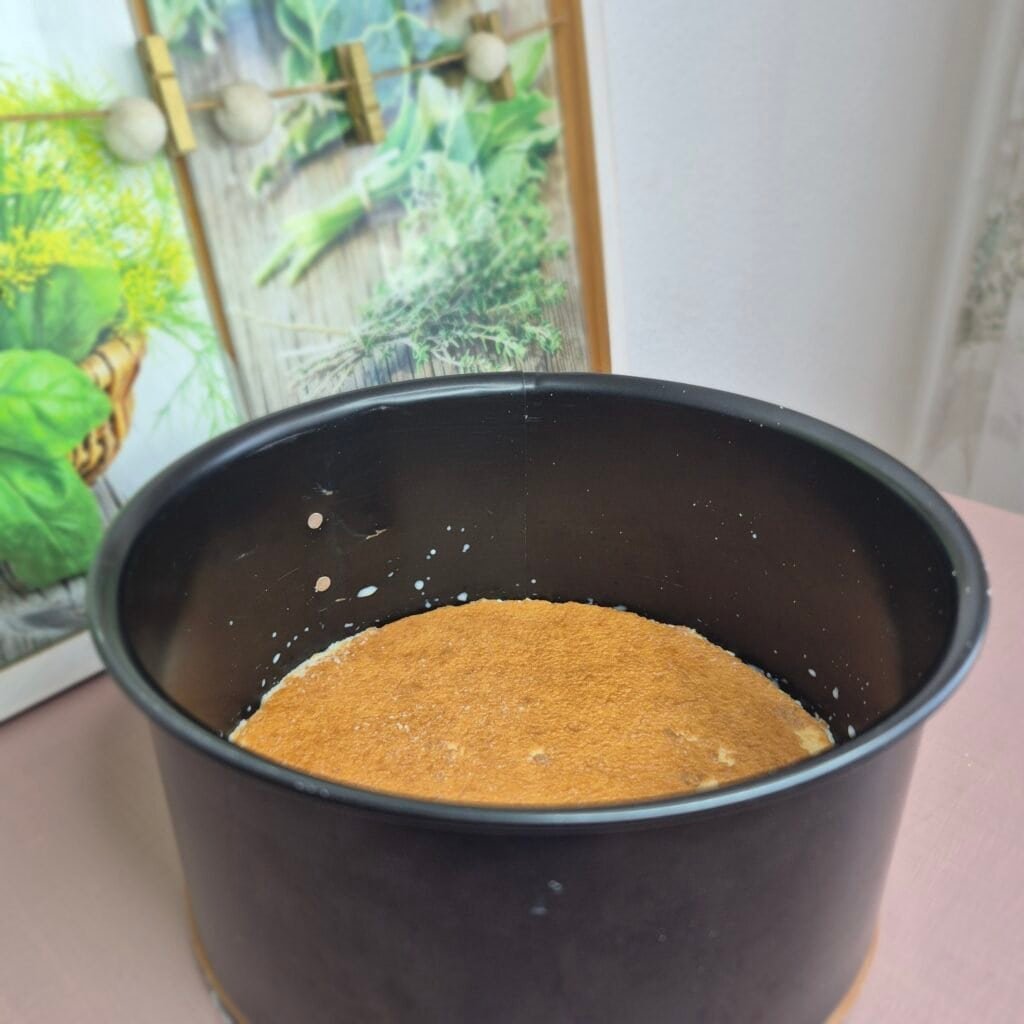
The base is made from a quick sponge with eggs, sugar, flour, oil, and milk. It bakes fast and stays tender. After that, the cake is assembled in layers, chilled, and finished with a simple chocolate topping.
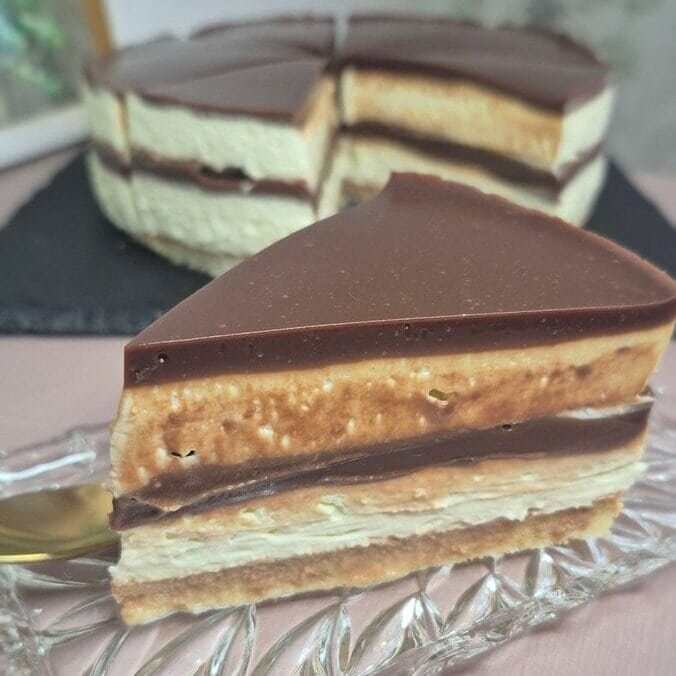
Because the cream layer is split in two, you get a nice contrast once the cake is cut. The center ganache sets just enough to give definition, but it still stays smooth when sliced.
That is the part I like most about this recipe. Every layer has a job. Nothing feels extra just for looks.
Ingredient breakdown
Sponge base
The cake starts with a very simple sponge.
Eggs and sugar are beaten until pale and foamy, which gives the base most of its lift. A little oil and milk keep it from drying out, and a small amount of flour is enough to hold everything together.
Since the sponge is thin, it bakes quickly and does not need much time in the oven.
Mascarpone filling
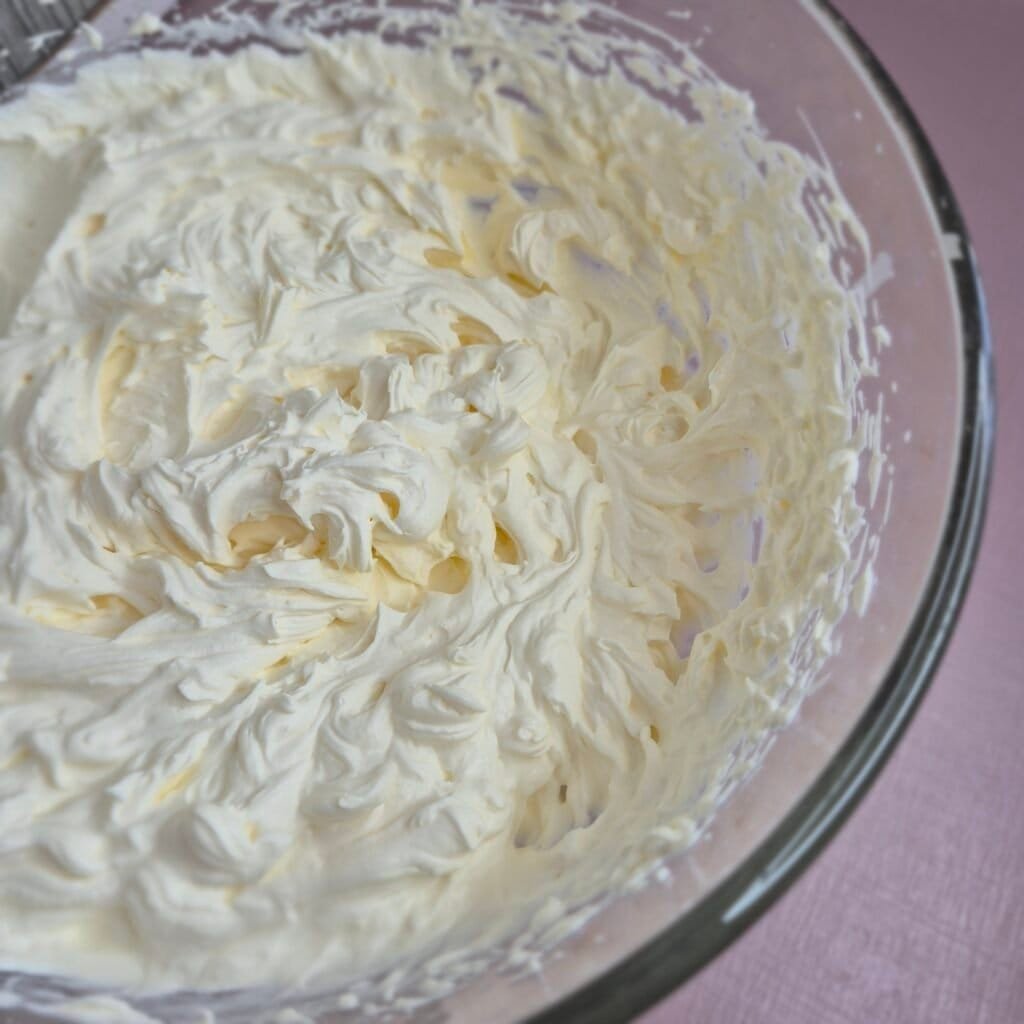
The filling is made with mascarpone, powdered sugar, and cold heavy cream.
This combination gives you a cream that is thicker than plain whipped cream, but still light enough to spread easily. The key is to mix only until it turns firm. Once it goes too far, the texture starts to get grainy.
I always stop as soon as the filling holds its shape.
Ganache layer
The center ganache is made by pouring hot cream over chopped milk chocolate.
That short step creates a smooth layer that sets better than a chocolate spread would. It also gives the cake a more even texture, because once chilled, it stays where it should and does not run into the cream.
Chocolate topping
The top layer is another quick chocolate-and-cream mixture.
This one is slightly looser, so it spreads over the cake more easily and gives the top a smooth finish. It also helps seal in moisture and gives the cake a polished look without extra work.
Milk for soaking
The sponge is soaked with a small amount of milk before the first cream layer goes on.
This makes a big difference.
Because the base is thin, it does not need much. Just enough to soften it and help the whole cake stay creamy after chilling.
How I make this Nutella layered cake
1. Make the sponge base
I start by beating the eggs and sugar until the mixture turns lighter and foamy. This part matters, because it helps the base stay airy even though it is small.
Then I mix in the oil and milk just until combined.
The sifted flour goes in last. I fold or mix gently so the batter stays light.
The batter is poured into a lined cake pan and baked until lightly golden. Since the layer is thin, it does not take long. I let it cool fully before assembling the cake.
If the sponge is even slightly warm, the cream will soften too much later.
2. Prepare the filling

For the filling, I first mix the mascarpone with powdered sugar briefly.
I do not beat it for long at this stage. The goal is only to smooth it out.
Then I add the cold heavy cream and beat until the mixture turns thick and spreadable. I keep an eye on it the whole time, because mascarpone filling can go from perfect to overmixed quite fast.
Once it is ready, I divide it into two equal parts so the layers stay even.
3. Make the ganache center
The ganache is one of the easiest parts.
I heat the cream until it just comes to a boil, then pour it over chopped milk chocolate. After a short rest, I stir until smooth.

I let it cool slightly before using it.
It should not be hot when it goes on the cake. Warm is fine. Hot is not.
If it is too hot, it will sink into the cream layer instead of sitting neatly on top.
4. Assemble the layers
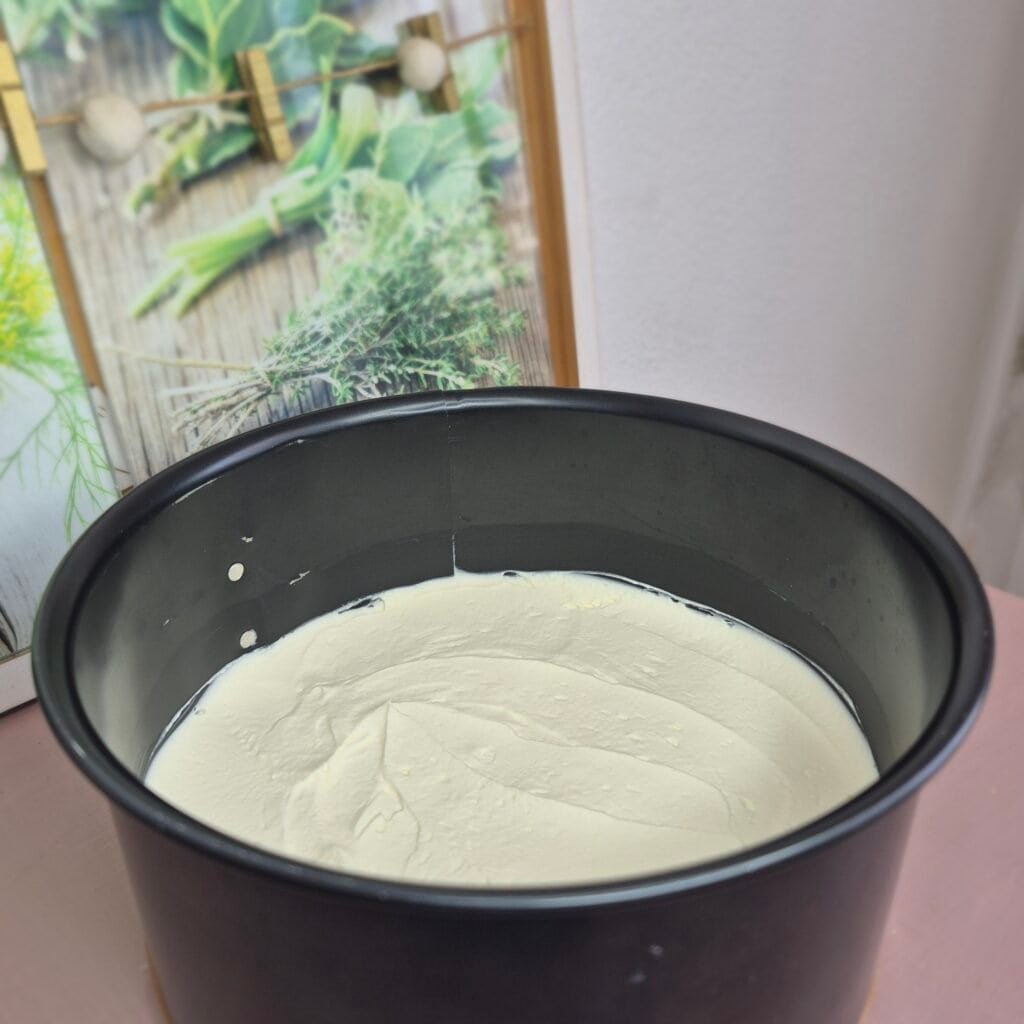
Once the sponge is cooled, I soak it lightly with milk.

Then the first half of the cream goes on. I spread it evenly all the way to the edges, because that makes the finished slice look cleaner.
After that, the cake goes into the freezer for a short chill. I only leave it in long enough for the cream to firm up a bit.
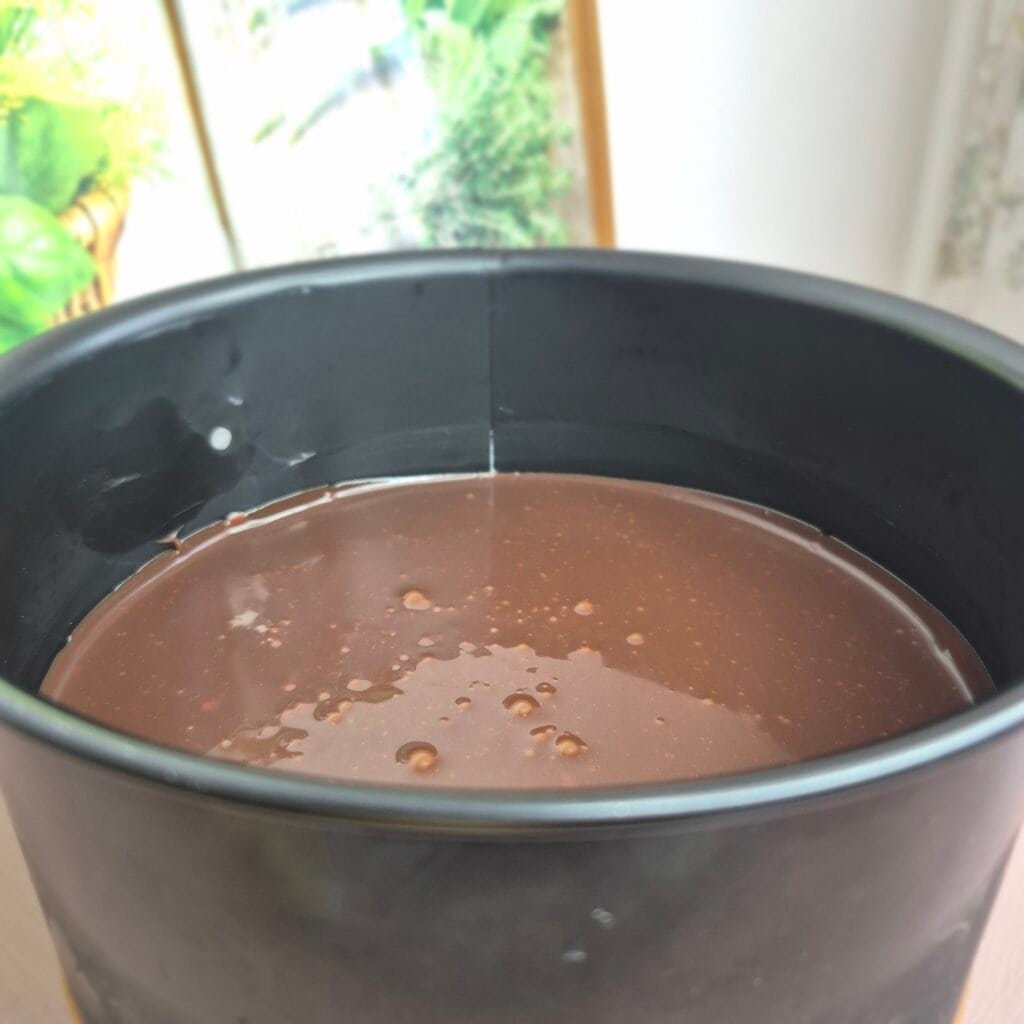
Then I pour on the ganache layer and spread it gently.
Back into the freezer it goes for another short chill.
When the ganache has set enough, I add the second half of the cream and smooth the top. At this point the shape is already there, and the rest is just patience. The cake goes into the refrigerator so the layers can settle properly before the final topping.
5. Finish with the topping
For the topping, I heat the cream and pour it over the chopped chocolate, just like before.
Once smooth, I pour it over the chilled cake and let it settle across the top.
You can guide it gently with a spoon or offset spatula, but I try not to overwork it. A simple finish suits this cake better.
Then it goes back into the refrigerator for the final chill.
After that, it slices nicely.
Tips that Help
Use cold cream straight from the fridge.
That helps the mascarpone filling whip up faster and hold its shape better.
Do not overmix the filling.
This is the most important part of the whole recipe. Beat just until the cream turns firm. Once it starts looking too stiff or slightly grainy, it has gone too far.
Let the ganache cool a little before layering.
It should still be fluid, but not hot. A slightly cooled ganache gives you a cleaner layer.
Do not oversoak the sponge.
A little milk is enough. The goal is a soft base, not a wet one.
Use the freezer only for short setting times.
Those quick chills help keep the layers separate while assembling, but the main resting time should still be in the fridge.
Line the pan properly.
That makes it easier to remove the sponge base without tearing it.
For cleaner slices, warm the knife.
I run the blade under hot water, wipe it dry, and slice. Cleaning the knife between cuts helps a lot with layered cakes like this one.
A few serving notes
I like serving this cake well chilled, but not ice-cold.
If it has been in the fridge for several hours, letting it sit at room temperature for a few minutes before slicing gives the cream a softer texture.
This cake does not need extra decoration.
A plain glossy top already looks finished. If you want to add something, a light grating of chocolate on top works well, but I would keep it simple.
Because the layers are soft and even, each slice already looks nice on its own.
How to store it
This cake should be kept in the refrigerator.
I store it covered so the cream and topping do not dry out or pick up fridge smells.
It keeps well for about 3 days.
The texture is actually very good on the next day, because the sponge has had more time to absorb moisture and the layers hold together even better.
You can also freeze individual slices. I would wrap them well and thaw them in the fridge rather than at room temperature.
Why I keep coming back to this recipe
Some cakes are nice in theory but annoying in practice.
This one is not like that.
The steps are straightforward, the ingredient list is short, and the final result looks tidy without needing decoration skills. It also cuts cleanly, which is a big plus if I am making it for guests or for photos.
Most importantly, it tastes settled.
The sponge, cream, and chocolate layers all have their place. Nothing competes too much. Nothing disappears either.
So if you want a Nutella layered cake that is simple to assemble, easy to chill ahead, and comfortable to serve straight from the fridge, this is a solid one to keep.

Nutella Layered Cake
Ingredients
Cake Base
- 2 eggs
- 2 tablespoons sugar
- 2 tablespoons flour
- 1 tablespoon oil
- 1 tablespoon milk
Filling
- 250 g mascarpone cheese
- 2 tablespoons powdered sugar
- 400 ml heavy whipping cream 35%
Ganache Layer
- 140 g milk chocolate
- 100 ml heavy cream
Topping
- 100 g milk chocolate
- 70 ml heavy cream
For Soaking
- 50 ml milk
Instructions
- Preheat the oven to 180°C (350°F). Line an 18 cm cake pan with baking paper.
- In a mixing bowl, beat the eggs and sugar with a mixer for 3 to 4 minutes, until the mixture becomes lighter in color and foamy.
- Add the oil and milk and mix briefly.
- Add the sifted flour and mix until combined.
- Pour the batter into the prepared cake pan and bake for 12 to 15 minutes, or until lightly golden. Let the cake cool completely.
- To make the filling, briefly beat the mascarpone cheese and powdered sugar until combined.
- Add the cold heavy whipping cream and continue beating until the filling becomes firm. Do not overwhip.
- Divide the filling into 2 equal parts.
- To make the ganache layer, heat the heavy cream until it comes to a boil. Pour it over the chopped milk chocolate. Let it sit briefly, then stir until smooth. Allow it to cool slightly.
- Soak the cooled cake base with 50 ml milk.
- Spread the first half of the filling over the cake base.
- Place the cake in the freezer for 10 minutes.
- Pour the ganache layer over the filling and spread gently.
- Return the cake to the freezer for another 10 minutes.
- Spread the second half of the filling over the ganache layer.
- Refrigerate the cake for 1 to 2 hours.
- To make the topping, heat the heavy cream until it comes to a boil. Pour it over the chopped milk chocolate and stir until smooth.
- Pour the topping over the chilled cake and smooth the surface.
- Refrigerate for another 2 hours before slicing and serving.
Notes
- Use cold heavy cream for the filling.
- Do not overmix the mascarpone filling or it may turn grainy.
- Let the ganache cool slightly before adding it to the cake so the layers stay neat.