

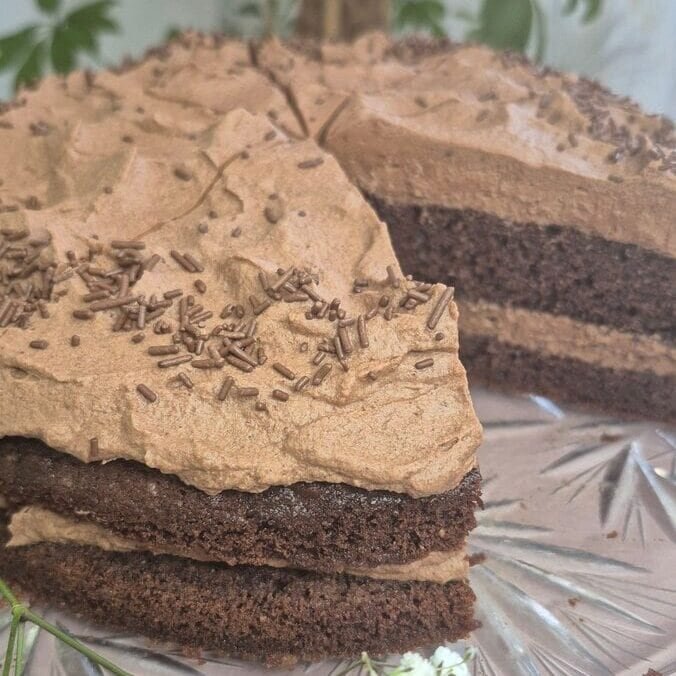
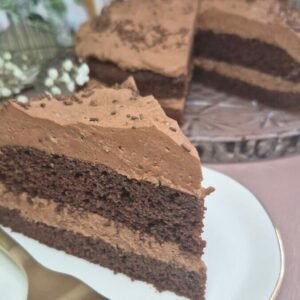
If you’ve ever seen Matilda, you already know the vibe: deep chocolate, a soft sponge, and that “how is this so rich?” layer of chocolate frosting in the middle and on top. This version keeps the look and the feeling, but it’s made with a simple cocoa sponge and a whipped ganache-style filling that sets up thick, glossy, and sliceable after a good chill.
What matters most here isn’t fancy technique. It’s the order of a few small steps (how you mix the sponge, how you cool the filling, and how you soak the layers) that makes the finished cake taste like it came from a bakery case.
What makes this a “Matilda Cake”
A lot of cakes get called Matilda cake just because they’re chocolate. To me, it only counts when it has:
- A soft, not-too-dense chocolate sponge (so the cake doesn’t fight the frosting)
- A thick chocolate filling that tastes like actual chocolate (not just sweet cocoa)
- Moist layers (the milk + coffee soak is the whole reason the sponge stays plush even after chilling)
This recipe is built exactly around those three things.
Ingredient breakdown (what each part does)
Sponge cake layers
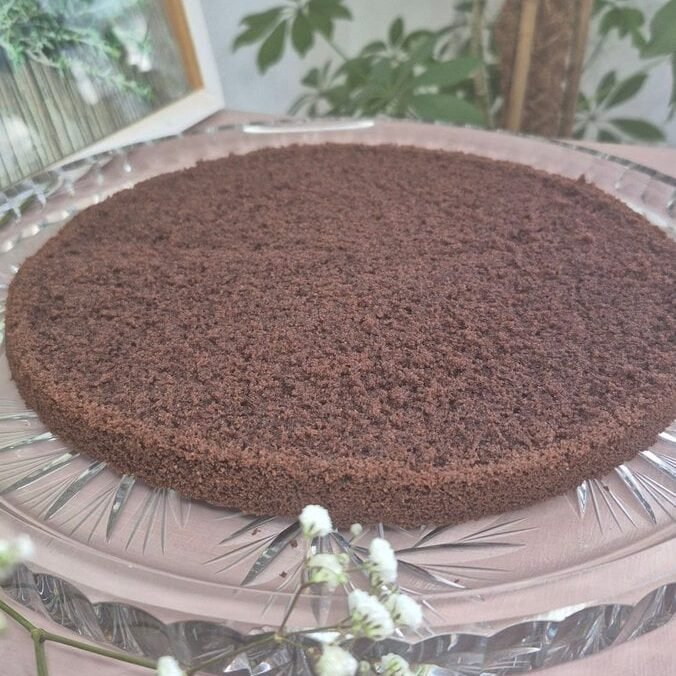
This is a cocoa sponge that bakes up tall enough to slice into two layers in a 20 cm pan.
- Eggs + sugar: this is your lift. Beating until pale and fluffy makes the cake lighter.
- Oil: keeps the crumb soft even after refrigeration.
- Milk: moisture and tenderness.
- Flour: structure.
- Cocoa powder: flavor (and also dries the batter a bit, which is why milk matters).
- Baking powder: extra lift so it doesn’t bake up heavy.
- Salt: makes the chocolate taste like chocolate.
Soak (milk + coffee)
This is not optional if you want that classic soft, dark, moist slice.
- Milk: gentle sweetness and moisture.
- Coffee: makes the chocolate taste deeper (it won’t taste like a latte).
- Sugar: balances the bitterness of cocoa and dark chocolate.
Filling (whipped chocolate cream)
This is a ganache base that you chill, then whip into a thick frosting.
- Heavy cream: body + whip-ability once chilled.
- Dark + milk chocolate: dark gives depth, milk gives roundness and sweetness.
- Butter: smooth finish, helps the filling set with a softer bite.
- Powdered sugar: just a little to stabilize and sweeten after whipping.
- Vanilla + salt: makes the chocolate taste fuller, less one-note.
Equipment you’ll need
- 20 cm round cake pan
- Baking paper
- 2 mixing bowls (one for batter, one for filling later)
- Electric mixer (hand mixer is fine)
- Serrated knife (for slicing the cake layers)
- Small saucepan (for heating cream)
Step-by-step: sponge layers
1) Prep the pan and oven
Line the bottom of a 20 cm cake pan with baking paper. Preheat the oven so it’s fully hot before the batter goes in.
2) Whip eggs and sugars properly
Beat the eggs with the sugar and vanilla sugar until the mixture looks pale, thicker, and fluffy. This is the part that gives the cake a lighter crumb. If you stop too early, the sponge bakes up tighter.
3) Add oil and milk (briefly)
Pour in the oil and milk and mix just until combined. Don’t overmix here—once the liquids are in, you’re basically trying to keep as much air as possible from the egg foam.
4) Add dry ingredients
Sift together the flour, cocoa powder, baking powder, and salt, then add to the bowl. Mix until the batter is smooth and you don’t see dry pockets. Stop as soon as it’s combined.
5) Bake

Pour batter into the prepared pan and bake until the cake is set and a toothpick comes out clean (or with a few moist crumbs, not wet batter). Let it cool completely.
6) Cool completely, then slice
This cake slices best when it’s fully cool. If it’s even slightly warm, it can tear and compress. Use a serrated knife and slice into two equal layers.
Step-by-step: filling (whipped ganache)
1) Heat the cream
Heat the cream just until it’s about to boil—look for small bubbles around the edges. You don’t need a rolling boil.
2) Add chocolate and butter off heat

Remove the pan from heat and add chopped dark chocolate, milk chocolate, and butter. Let it sit for a couple minutes so the heat melts everything gently (this helps prevent a split or grainy ganache).
3) Stir gently until smooth
Stir from the center outward until the mixture turns glossy and completely smooth.

4) Add salt, vanilla, and powdered sugar
Stir in salt, vanilla, and powdered sugar. At this stage it will look like a normal ganache—thin while warm.
5) Chill fully
Refrigerate until completely cold (this part is the make-or-break). It needs enough time to thicken and cool through. If it’s still warm in the middle, it won’t whip correctly.
6) Whip until airy and spreadable

Once chilled, whip with a mixer until it becomes lighter in color and fluffy but still thick. You want it spreadable, not runny. Divide into two portions: one for the middle, one for the top.
Assembly: soak + fill
1) Make the soak
Warm the milk, coffee, and sugar just enough so the sugar dissolves. Let it cool a couple minutes so it’s not hot when it hits the cake.
2) Soak the first layer
Place the first cake layer on your serving plate. Spoon or brush on the soak generously. This cake is meant to be moist.
3) Add the first half of filling
Spread half the whipped chocolate filling evenly over the first layer, going right to the edges.

4) Add second layer + soak again
Place the second layer on top and soak it well too.

5) Finish with remaining filling
Spread the rest over the top. You can swirl it, smooth it, or keep it messy and dramatic—this cake looks good either way.
6) Decorate and chill
Chocolate shavings, crumbs, curls—anything works. Refrigerate for at least a few hours. Overnight is even better because the sponge absorbs the soak and the filling sets into that classic thick slice.
Tips that actually help (so it turns out like the photos)
- Don’t rush the egg whipping. Pale and fluffy gives you a softer sponge.
- Sift the cocoa. Cocoa lumps are stubborn and show up as bitter pockets in the cake.
- Chill the ganache fully before whipping. If it’s not cold, it stays loose and can go grainy or soupy.
- Whip on medium speed. High speed can overwhip quickly, especially once the mixture thickens.
- Soak while the cake is completely cool. Warm cake + soak can make the layers fragile.
- For clean slices: chill the cake well, and wipe your knife between cuts.
Storage
- Keep the cake covered in the fridge.
- It slices best cold, but if you like a softer bite, let a slice sit at room temperature for 10–15 minutes.
Matilda Cake
Ingredients
Sponge cake layers
- 3 eggs
- 120 g sugar
- 1 packet vanilla sugar
- 80 ml oil
- 150 ml milk
- 150 g all-purpose flour plain flour
- 30 g cocoa powder
- 1 sachet 10 g baking powder
- a pinch of salt
For soaking the layers
- 150 ml milk
- 50 ml coffee
- 2 tbsp sugar
Filling
- 400 ml heavy cream 35% fat
- 160 g dark chocolate 60–70% cocoa
- 80 g milk chocolate
- 40 g butter
- 1½ tbsp powdered sugar
- 1 tsp vanilla
- a pinch of salt
Instructions
Sponge cake
- Beat the eggs with the sugar and vanilla sugar until pale and fluffy.
- Add the oil and milk and mix briefly to combine.
- Fold/whisk in the sifted flour, cocoa powder, baking powder, and salt. Mix until smooth.
- Line a 20 cm cake pan with baking paper.
- Pour in the batter and bake at 190°C for 40–45 minutes.
- Cool completely, then cut into two equal layers.
Filling
- Heat the cream until it’s just about to boil (small bubbles around the edges).
- Remove from heat, add chopped chocolates and butter.
- Let sit 2 minutes, then stir until smooth.
- Add salt, powdered sugar, and vanilla.
- Chill completely (2–3 hours), then whip until airy and spreadable.
- Divide into two parts.
Assembly
- Warm the milk, coffee, and sugar just until sugar dissolves.
- Soak the first cake layer well, spread on half the filling.
- Add second layer, soak well, spread remaining filling on top.
- Decorate with chocolate shavings/crumbs.
- Refrigerate 3 hours, ideally overnight.