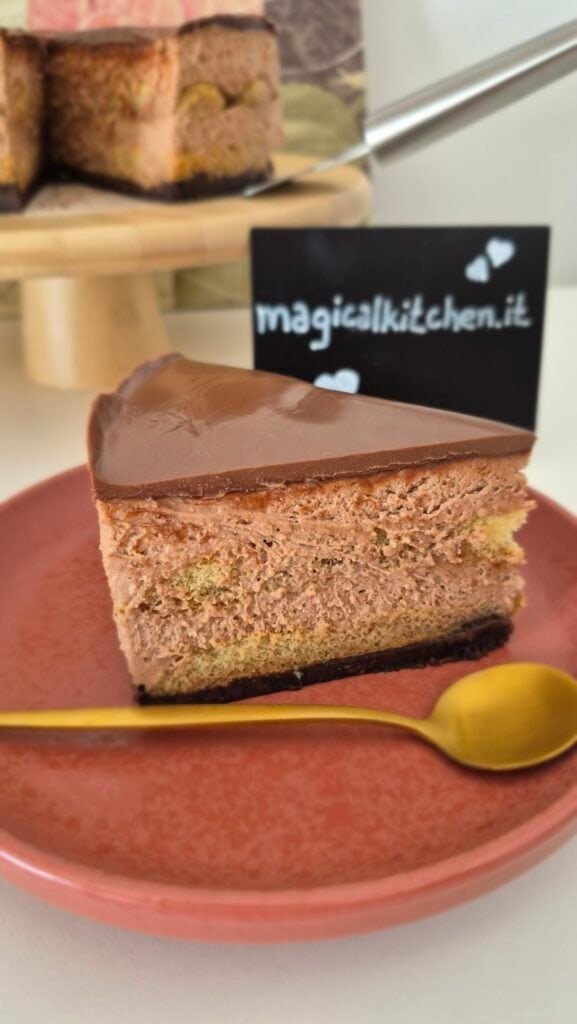
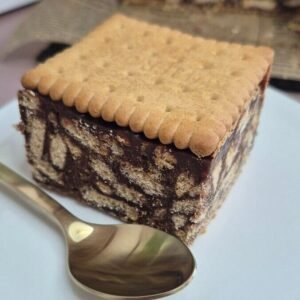
Mozaic Cake looks like you carefully put it together, but it’s really just biscuits set in place with chocolate ganache.
When you slice it, you get that “mosaic” pattern from the biscuit pieces inside, plus the two simple biscuit layers that make it neat and easy to portion.
This version uses three main ingredients (biscuits + chocolate + cream), and the only extra is a little milk for dipping the biscuit layers. If you’ve ever made a biscuit cake that turned out dry or crumbly, the ganache in this one fixes that.
What you’ll get (texture + taste)
This is not a fluffy cake.
It’s closer to a no-bake chocolate biscuit slice: firm enough to cut clean squares, soft enough to bite without crumbling, and chocolatey without being heavy.
I like using half milk chocolate + half dark chocolate because it keeps the flavor balanced. All milk can taste a bit flat, and all dark can feel too intense for kids (or anyone who likes sweeter desserts).
Ingredients (and what each one does)
Exact amounts are in the recipe card at the end. Here’s what matters when you’re choosing ingredients.
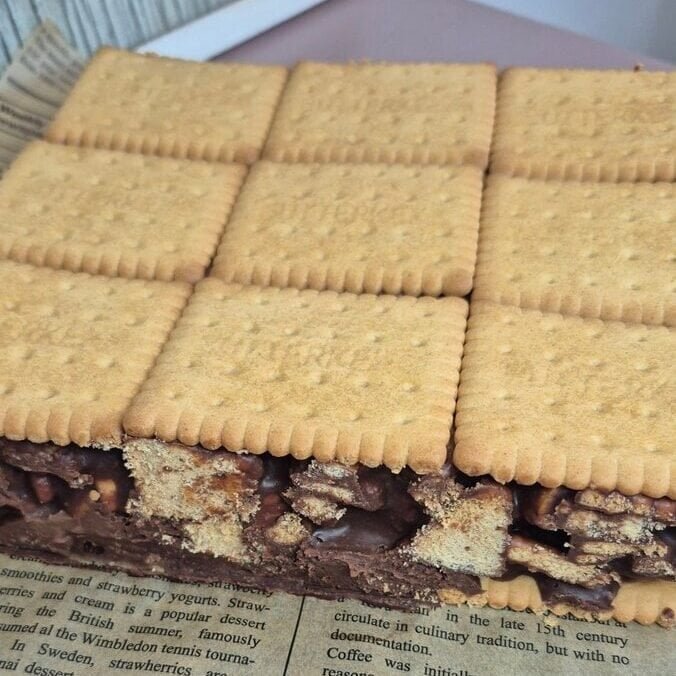
Petit Beurre biscuits
These are perfect because they soften fast but don’t turn to mush.
They also give a clean “grid” look when you use them whole for the top and bottom layer.
If your Petit Beurre are very thin, dip faster. If they’re thick and dry, they can take a slightly longer dip.
Chocolate (milk + dark)
This is where the flavor comes from, so use chocolate you actually like eating.
I split it between milk and dark because it sets nicely and tastes “classic.”
Chocolate chips can work, but they sometimes make a thicker ganache depending on brand.
Heavy/sweet cream (35%)
This makes the ganache smooth and sliceable after chilling.
If the cream is lower fat, the ganache can end up softer and not hold the mosaic pattern as well.
Milk (for dipping)
This is just for the whole biscuit layers.
A quick dip is enough—think “wet the surface,” not “soak.”
Tools that make this easier (but you can keep it simple)
- A medium baking dish or tray (square or rectangle both work)
- Parchment paper (recommended for clean lifting)
- A bowl for the biscuits + ganache
- A small pot for heating cream
- A whisk or spoon
- A sharp knife for slicing
If you want tidy squares, chilling and a sharp knife matter more than fancy equipment.
How to make Mozaic Cake (step by step)
Exact measurements are only in the recipe card below. This is the method, in the order I do it.
1) Split the biscuits
Set aside some biscuits to keep whole.
These will become the bottom and top layers.
Break the rest into large pieces, not crumbs. You want chunks so the “mosaic” shows when you cut it.

A good trick: break each biscuit into 3–5 pieces. If you crush them too small, the inside looks more like a brownie than a mosaic.
2) Make the ganache
Break up the milk and dark chocolate into a bowl.
Heat the cream until it’s just about to boil, then pour it over the chocolate.

Don’t rush this part.
Let it sit for a minute or two so the chocolate melts gently, then whisk until it turns into a smooth, glossy ganache.
If you see a few stubborn bits of chocolate, keep whisking. The warmth usually finishes the job.
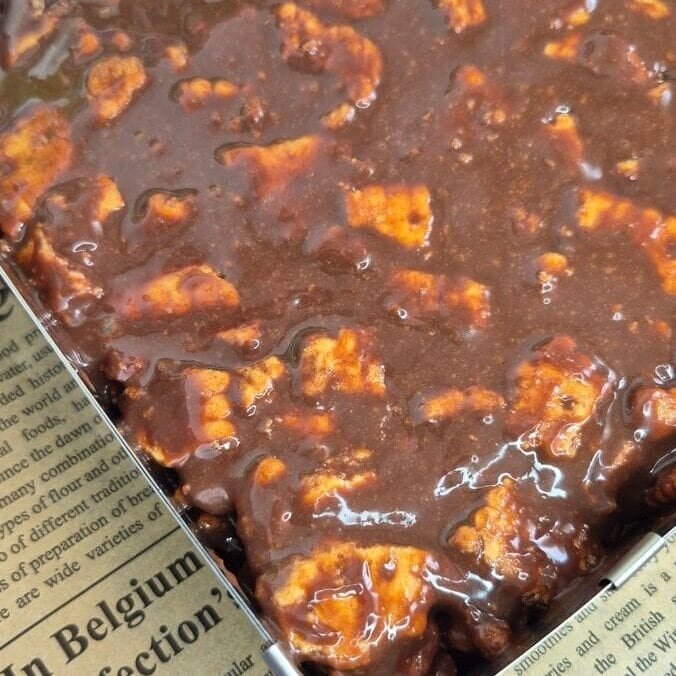
3) Combine biscuits + ganache
Pour the ganache over the broken biscuit pieces.

Mix until everything is coated.
Go gently so you don’t turn the biscuits into crumbs. You want coated chunks, not paste.
4) Build the layers
Line your tray with parchment if you can.

Dip whole biscuits quickly in milk (one by one), then arrange them in a single layer.
Spread the biscuit–ganache mixture on top.
Level it out with the back of a spoon.
Dip the remaining whole biscuits quickly in milk and place them on top in a neat layer.
Press lightly so they stick, but don’t smash it down.

5) Chill, then slice
Refrigerate until set.
Once it feels firm, slice into squares.
For cleaner cuts, wipe your knife between slices.
If you want very sharp edges, chill a bit longer before cutting.
Tips that help
Don’t overheat the cream
Bring it just to the point where you see it about to boil.
If it boils hard, it can affect the ganache texture and make it split more easily.
Let the hot cream sit on the chocolate before whisking
That 1–2 minute pause makes a big difference.
It melts the chocolate evenly so you don’t end up whisking forever.
Break biscuits into chunks, not rubble
The mosaic look depends on this.
Big pieces give you that “pattern” inside. Too small and it just blends.
Dip biscuits fast
A quick dip gives you soft layers without sogginess.
If you soak them, the cake can slump and the top layer can look messy when slicing.
Chill before slicing (and use a sharp knife)
This cake behaves like a fridge dessert: it needs time to set.
If you cut too early, the squares won’t hold their shape.
Storage and make-ahead
Fridge: Keep it covered and refrigerated. It slices best when cold.
Make-ahead: You can make it the night before, and it’s even easier to cut the next day.
Freezer: Freeze squares in an airtight container. Thaw in the fridge so the texture stays smooth.
Easy variations
These are extras, not part of the “3-ingredient” base.
- All dark chocolate: stronger flavor, less sweet.
- All milk chocolate: sweeter, softer taste.
- Add-ins: chopped nuts or dried fruit mixed into the biscuit layer (small amount, so slicing stays neat).
- Top finish: a light cocoa dusting right before serving.
3-Ingredient Mozaic Cake (Petit Beurre Chocolate Biscuit Cake)
Ingredients
- 400 g Petit Beurre biscuits
- 150 g milk chocolate
- 150 g dark chocolate
- 300 ml heavy/sweet cream 35%
- 50 –80 ml milk for dipping biscuits
Instructions
- Set aside 100 g of the biscuits (keep them whole). Break the remaining 300 g into large pieces and place them in a big bowl.
- Break the milk and dark chocolate into a heatproof bowl. Heat the cream until it just reaches a boil, then pour it over the chocolate. Wait 1–2 minutes, then whisk until smooth and glossy.
- Pour the ganache over the broken biscuits and mix gently until all the pieces are coated.
- Arrange a layer of whole biscuits dipped briefly in milk in a baking tray (line with parchment if you want easy lifting). Spread the biscuit–ganache mixture over the layer and level it out.
- Dip the remaining whole biscuits briefly in milk and arrange them on top. Press lightly.
- Refrigerate for 1–2 hours (or until firm), then cut into squares.
Notes
- Break biscuits into chunks (not crumbs) for a clearer mosaic pattern.
- Dip whole biscuits quickly in milk—just a fast dip—to avoid soggy layers.
- For cleaner slices, chill longer and wipe the knife between cuts.