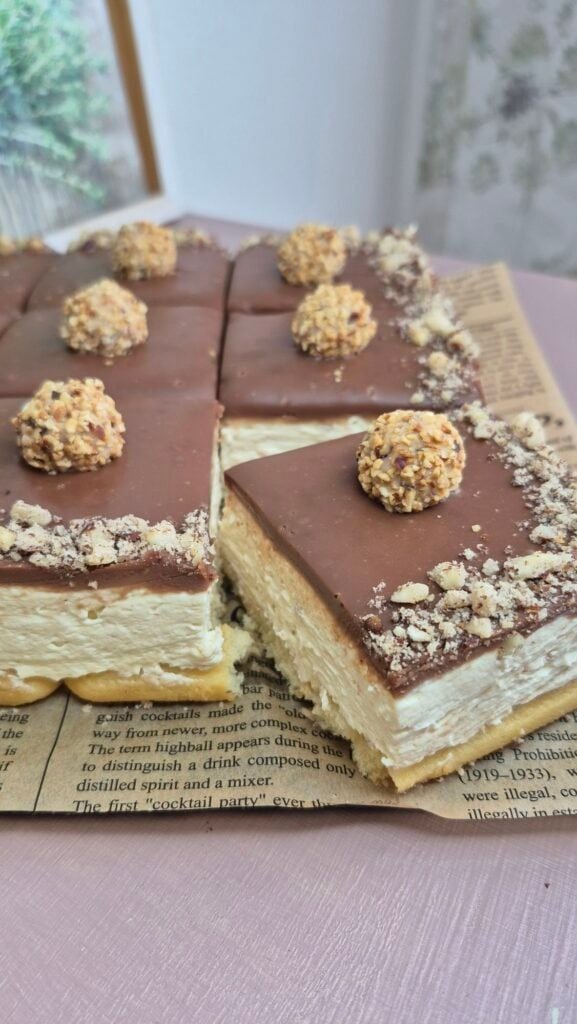
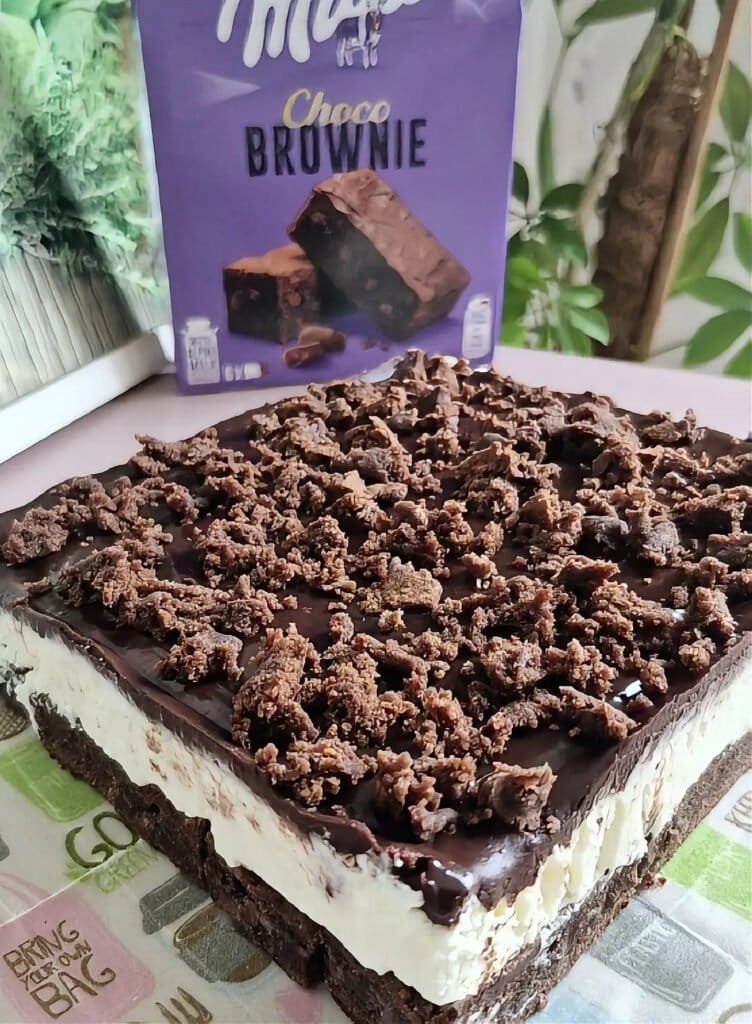
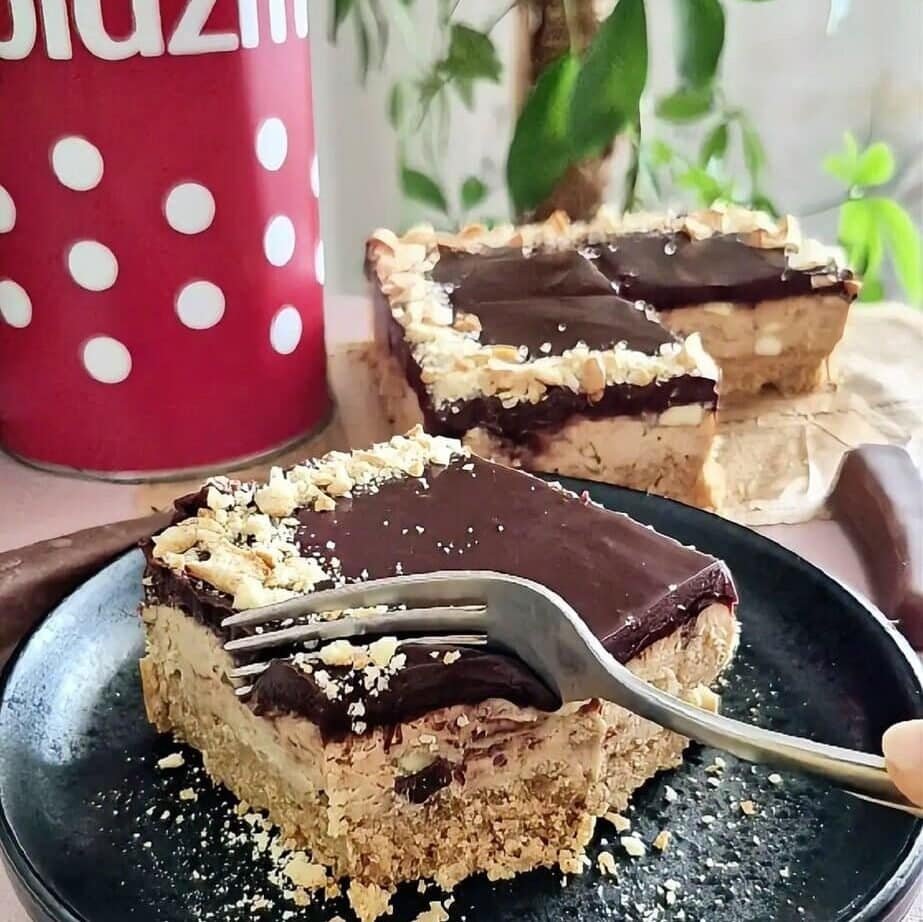
This is the kind of cake I make when I want something that cuts into clean squares, holds its shape, and still tastes like a proper “cake” on a plate. It’s built in three layers: a cookie crust that sets firm, a creamy filling with little bites of chocolate-banana candy, and a glossy chocolate ganache topping that turns into the neatest finish after a couple of hours in the fridge.
It’s also one of those desserts that gets better as it sits. The crust tightens up, the filling turns more sliceable, and the topping becomes that perfect soft-firm ganache you can cut through without cracking.
Below I’m sharing how I make it, what to look for at each step, and a few small tricks that make the layers come out clean and even. Exact measurements are down in the recipe card.
What kind of cake is this?
It’s a no-bake cookie cake made in a square pan. Think of it like a chilled slice cake: pressed biscuit crust on the bottom, whipped cream-cheese filling in the middle, and a simple chocolate ganache on top.
You don’t need gelatin, you don’t need eggs, and you don’t need an oven. You do need cold cream and a little patience while it chills.
Tools you’ll need
Nothing fancy, but these make life easier:
- A 20×20 cm pan (square is ideal for clean slices)
- Baking paper/parchment (for lifting out)
- A bowl + hand mixer (or stand mixer)
- A small pot for heating cream
- A spatula or spoon for leveling layers
If you don’t have a mixer, you can still do it, but getting the filling smooth and stable is harder. A mixer really helps here.
Ingredient breakdown (and why each one matters)
1) Crust layer: cookies + butter + milk
Crushed biscuits/cookies give structure. The finer the crumb, the cleaner your crust will look when you cut it.
Melted butter is the binder—once chilled, it firms up and locks everything together.
Milk softens the crumb just enough so the crust presses tightly without being dry and crumbly.
Cookie choice: Plain tea biscuits, digestive-style cookies, or any simple vanilla cookie works best. If the cookies are very sweet (or filled), the overall cake can tip into “too sweet,” especially with the ganache.
2) Filling layer: cookies + cream cheese + cream + candy
This filling is a hybrid: part whipped cream, part cream cheese, part cookie crumble, plus chopped candy for texture.
- Cream cheese (a small amount) adds tang and keeps the filling from tasting flat. It also helps it hold shape.
- Heavy/whipping cream provides the volume and that soft, mousse-like feel once whipped.
- Crushed cookies thicken the filling and give it a slightly chewy bite (in a good way).
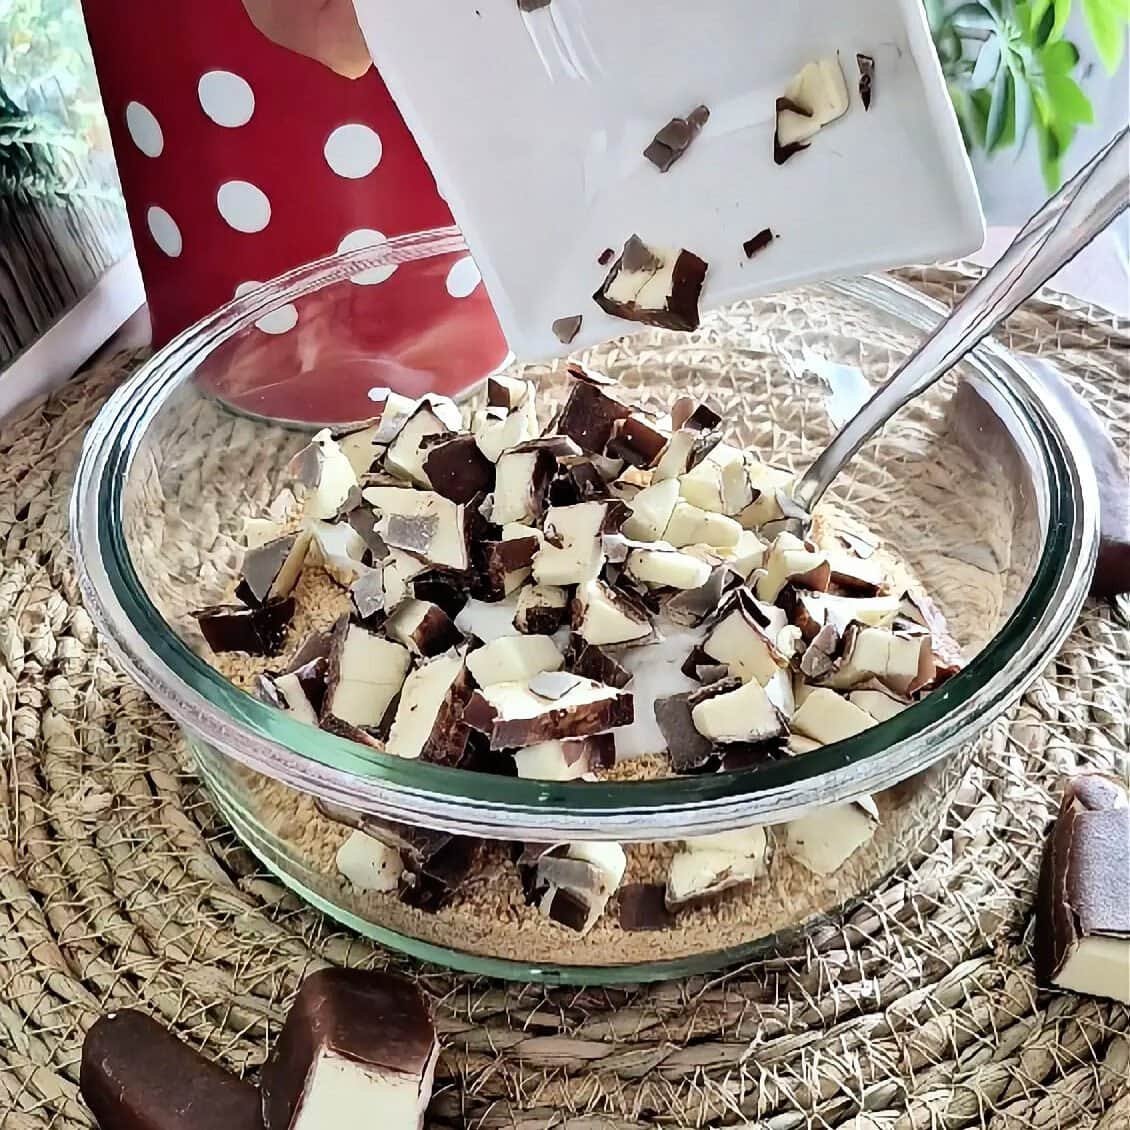
- Chocolate banana candies are the surprise. When they’re chopped small, you get little hits of flavor without the filling turning chunky.
Candy note: Chop the candies quite small. Big pieces can make slicing messy and can tug the filling when you cut.
3) Topping layer: chocolate + hot cream
This is a classic ganache. Once it sets, it looks glossy and slices smoothly.
- Chocolate gives the topping body and flavor.
- Hot cream melts it into a pourable sauce that thickens as it cools.
Chocolate choice: Use a chocolate you actually like eating. If it tastes waxy from the bar, it’ll taste waxy on the cake.
Before you start: set yourself up for neat layers
- Line the pan with parchment so you can lift the cake out later. Leave a little overhang on two sides.
- Crush the cookies well. A food processor makes this quick, but a zip-top bag and rolling pin works too. Aim for mostly fine crumbs with a few slightly larger bits.
- Keep the cream cold until the moment you whip it. Warm cream = soft filling.
Step-by-step instructions (no exact measurements here)
Step 1: Make and press the crust
Mix the crushed cookies with melted butter and milk until the crumbs look evenly moistened.

When you squeeze a bit in your hand, it should hold together instead of falling apart.
Tip the mixture into your lined pan and press it down firmly. I press it first with a spoon, then finish with the flat bottom of a glass to compact it.

What you’re looking for: a tight, even layer with no loose corners.
Put the pan in the fridge while you make the filling.
Step 2: Build the filling and whip it smooth
In a bowl, add the crushed cookies, cream cheese, chopped chocolate-banana candies, and the cold heavy cream.
Start mixing slowly so cookie crumbs don’t fly everywhere, then increase speed and beat until it looks smooth and evenly mixed. It should hold soft peaks and look thicker than plain whipped cream.
Don’t overwhip: If you beat too long, the cream can tighten up too much and look grainy. Stop as soon as it looks stable and spreadable.
Step 3: Spread the filling into an even layer
Spoon the filling onto the chilled crust. Spread it to the corners and level the top.
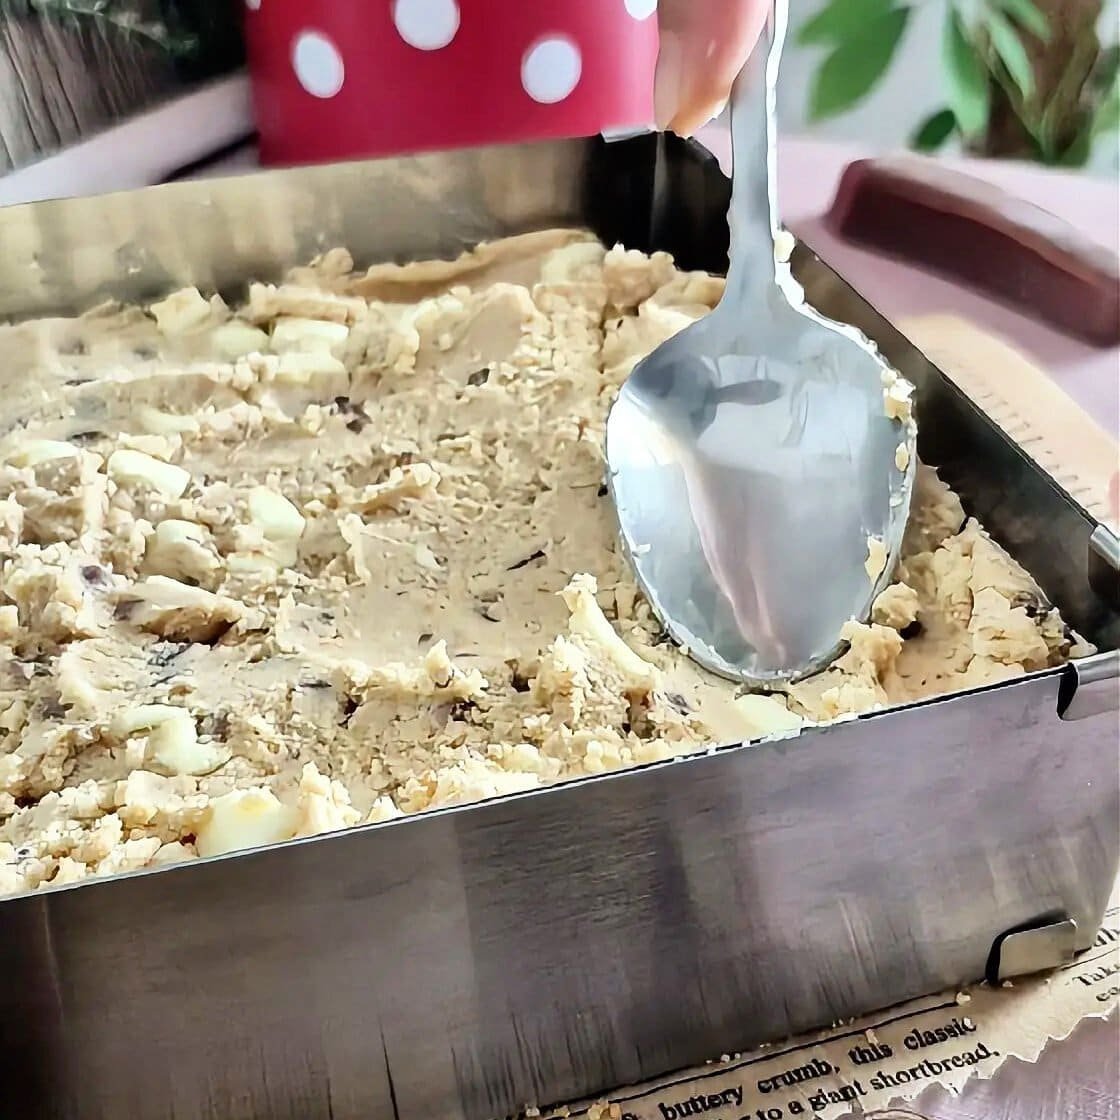
A small trick: once it’s roughly flat, tap the pan gently on the counter a couple of times. It helps settle air pockets and evens out the surface.
Return it to the fridge while you make the ganache.
Step 4: Make the chocolate ganache topping
Chop or break the chocolate into small pieces and place it in a bowl.
Heat the cream in a small pot until it just reaches a boil (you’ll see small bubbles around the edge). Take it off the heat and immediately pour it over the chocolate.
Let it sit for a minute, then stir slowly from the center outward until it becomes glossy and smooth.
If you still see bits of unmelted chocolate, keep stirring a little longer. The residual heat usually finishes the job.
Step 5: Pour, chill, and set
Pour the ganache over the filling and tilt the pan so it covers the top evenly. Use a spoon or spatula only if you need to—too much spreading can drag the filling.
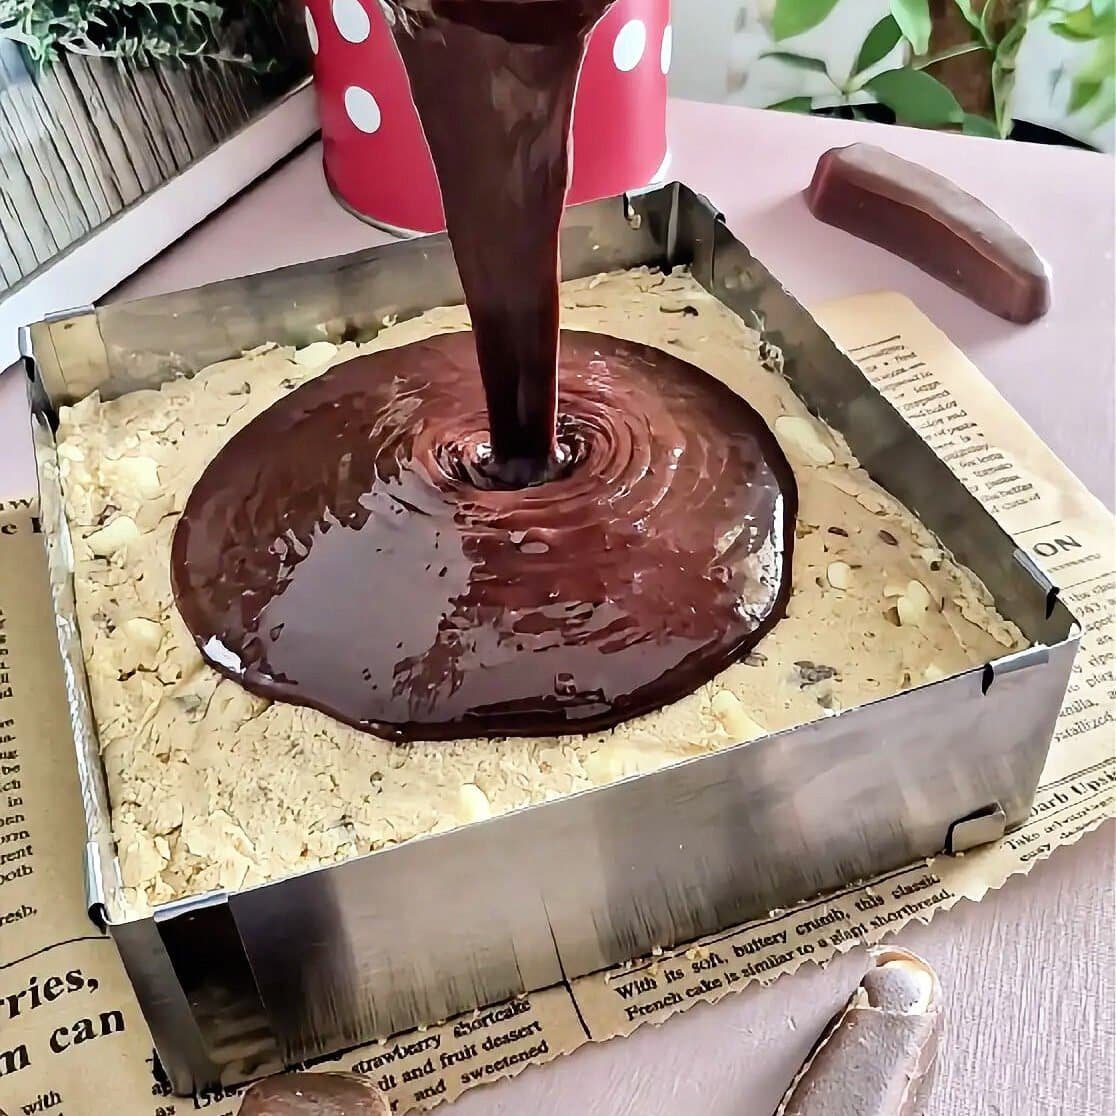
Refrigerate until fully set.
Setting time: It needs at least a couple of hours to slice cleanly. If you can leave it longer (even overnight), it slices even better.
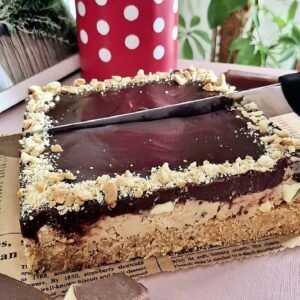
Step 6: Decorate and slice
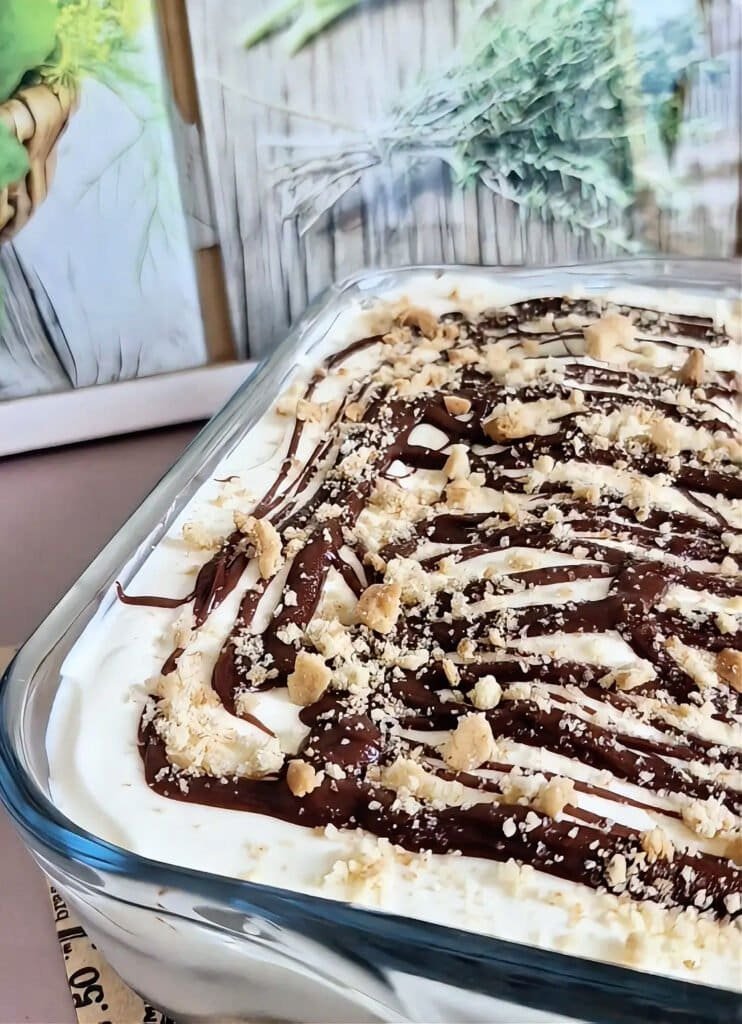
Decorate with crushed cookies or extra chopped candies.
For clean slices:
- Use a sharp knife
- Wipe the blade between cuts
- If the ganache is very firm, let the cake sit at room temp for a few minutes before slicing
Lift the cake out using the parchment overhang, move to a board, then cut into squares.
Tips that make this cake come out better
Make the crust compact
Press harder than you think you need to. A loosely packed crust crumbles when you lift the first slice.
Keep the cream cold
Cold cream whips stable. If your kitchen is warm, chill the bowl for 10 minutes too.
Chop the candies small
Small pieces distribute better and slice cleaner. Big chunks can cause dragging and uneven cuts.
Don’t rush the chill time
Even if it looks set on top, the middle needs time to firm up. A longer chill gives you sharp layers.
Want it less sweet?
Use a darker chocolate for the ganache and a more neutral cookie for the crust.
Storage
- Fridge: Keep covered in the fridge. It stays good for a couple of days and slices nicely while cold.
- Freezer: You can freeze it (already sliced is easiest). Thaw in the fridge so the texture stays smooth.
Chocolate Banana Cookie-Slice Cake (No-Bake)
Ingredients
Crust
- 200 g crushed biscuits cookies
- 50 g butter melted
- 50 ml milk
Filling
- 100 g crushed biscuits cookies
- 2 tbsp cream cheese
- 150 ml heavy/whipping cream
- 5 chocolate banana candies chopped
Topping
- 150 g chocolate
- 150 ml heavy/whipping cream
Instructions
- Mix the crushed biscuits with melted butter and milk. Press firmly into a 20×20 cm pan.
- Refrigerate while you prepare the filling.
- Combine the crushed biscuits, cream cheese, chopped chocolate banana candies, and heavy cream. Beat with a mixer until smooth and well mixed.
- Spread the filling over the crust and level evenly.
- Heat the cream for the topping until it just reaches a boil. Pour over the chopped/broken chocolate, stir until smooth, then pour over the cake. Refrigerate for 2 hours.
- Decorate as desired with crushed biscuits or extra chopped chocolate banana candies, then slice and serve.