Creamy. Velvety. Dreamy. Chocolatey.
If you’ve ever wished for a dessert that combines the nostalgia of crushed biscuits, the silkiness of mascarpone, the cloud-like texture of whipped cream, and that unmistakable caramel-chocolate magic of Twix—then buckle up, because this cake is everything you want and more.
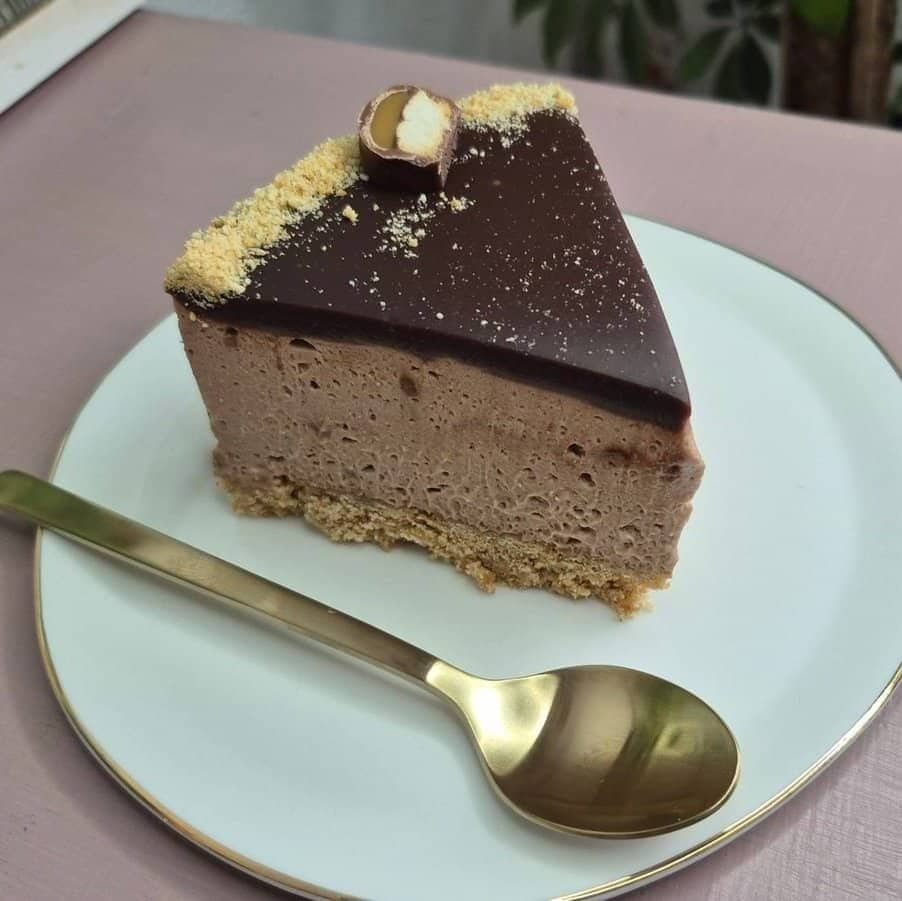
I recently made this heavenly no-bake Twix Mascarpone Cake, and the moment I sliced into it, I knew it deserved a full, detailed, mouthwatering post. Every layer tells its own delicious story—from the buttery biscuit base to the luscious Twix filling and the glossy chocolate ganache on top.
This cake looks luxurious, tastes like something from a high-end patisserie, yet it’s surprisingly simple to prepare. No oven, no complicated techniques, and definitely no stress—just pure joy in every bite. Let’s dive into the full experience!
Why This Cake Deserves a Spot in Your Dessert Hall of Fame
Before we get into the long, velvety details of the recipe, let me tell you exactly why this cake works so well. Because when you understand the why, making it becomes even more fun—and eating it becomes pure poetry.
Ultra-creamy filling with perfect stability
Thanks to the combination of mascarpone, whipped cream, powdered sugar, and Twix cream, the filling becomes impossibly smooth yet firm enough to slice beautifully. It holds its shape without being dense.
A base that cuts cleanly—no crumbling!
Adding just the right amount of milk to the biscuit-butter mixture creates a crust that doesn’t fall apart when slicing. Every piece comes out picture-perfect.
A glossy chocolate ganache that feels like silk
You finish the cake with a pour-over ganache that settles into a shiny, elegant layer. This last step is simple, but it makes the cake look professional.
No baking = no stress
This cake is ideal for summer, busy days, last-minute guests, or when you simply want something delicious without turning on the oven.
Ingredients You’ll Need
(And trust me… every single one of them plays its part in creating dessert perfection.)
Base Layer
- 150g crushed biscuits
- 50g melted butter
- 20–30 ml milk
Creamy Twix Filling
- 250 ml heavy whipping cream
- 250g mascarpone
- 1 tablespoon powdered sugar
- 200g Twix cream
Silky Chocolate Topping
- 100g chocolate
- 100 ml heavy whipping cream
Step-by-Step: How I Made This Dreamy Cake
Let me walk you through exactly how I prepared it—from the first swirl of butter to the final glossy finish. This isn’t just a recipe; it’s a dessert journey.
Step 1: Crafting the Perfect Base
The base of any no-bake cake is its backbone. If it crumbles, the whole cake feels messy. If it’s too hard, it becomes unpleasant. So getting the texture right matters.
I started by mixing the crushed biscuits with melted butter. As the warm butter coated every crumb, the mixture turned golden and aromatic—already promising delicious things.
Then I added a splash of milk. This tiny detail makes a huge difference:
The milk softens the base enough so that the final cake slices beautifully without breaking apart.
Once the texture felt like moist sand, I pressed it firmly into an 18–20 cm pan. Just enough pressure to compact it—but not so much that it becomes rock hard.
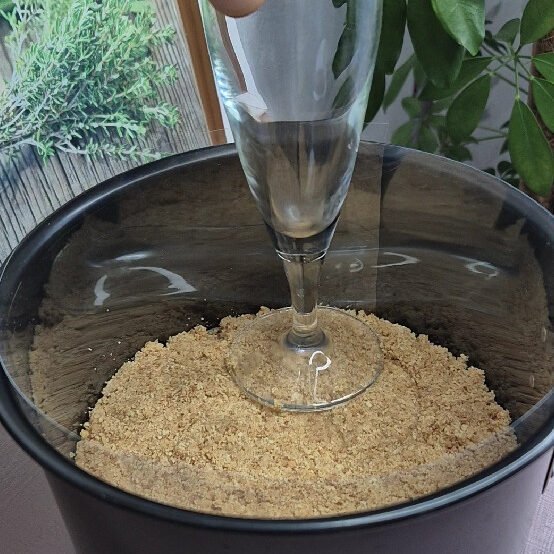
Then off it went into the fridge to firm up while I prepared the filling.
Step 2: Making the Luxurious Twix Mascarpone Filling
This is the part where magic happens.
The filling is creamy, airy, sweet in just the right way, and tastes like a cloud of chocolate-caramel bliss.
I started by mixing mascarpone and powdered sugar until smooth. The moment they combined, the mixture became silky and glossy.
Next came the heavy whipping cream, which I added and whipped until everything thickened beautifully.
But the real star?
Twix cream.
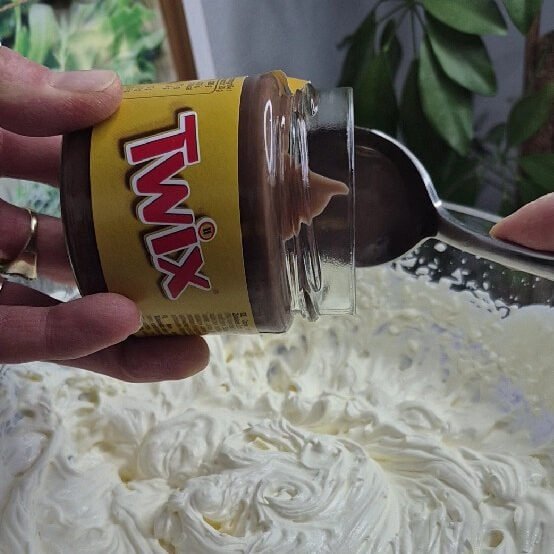
It transformed the filling instantly—adding a deep caramel-chocolate flavor that made the entire bowl smell incredible.
After whipping the mixture into a stable, fluffy cream, I spread it over the chilled base, smoothing the top like frosting a dream.
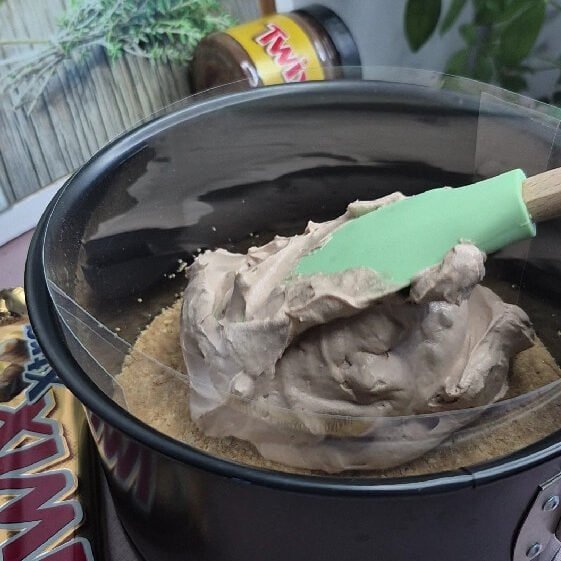
Back into the fridge it went, this time for 3–4 hours so the filling could set completely. Patience here is worth every second.
Step 3: Creating the Glossy Chocolate Ganache
Just when you think the cake is already perfect—the ganache takes it to a whole new level.
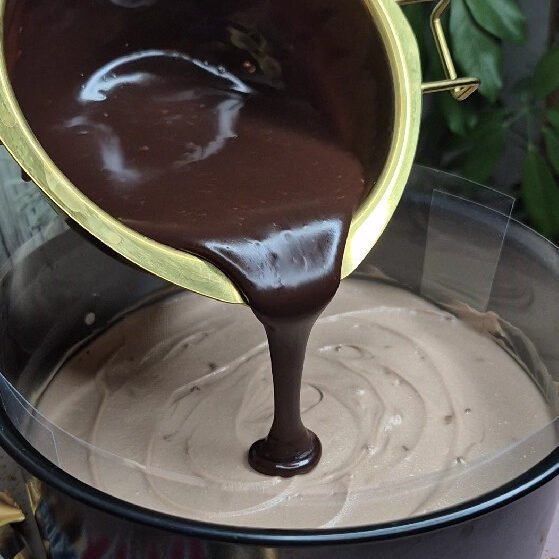
I heated the heavy cream until it just began to simmer. Then I poured it over the chopped chocolate.
Waiting those few minutes before stirring is key. The cream softens the chocolate gently, ensuring a smooth, glossy finish when mixed.
Once it turned into a shiny, silky liquid chocolate dream, I poured it over the cold cake. The ganache spread slowly and evenly on its own, coating everything in a beautiful glossy layer.
Back into the fridge again—this time for at least 2 hours.
The wait feels long… but when you finally slice into it? Pure happiness.
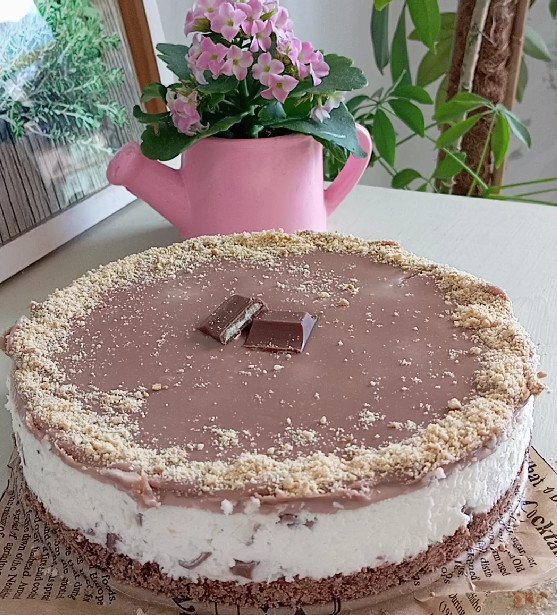
The Final Result: A Cake That Deserves Applause
When I cut the first slice, I was amazed at how beautifully the layers held together.
The base sliced cleanly.
The filling stood tall and creamy.
The chocolate topping glistened like a mirror.
And the flavor?
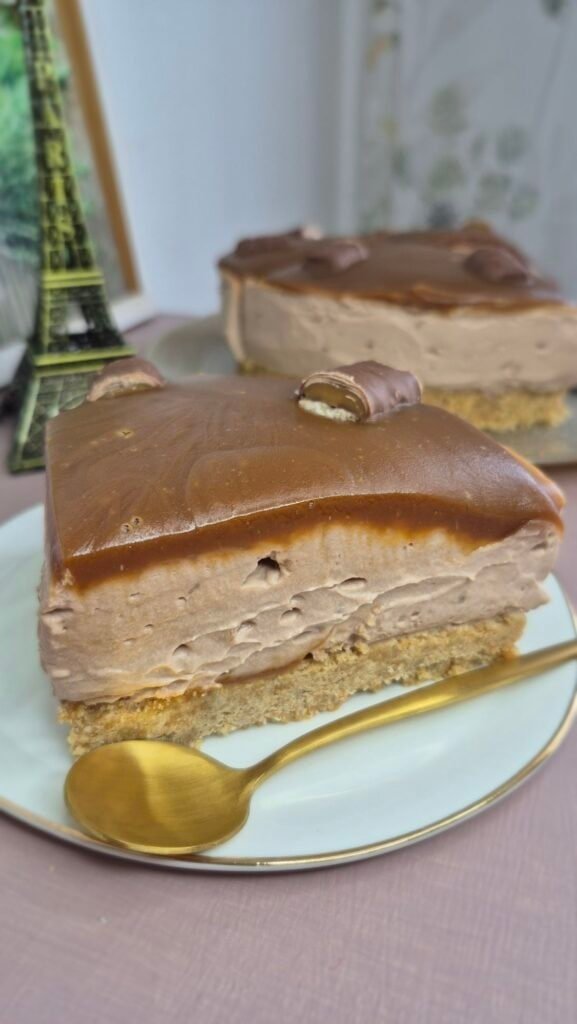
Every bite offered a perfect blend of textures:
Creamy
Smooth
Light
Crunchy
Chocolatey
Caramelly
It’s the kind of dessert that makes you close your eyes without realizing it.
Tips for the Perfect No-Bake Twix Mascarpone Cake
If you want your cake to be flawless every time, here are some super useful tips I learned while making it:
Use cold whipping cream
It whips faster and becomes more stable.
Don’t overmix the filling
Once it thickens, stop. Overmixing can make it grainy.
Let each layer chill properly
The fridge time is essential—don’t rush the process.
Use good-quality chocolate for the ganache
It makes the top layer smoother and shinier.
Serve it cold
This cake tastes best when chilled, especially because of the Twix cream.
Perfect Occasions for This Cake
This dessert is versatile and impressive. It fits perfectly in so many moments:
Birthdays
Summer gatherings
Family lunches
Special events
Chocolate-lover celebrations
Gifting a homemade treat
Even content creation (this cake photographs beautifully!)
Why This Recipe Works Every Time
The ingredients are balanced.
The technique is simple.
The flavors are irresistible.
And the texture is spectacular.
Whether you’re a beginner in the kitchen or someone who loves experimenting with desserts, this cake delivers a foolproof experience with show-stopping results.
It’s comforting yet elegant, simple yet indulgent—just the right blend of everything that makes a dessert memorable.
Final Thoughts
Making this cake felt like crafting something truly special—something worth sharing, worth serving, and worth savoring slowly.
If you’re searching for a dessert that looks beautiful, tastes heavenly, and doesn’t require baking, this Twix Mascarpone Cake is your new favorite.
From the creamy filling to the chocolate glaze dripping with elegance, every part of it comes together in harmony. So go ahead—treat yourself, your family, or your guests to a slice of dessert perfection.

No-Bake Twix Mascarpone Cake (Biscuit Crust + Chocolate Ganache)
Ingredients
Biscuit Base
- 150 g biscuits crushed
- 50 g butter melted
- 20 –30 ml milk about 1–2 tbsp, as needed
Twix Mascarpone Filling
- 250 ml heavy whipping cream cold
- 250 g mascarpone cold
- 1 tbsp powdered sugar
- 200 g Twix cream/spread
Chocolate Ganache Topping
- 100 g chocolate chopped (milk or dark)
- 100 ml heavy whipping cream
Instructions
Prepare the pan:
- Line the bottom of an 18–20 cm (7–8 inch) springform pan with parchment paper (optional: add an acetate strip around the sides for cleaner edges).
Make the base:
- Mix crushed biscuits with melted butter. Add milk a little at a time until the mixture feels like moist sand and holds together when pressed. Press firmly into the pan. Refrigerate for 15–20 minutes.
Make the filling:
- Whisk mascarpone with powdered sugar until smooth. Add cold heavy cream and whip until thick and fluffy (soft-to-medium peaks).
Add Twix cream:
- Add Twix cream/spread and whip briefly just until combined and stable (don’t overmix).
Assemble:
- Spread the filling evenly over the chilled base. Refrigerate 3–4 hours, until set.
Make the ganache:
- Heat the cream until just simmering. Pour over the chopped chocolate. Let stand 2–3 minutes, then stir until smooth and glossy.
Top the cake:
- Pour ganache over the cold cake and gently tilt to spread evenly. Refrigerate at least 2 hours.
Serve:
- Slice and serve chilled.
Notes
- Use very cold whipping cream (and cold mascarpone) for the most stable, fluffy filling.
- Stop mixing as soon as the filling is thick—overmixing can make it grainy.
- For clean slices: use a sharp knife warmed under hot water, then wipe between cuts.
- Storage: Keep covered in the fridge for 3–4 days.