There are desserts that are delicious, desserts that are beautiful, and then there are desserts that make everyone at the table stop talking for a few blissful seconds because the only thing that matters is that next bite. This no-bake chocolate cherry mascarpone cake belongs firmly in that last category.
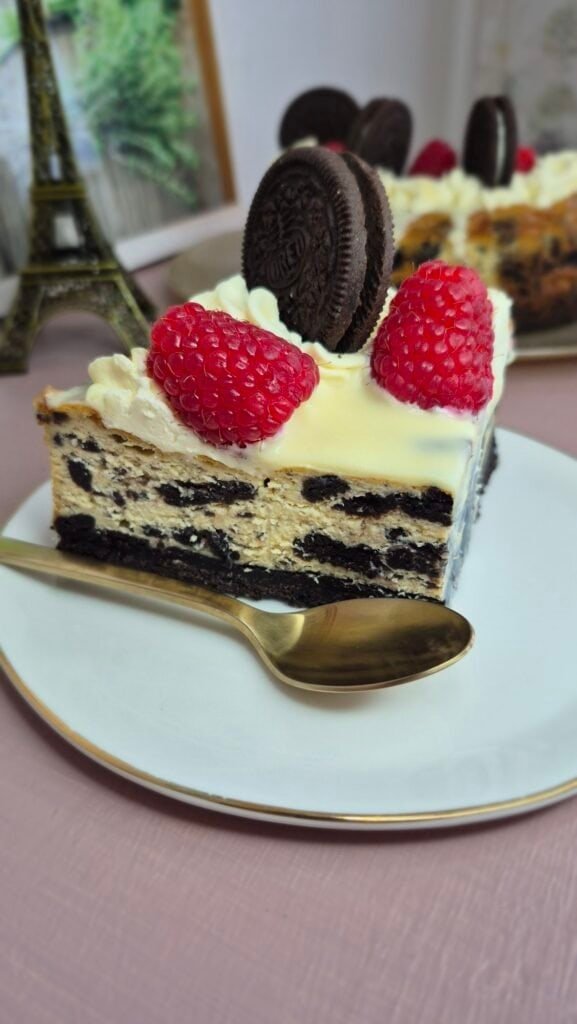
The combination of velvety mascarpone, dark chocolate, and juicy cherries layered over a crumbly Oreo base creates a slice that looks like a patisserie masterpiece but requires zero baking and surprisingly little effort. The texture? Silky but firm. The flavor? Deep, rich, refreshing, and slightly tangy thanks to the cherries. The appearance? Honestly—picture-perfect.
In this post, I’ll walk you through every detail: how the base comes together, why the mascarpone filling sets beautifully without gelatin, how to get cherries glossy and thickened just right, and how to layer the cake so every slice looks stunning. I’ll also share tips, variations, serving suggestions, and ways to decorate it like a professional. By the end, you’ll feel ready to make the cake immediately (and maybe even twice).
Let’s dive straight into this indulgent delight!
A Base That Holds Everything Together: Oreo & Butter Bliss
The foundation of this cake is wonderfully simple: Oreo cookies, melted butter, and a splash of milk to help the mixture press neatly into the pan.
Here’s what I used:
- 150 g Oreo cookies
- 30 g melted butter
- 30–50 ml milk
The magic of this base is the balance between crumbly and cohesive. If you add just a little more milk, the mixture becomes beautifully pliable, making it easy to press into a compact, even crust. I used a 20 cm springform pan, which is perfect for this quantity.
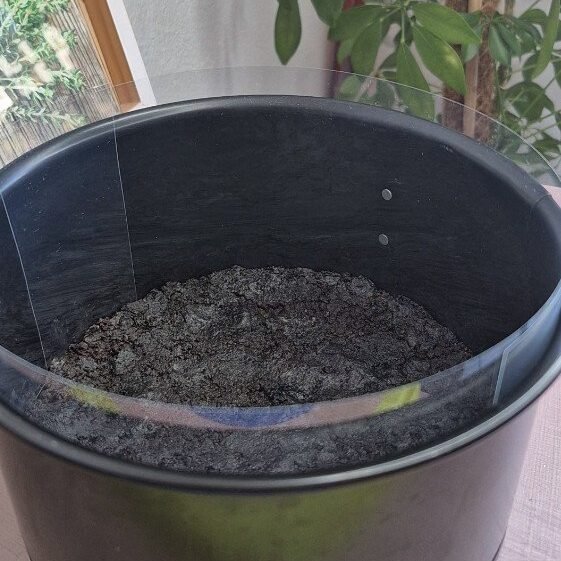
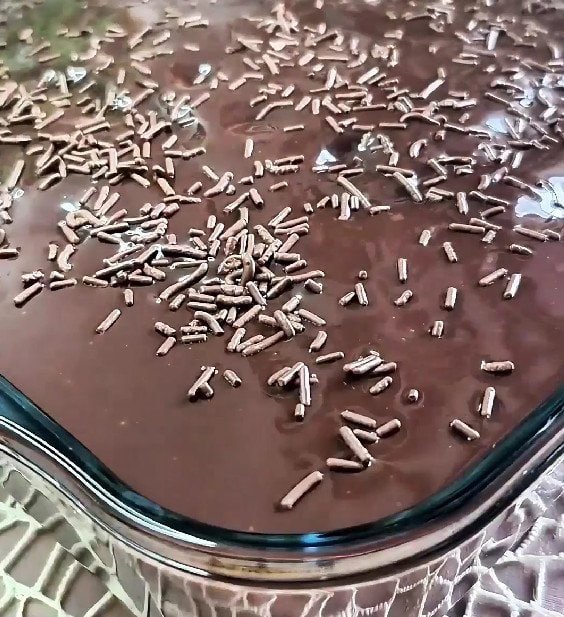
I started by blending the Oreos until they turned into fine crumbs—almost like dark sand with a delicious aroma of cocoa and cream. Then, I poured in the melted butter, a little milk, and mixed everything until it resembled a slightly sticky dough. After that, I pressed the mixture firmly into the pan. You can use a spoon, but a flat-bottom glass makes the surface impeccably smooth.
Once the crust was ready, I placed it in the fridge to chill while working on the next layers. A cold base always holds up better when you pour the creamy filling over it later.
The Heart of the Cake: Juicy, Glossy Cherry Filling
If there’s one part of this cake that always gets compliments, it’s the cherry layer. It’s sweet but not too sweet, thick but still juicy, and it provides that gorgeous contrast against the chocolate mascarpone filling.
For this part, I used:
- 500 g cherries (mine were frozen)
- 3 tbsp sugar
- 1 tbsp cornstarch + 1 tbsp water
I added the cherries and sugar to a pot and let them simmer gently for about 15–20 minutes. This gives them time to soften, release their juices, and develop that deep ruby color that makes this cake unmistakably stunning.
Near the end of the cooking time, I mixed the cornstarch with a tablespoon of water to create a slurry, poured it into the cherries, and stirred for another minute or two until the mixture thickened slightly. The goal is a glossy, spoon-able cherry topping—thick enough not to run everywhere, but loose enough to soak into the creamy layers later.
Then, I set it aside to cool. Allowing the cherry filling to cool completely helps keep the mascarpone mixture firm when layering.
And let me tell you: even at this stage, I was tempted to eat it straight from the pot.
The Dreamiest Chocolate Mascarpone Filling Ever
Now, onto what might be my favorite part—the filling. This layer is luxurious, smooth, and full of deep chocolate flavor thanks to real melted dark chocolate. There’s no gelatin here, yet the filling becomes wonderfully firm as it chills because mascarpone naturally sets beautifully in whipped cream.
Here’s everything that goes into the filling:
- 300 ml heavy cream
- 300 g mascarpone cheese
- 1 tbsp powdered sugar
- 100 g dark chocolate (50%–70%)
- 1 tbsp cocoa powder
First, I gently melted the chocolate over steam (a simple double boiler). Dark chocolate melts into a glossy, velvety pool when treated slowly, and that’s exactly what gives this cake its smooth texture and rich taste. After melting it completely, I left it to cool so it wouldn’t melt the cream mixture when added later.
Next, I whipped the heavy cream together with the powdered sugar until it turned beautifully fluffy. Then I added the mascarpone and mixed again just until the mixture turned thick and creamy. At this point, it’s already dangerously delicious.
When the chocolate had cooled to lukewarm, I poured it in, sprinkled in the cocoa powder, and whipped everything again briefly. The moment it blended perfectly, I could tell the texture was rich but stable—exactly what I needed.
Then I divided the filling into two equal portions, because the layering goes like this:
- Oreo crust
- ½ chocolate mascarpone filling
- ½ cherry mixture
- Remaining chocolate mascarpone filling
- Remaining cherries
Pure pleasure in every layer.
Layering the Cake Like a Pro
Layering may sound simple, and it is, but a couple of tips can make your cake look extra clean and elegant.
Tip 1: Make sure everything is cool
Warm cherries or warm chocolate filling can cause the layers to blend too much. Cooling guarantees neat layers.
Tip 2: Spread gently
Use a silicone spatula and move in slow, gentle strokes to avoid pulling the previous layer.
Tip 3: Chill between layers (optional but effective)
If you’re aiming for perfectly defined stripes, a quick 10-minute chill between each component can do wonders.
Here’s how I assembled it:
- Crust: Removed from the fridge, nice and firm.
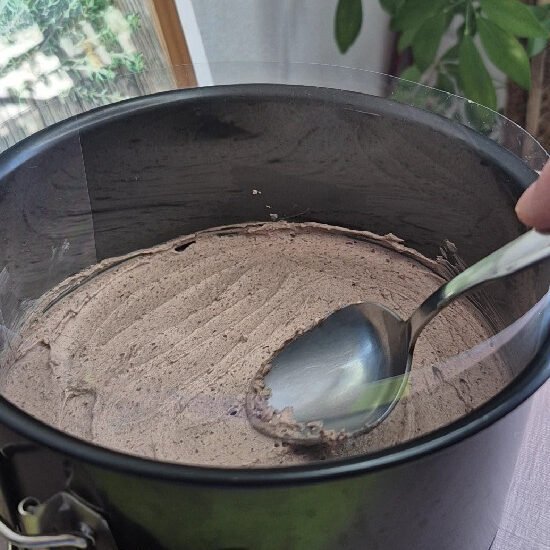
- First filling layer: Spread the first half of the mascarpone filling evenly across the crust.
- Cherries: Added half of the cherry mixture, distributing the fruit and syrup nicely.
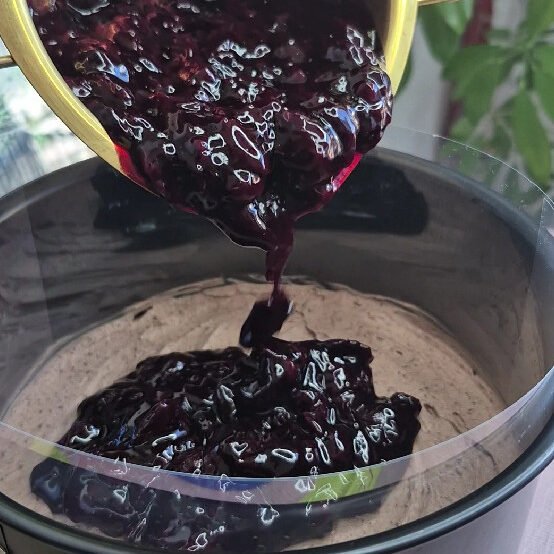
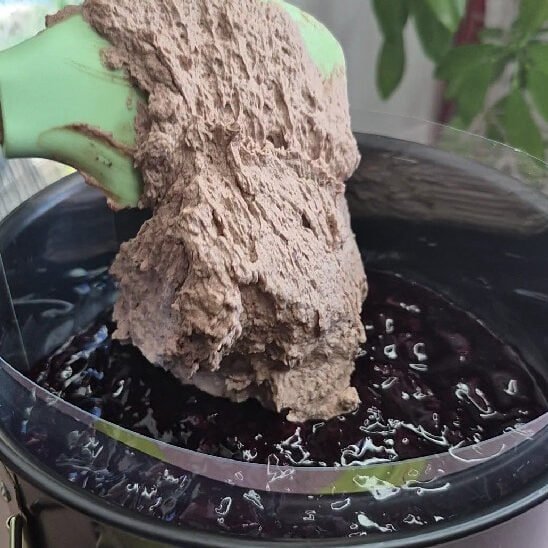
- Second filling layer: Poured the remaining mascarpone mixture over the cherries. The chocolate cream envelops the fruit beautifully.
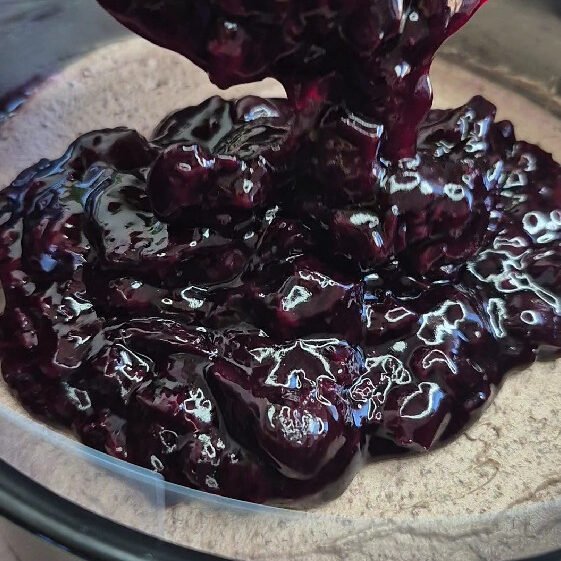
- Final cherries: Added the rest of the cherries on top for that gorgeous ruby crown.
Once layered, the cake looked like a dream—but the real magic happens during the chill.
The Overnight Transformation
Refrigerating this cake is essential. I let mine rest for 3–4 hours, but I truly recommend leaving it overnight. The difference is noticeable:
- The filling firms up perfectly
- The cherries set slightly
- The flavors deepen
- The structure becomes effortlessly sliceable
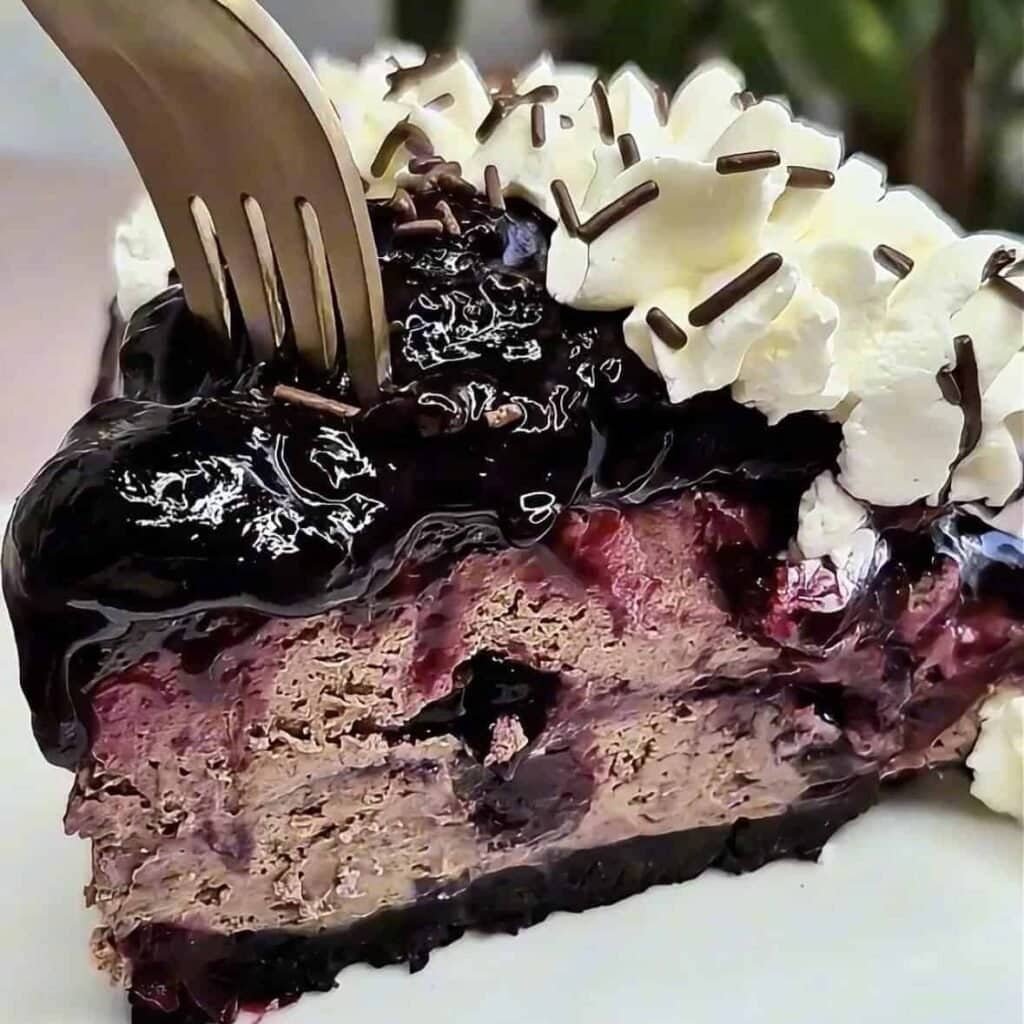
In the morning, cutting a slice feels like slicing into a cloud layered with fruit and chocolate.
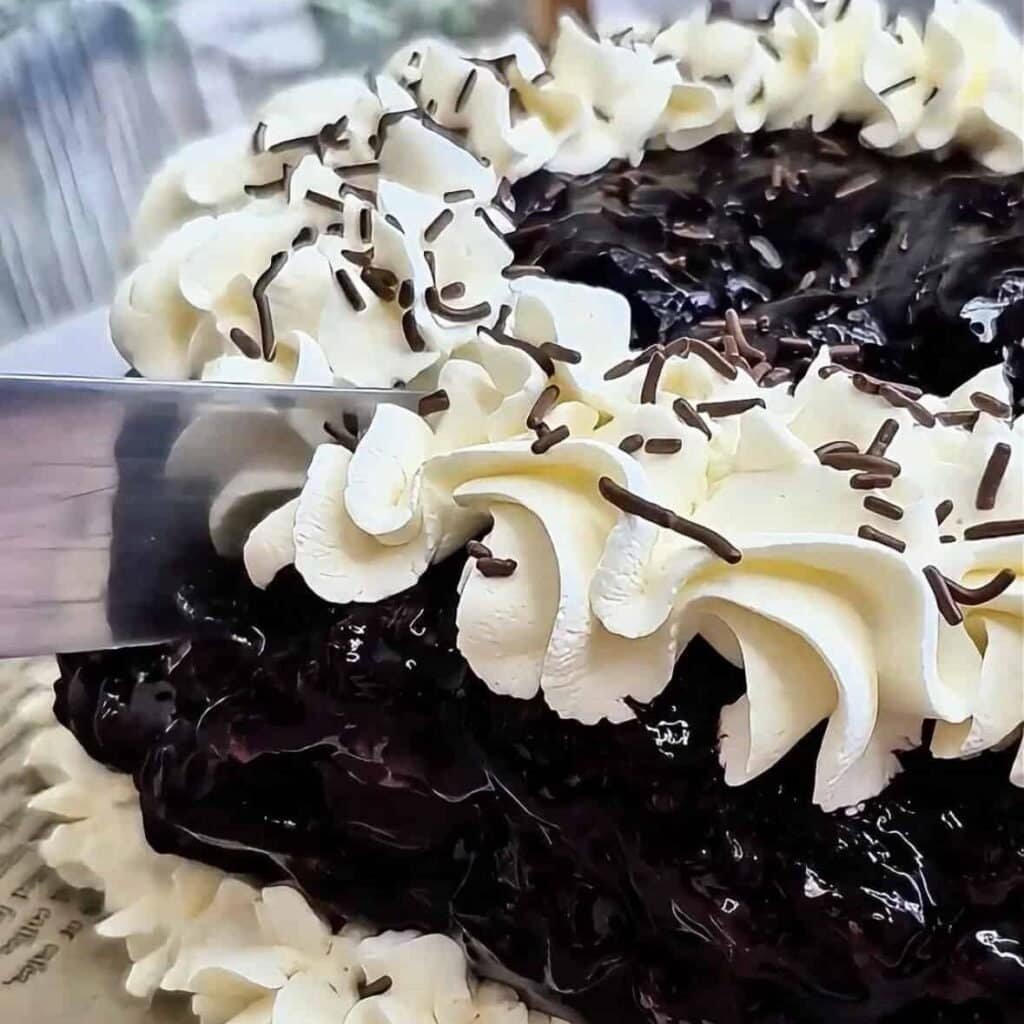
Decorating: Simple, Elegant, and Delicious
I kept the decoration minimal yet charming, using:
- 50 ml heavy cream
- 50 g mascarpone
I whipped the two together until they formed a smooth cream perfect for piping. With a narrow star tip, I added delicate swirls around the edge of the cake, giving it a gentle, elegant touch.
You can also decorate with:
Chocolate shavings
Extra cherries
Cocoa dust
Mini Oreo cookies
Dark chocolate curls
Whatever your style is—rustic or sophisticated—this cake accommodates it beautifully.
Serving the Cake: A Dessert Worth Sharing
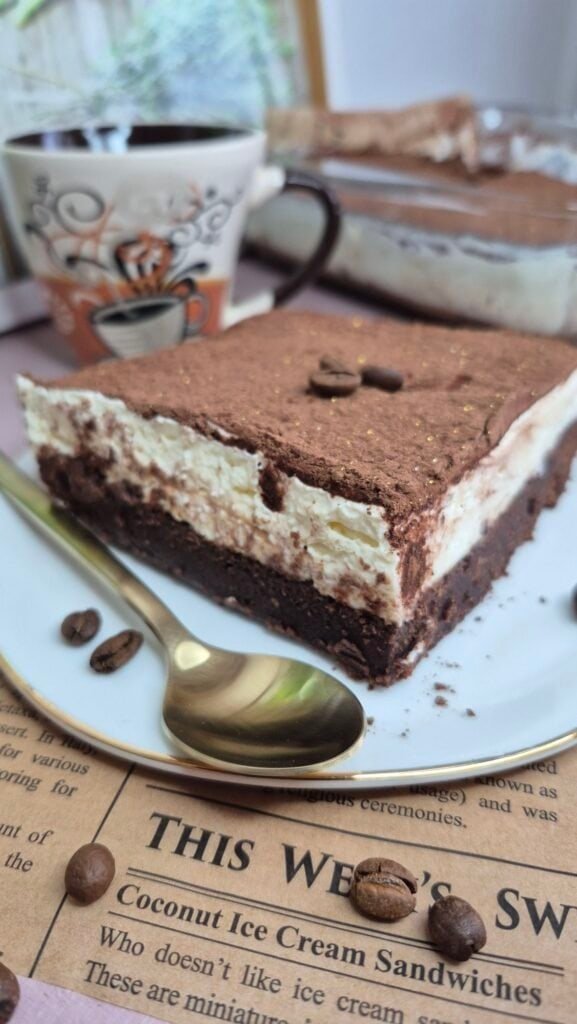
This cake is best served chilled. Each slice cuts cleanly, revealing the gorgeous contrast between the dark base, creamy chocolate filling, and bright cherry layer. The taste is perfectly balanced:
- The Oreos contribute a chocolatey crunch.
- The mascarpone filling brings smoothness and richness.
- The dark chocolate adds depth without overwhelming sweetness.
- The cherries deliver a refreshing fruity burst in every bite.
Pairing suggestions:
Serve with a glass of red wine for a sophisticated touch.
Pair with a strong espresso to highlight the chocolate notes.
Green tea helps offset the richness beautifully.
Tips for Success (Don’t Skip These!)
Here are some little things that make a big difference:
Use real mascarpone
Cream cheese won’t give the same smooth, rich texture.
Don’t overwhip
Mascarpone can curdle if beaten too long. Mix just until combined.
Adjust sugar depending on cherry tartness
Cherries vary—taste them while cooking and decide whether to add more.
Chill thoroughly
This is the key to stability and clean slices.
Use quality dark chocolate
The flavor depends heavily on it.
Variations You’ll Want to Try
This recipe is incredibly flexible. Here are some fun twists:
Strawberry version
Replace cherries with strawberries—fresh or frozen.
Forest fruit mix
Use a blend of berries for a tangier cake.
Extra chocolate
Add 50 g more dark chocolate to the filling for a richer profile.
Mocha twist
Add 1 teaspoon of instant espresso powder to the filling.
Hazelnut base
Swap Oreos for ground hazelnuts + butter + cocoa.
Each variation creates an entirely different experience while keeping the same creamy foundation.
Final Thoughts: A Cake That Steals the Show Every Time
There are desserts you make once… and then there are desserts that join your permanent collection because they simply never disappoint. This no-bake chocolate cherry mascarpone cake absolutely belongs in that second category. It’s rich yet refreshing, elegant yet easy, and the combination of chocolate and cherries feels like something crafted for celebrations—even if you’re making it just because you feel like treating yourself.
Every bite is layered bliss: the deep cocoa flavor of Oreos, the silky chocolate cream, and the juicy tang of cherries come together in perfect harmony. And the best part? You don’t even need an oven.
Whether you’re making it for a birthday, a dinner party, a holiday, or a cozy weekend indulgence, this cake always turns into the star of the table.
If you try it, get ready—you’ll probably be asked for the recipe before everyone finishes their slice.