There’s something magical about a dessert that looks simple at first glance, but once you slice into it, the layers reveal a world of flavor you didn’t expect. That’s exactly the experience I had with this Chocolate Mascarpone Dream Cake — a dessert that feels like a velvet cloud wrapped in chocolate, with a base so moist it practically melts the moment it touches a warm plate.
I’m sharing not just the recipe, but every step of the process the way I experienced it in my kitchen: the textures, the aromas, the transformation from basic ingredients into a glossy, creamy masterpiece. If you love creamy fillings, soft sponge layers, and rich chocolate ganache, this cake will be your new obsession.
Why This Cake Is Absolutely Worth Making
From countless desserts I’ve tried, only a few have that perfect trifecta:
- Effortless preparation
- Stunning presentation
- A flavor profile that’s rich but not overwhelming
This cake checks all three boxes — and adds one more I didn’t expect:
It tastes even better the next day, once the flavors settle and the ganache bonds with the mascarpone layer.
The combination of:
- a delicate cocoa sponge
- warm chocolate milk soaking through
- a fluffy mascarpone cream
- and a silky chocolate ganache
creates a dessert that’s balanced, elegant, and surprisingly refreshing despite its chocolatey depth.
If you’re preparing dessert for family, visitors, celebrations, or just for your own evening indulgence, this recipe is guaranteed to shine.
Full Ingredient List
Let’s begin with a clean, organized breakdown of everything needed for the cake base, the cream filling, and that glorious glossy ganache topping.
Sponge Layer
- 2 eggs
- 2 tbsp sugar
- 2 tbsp oil
- 2 tbsp flour
- 1 tbsp cocoa powder
- 1 tsp baking powder
- 150 ml chocolate milk (for soaking the baked sponge)
Mascarpone Cream Filling
- 250 g mascarpone
- 2 tbsp powdered sugar
- 250 ml heavy cream
Chocolate Ganache
- 100 ml heavy cream
- 20 g butter
- 100 g chocolate
Step-By-Step Preparation Guide
Below is my experience making the cake, exactly as I prepared it — with all the sensations, observations, and little details that help ensure the perfect result.
Preparing the Cocoa Sponge Layer
This sponge layer is light, simple, and has just enough cocoa to keep things balanced. It serves as the perfect foundation for the creamy layers on top.
How I Mixed the Batter
I started by whisking the eggs and sugar until the mixture turned pale and slightly thicker — that stage where the texture almost looks like lightly whipped cream. There’s a moment when the whisk leaves a faint trail across the surface, and that’s when I know I’m on the right track.
Next came the oil, which blends smoothly and adds moisture. Then I sifted in the flour, cocoa powder, and baking powder. Sifting may seem optional, but it makes the batter lighter and avoids those tiny unpleasant cocoa lumps that refuse to dissolve later.
What I love about this batter is its texture — silky, light, and wonderfully aromatic from the cocoa.
Into the Oven
I lined a 20×20 cm pan with baking paper, poured the batter in, and smoothed the surface gently.
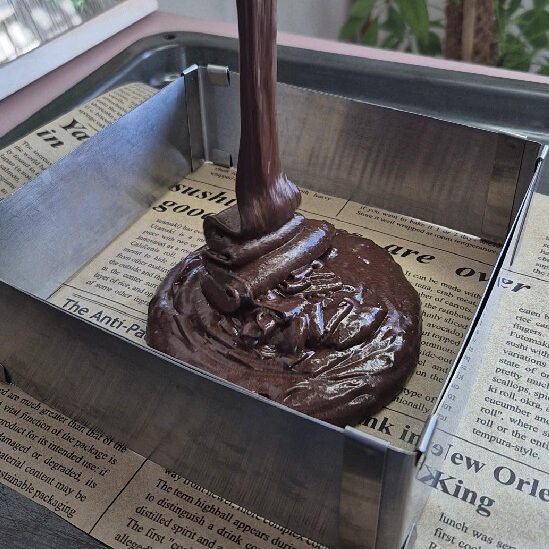
At 180–200°C, the sponge took about 10 minutes to bake.
What I look for is that gentle springiness when you touch the center — it should bounce back softly without collapsing. That elasticity is the hallmark of a perfectly baked thin sponge.
Soaking the Sponge
Once the sponge cooled slightly, I warmed 150 ml of chocolate milk and poured it evenly over the surface.
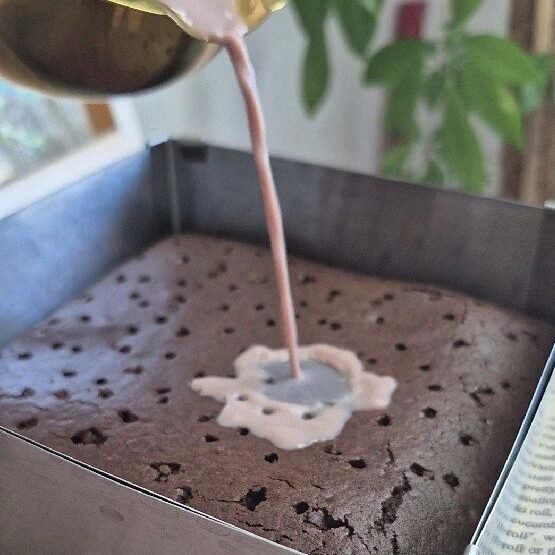
This step transforms a simple base into a luxurious, moist foundation. I love how the milk slowly seeps into the sponge, leaving the entire layer beautifully tender and full of chocolate aroma.
Allowing it to cool completely is essential — the filling will stay smooth and firm only if the base is cool.
Preparing the Mascarpone Cream Filling
This filling is the heart of the cake — silky, airy, creamy, and lightly sweet. It complements the chocolate without overwhelming it.
Whipping the Cream Until Cloud-Soft
I started by whipping the heavy cream with powdered sugar. I always watch for that magical point right before the stiff-peak stage — when the cream becomes structured but still velvety. Over-whipping can ruin the texture, so I stay attentive during this part.
Adding the Mascarpone
Once the cream was ready, I added the mascarpone and mixed until the filling became uniform, with a texture somewhere between mousse and soft frosting.
It should be smooth, glossy, and able to hold its shape beautifully.
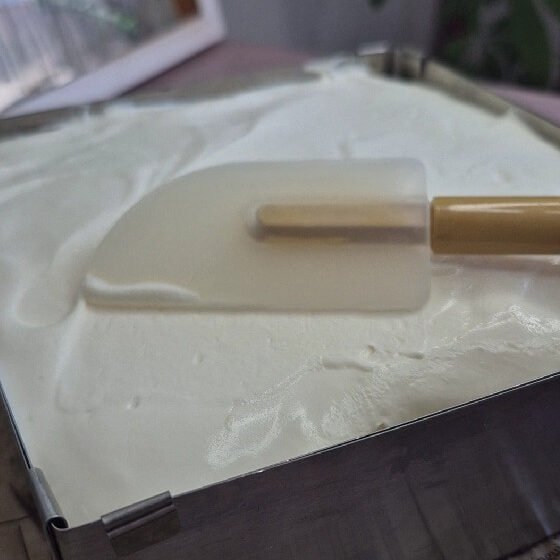
Spreading the Filling
I spooned the cream over the cooled, soaked sponge and spread it gently from edge to edge. I like to make sure the cream layer is even — later, when slicing the cake, those clean, sharp layers look so satisfying.
After smoothing the surface, I placed the cake into the fridge for about 1 hour. This resting time helps the filling firm up just enough to support the ganache topping.
Making the Chocolate Ganache
Ganache is always that moment of transformation in baking — the glossy, luxurious finish that elevates any dessert from nice to unforgettable.
Heating the Cream and Butter
I warmed the heavy cream and butter just until it reached a gentle simmer. Once small bubbles appeared around the edges, it was ready.
Melting the Chocolate
I poured the hot mixture over chopped chocolate and allowed it to sit quietly for a minute. This helps the chocolate melt evenly.
After a short pause, I stirred until the ganache became glossy, smooth, and absolutely irresistible. The aroma alone could convert anyone into a chocolate lover.
Pouring the Ganache
Once the ganache cooled slightly (but was still pourable), I spread it gently over the mascarpone layer.
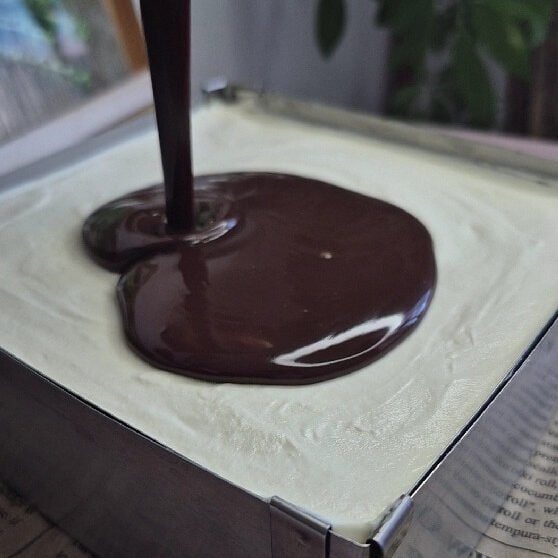
Watching the glossy surface settle is one of the most satisfying moments of this entire recipe — perfection in motion.
Back into the fridge the cake went, for another 1–2 hours to chill fully and set into clean, sliceable layers.
Cutting and Serving the Cake
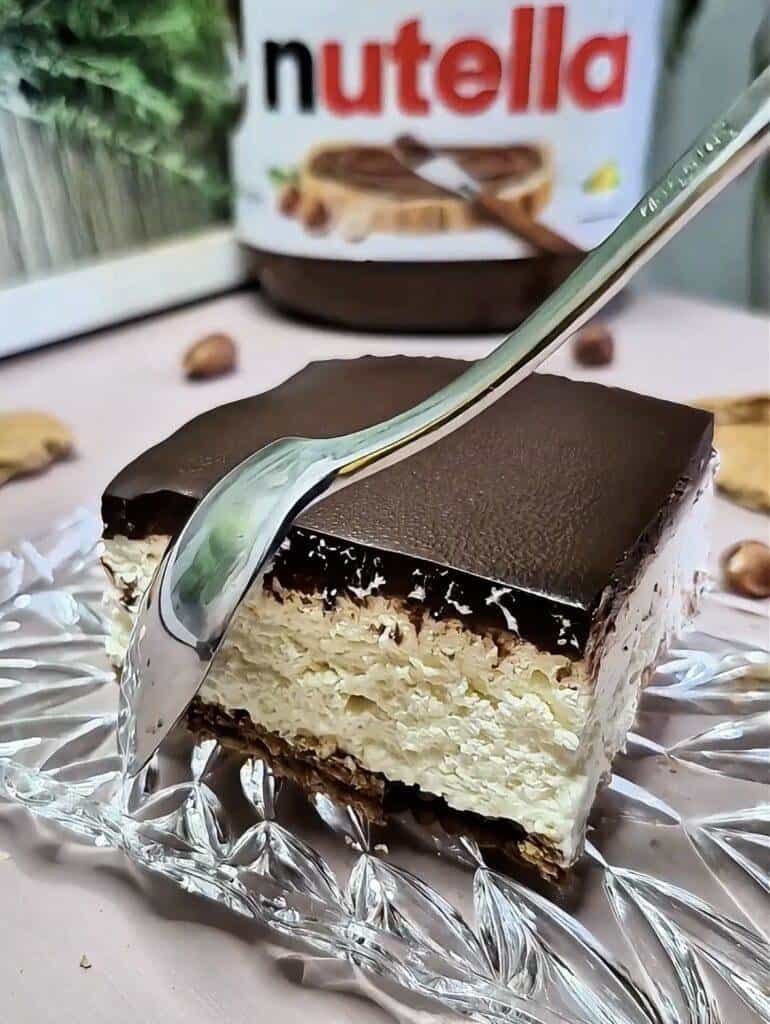
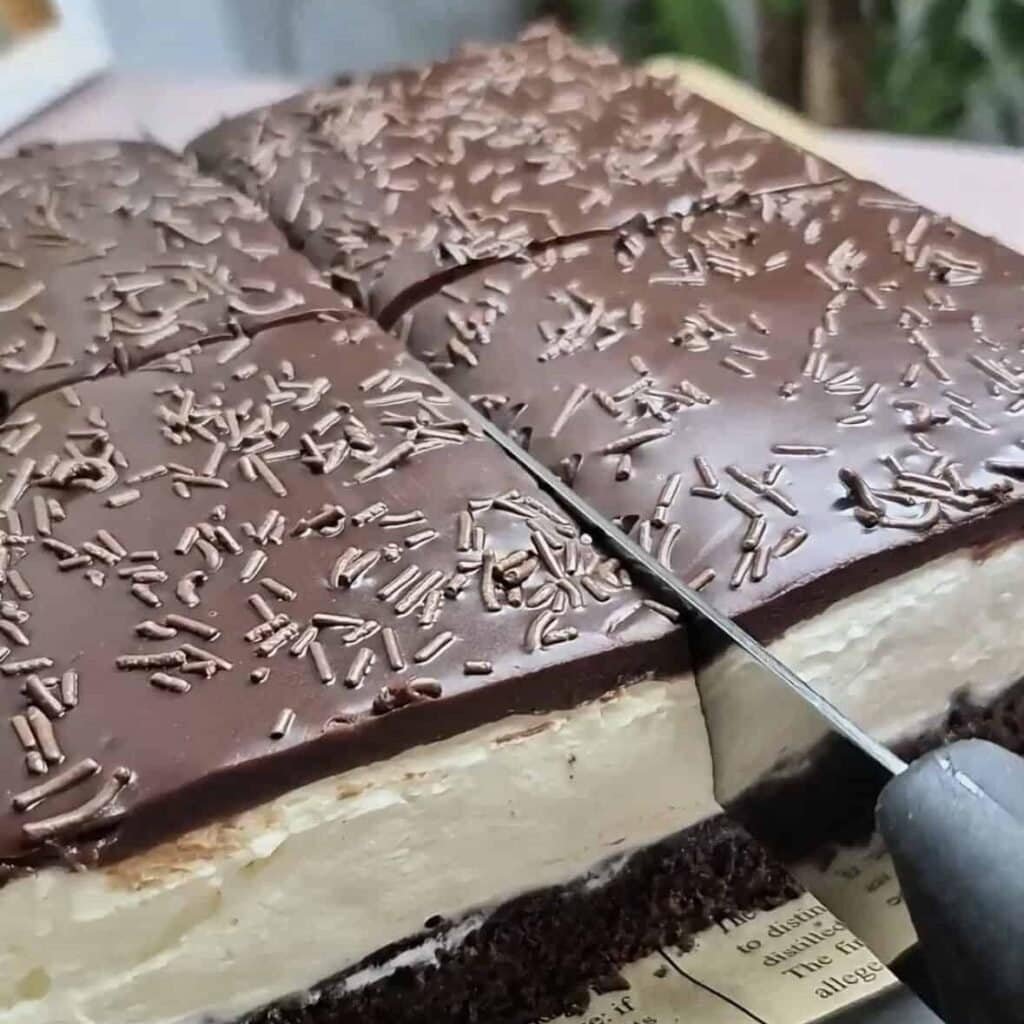
After chilling, the cake slices like a dream.
The knife glided through the soft ganache, creamy filling, and sponge soaked to perfection.
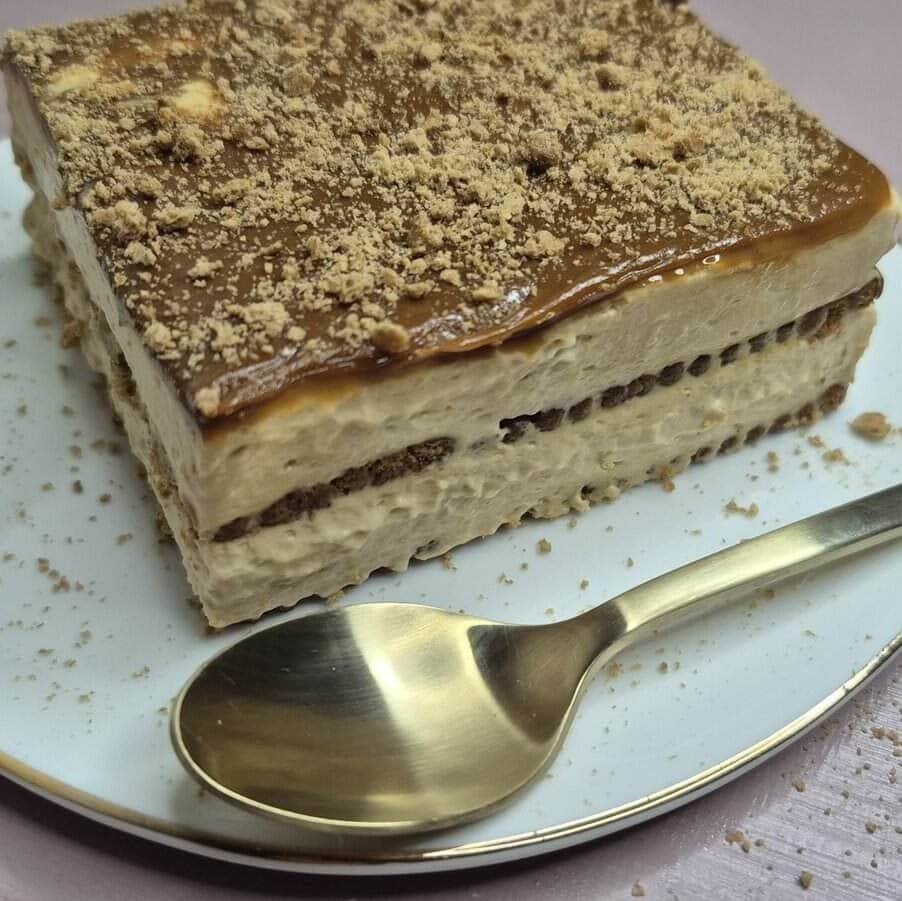
The layers look beautiful:
- dark chocolate sponge
- white mascarpone cloud
- rich shiny ganache
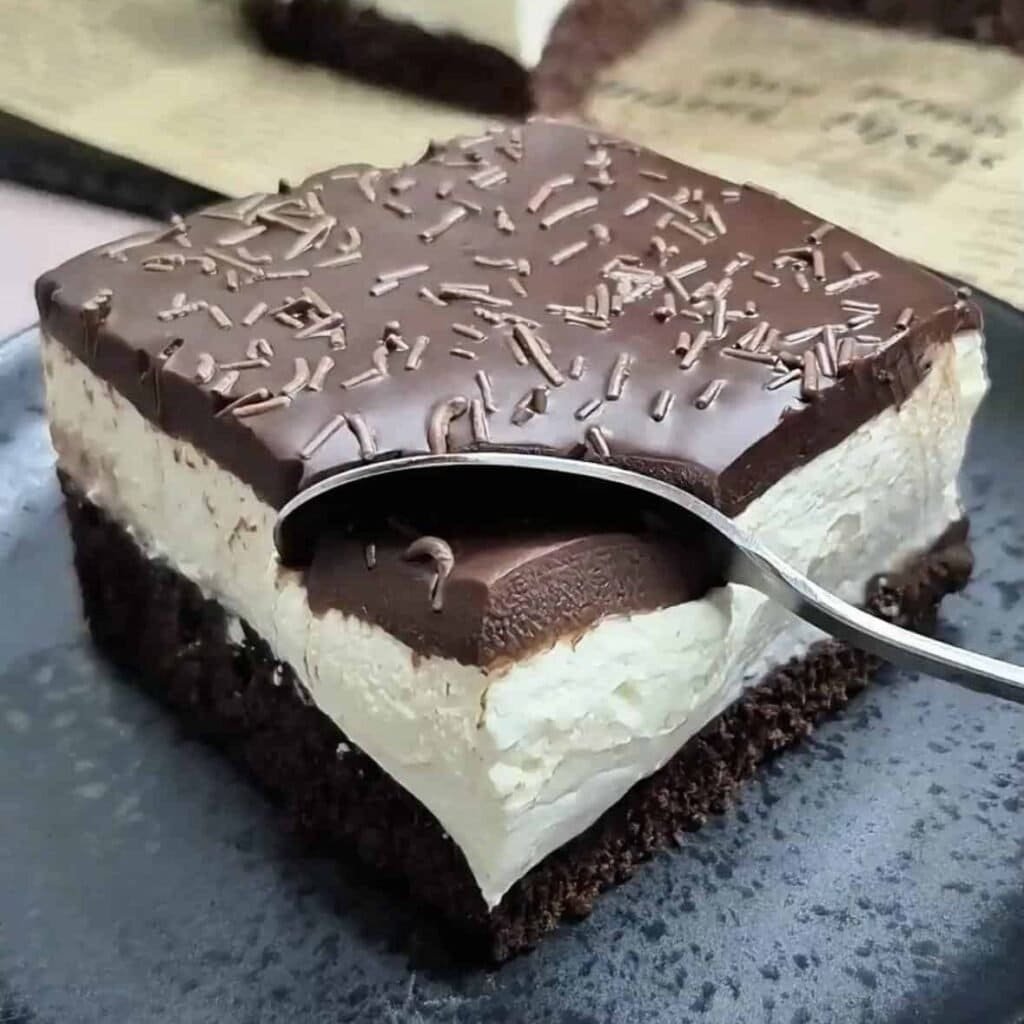
Each bite feels like a perfect balance of flavors and textures — cool, creamy, soft, and deeply chocolatey.
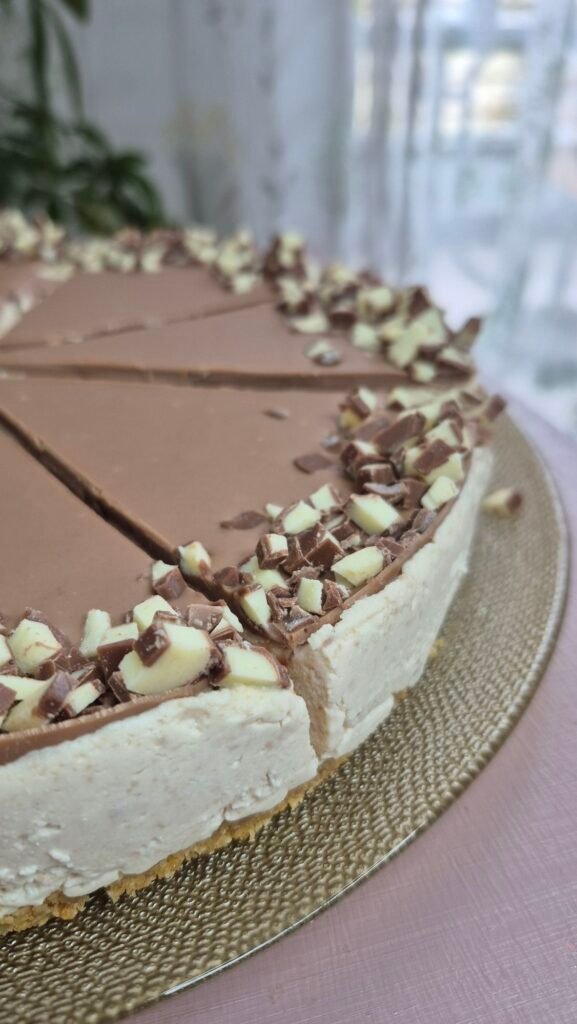
You can decorate it however you like:
- chocolate curls
- powdered cocoa
- fresh berries
- whipped cream stars
- crushed nuts
The minimalist glossy finish is already stunning, but a small flourish never hurts.
Tips I Learned While Making This Cake
Here are the things that helped me get the best possible results:
Don’t skip soaking the sponge
The chocolate milk is the key to the cake’s melt-in-your-mouth softness.
Chill between each layer
It ensures sharp lines, clean cuts, and a beautiful final look.
Use good-quality chocolate
Since the ganache is the finishing flavor, quality matters.
Don’t rush the cooling process
Warm ganache + soft cream = messy layers. Patience pays off.
Let it rest longer for deeper flavor
The cake is even better the next day — pure magic.
Why This Chocolate Mascarpone Cake Stands Out
This dessert is ideal for anyone searching for:
- easy chocolate cake
- mascarpone dessert recipes
- no-fail chocolate ganache
- simple creamy cake
- quick chocolate sponge cake
It’s perfect for birthdays, holidays, surprise gatherings, or everyday treats.
The preparation is simple enough for beginners but rewarding enough for experienced bakers looking for flavor perfection.
Final Thoughts
There are cakes that demand lots of effort but don’t deliver big flavor, and then there are cakes like this — effortless, elegant, and incredibly delicious.
From the soft sponge soaked in chocolate milk to the creamy mascarpone layer and silky ganache, every bite is a little moment of joy.
If you try this recipe, prepare for it to become a repeat favorite. It’s the kind of dessert people request again before they even finish their slice. And honestly… I don’t blame them.