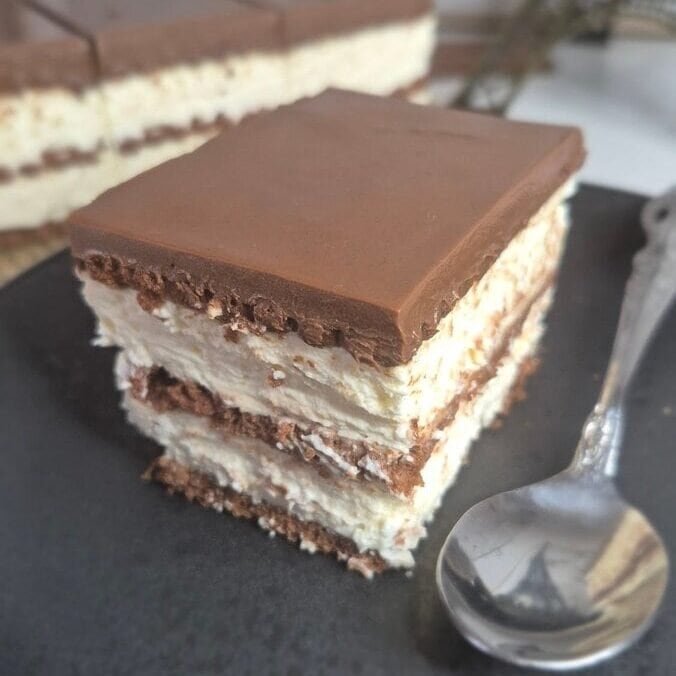
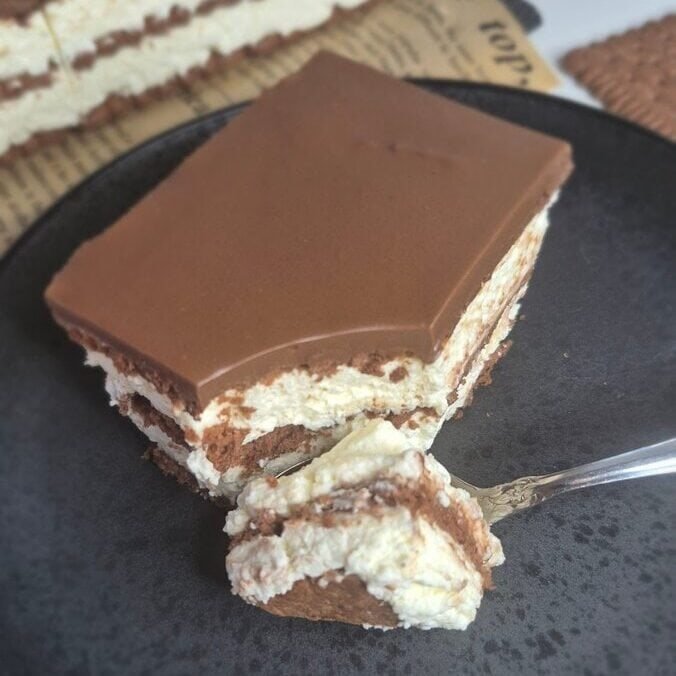
This is not the kind of cake that needs much to impress. One slice is usually enough to make people come back for a second.
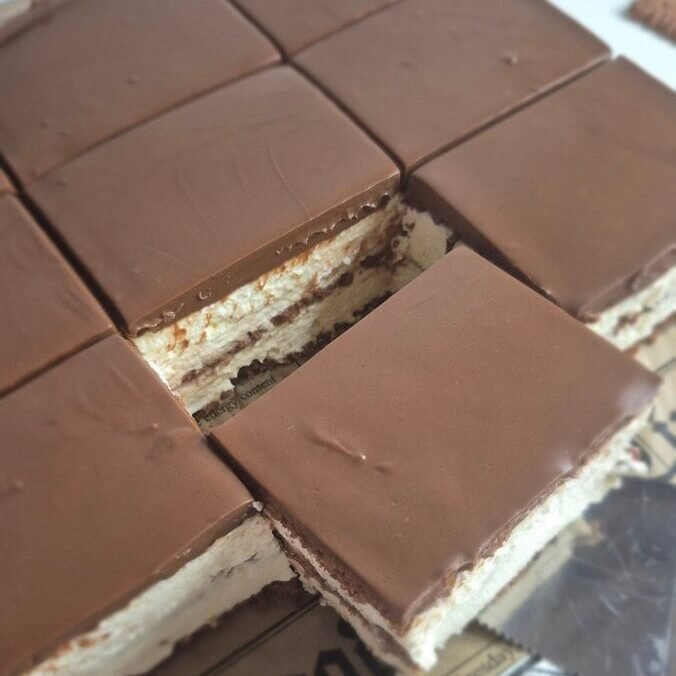
It is a chilled biscuit cake made with cocoa biscuits dipped in coffee, a soft mascarpone cream, and a thin Nutella topping that sets nicely in the fridge. No baking, no complicated steps, and no special equipment beyond a mixer, a bowl, and a pan.
What I like about this cake is the balance. The coffee softens the biscuits without making them soggy. The mascarpone filling stays smooth and light instead of turning heavy. And the Nutella on top adds just enough finish without taking over the whole dessert.
It is the kind of cake I make when I want something neat, sliceable, and easy to serve straight from the fridge. It also holds up well, which matters when you are making dessert ahead and do not want to fix anything at the last minute.
Why this cake works
The structure is simple, but each layer has a job.
The cocoa biscuits give the cake shape and a slight bite at first, then soften as it chills. They almost turn into cake layers by the time the dessert is ready.
The coffee adds depth and cuts through the richness of the cream. Since the biscuits are already sweet, the coffee keeps the flavor from going flat.
The filling is where most of the texture comes from. Mascarpone gives it body and a clean, creamy taste. The whipped cream lightens it, so it does not feel dense. I do not whip it until very stiff, because for this recipe a softer filling spreads better and sets more evenly between the biscuit layers.
The topping is a small detail, but it changes the finish of the cake. Nutella alone can be a bit thick when melted, so a little coconut oil helps loosen it and makes it easier to pour into a thin, even layer.
Ingredient breakdown
This cake uses only a few ingredients, so each one matters.
Cocoa biscuits
I use cocoa biscuits because they add a stronger chocolate note than plain tea biscuits. They also pair better with coffee and mascarpone. The final cake tastes more complete, and the layers look nicer when sliced.
Choose biscuits that are firm enough to dip quickly without falling apart.
Black coffee
The coffee should be cooled before you start. Warm coffee softens the biscuits too fast and can make the layers messy.
It is important to dip each biscuit briefly, not soak it. You want it moistened, not wet. The biscuits will continue to soften in the fridge.
Mascarpone
Mascarpone gives the filling its rich, slightly buttery texture. It should be smooth before the cream goes in, otherwise the filling can end up uneven.
I usually take it out of the fridge just long enough so it is easier to beat, but not so long that it turns warm and loose.
Powdered sugar
A small amount is enough here. The cake already gets sweetness from the biscuits and the topping, so the filling does not need much more.
Powdered sugar also blends into mascarpone more smoothly than granulated sugar.
Heavy whipping cream
Use cold cream with a good fat content. That is what gives the filling enough structure to hold between the layers.
The key is to stop mixing when the filling looks smooth and thick, but not stiff like frosting. That softer texture is what makes the layers settle nicely.
Nutella
Nutella on top gives the cake a clean finish and a familiar flavor that works well with coffee and cocoa biscuits. It also helps the dessert look complete without extra decoration.
Coconut oil
This is just there to loosen the topping slightly. It helps the Nutella spread more easily and set with a smoother surface.
A few things to prepare before you start
This is an easy recipe, but a little setup helps.
Make the coffee first and let it cool completely.
Use cold cream straight from the fridge.
Have your pan ready before you whip the filling, because once the cream is mixed, it is better to build the cake right away.
You should also clear some fridge space in advance. This cake needs chilling time in two stages, and it is much easier when you are not trying to rearrange containers halfway through.
How I make this cake
1. Make the filling
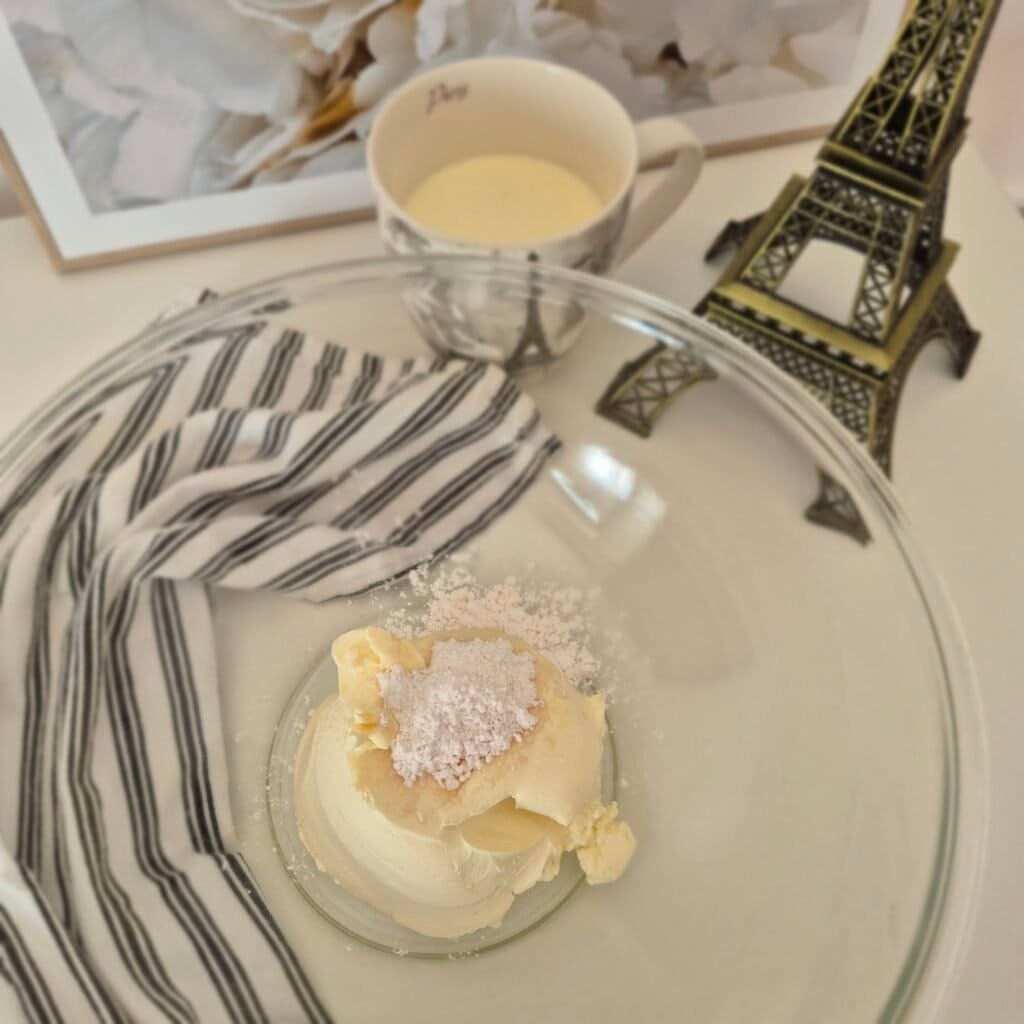
I start with the mascarpone and powdered sugar. I beat those together first until smooth.
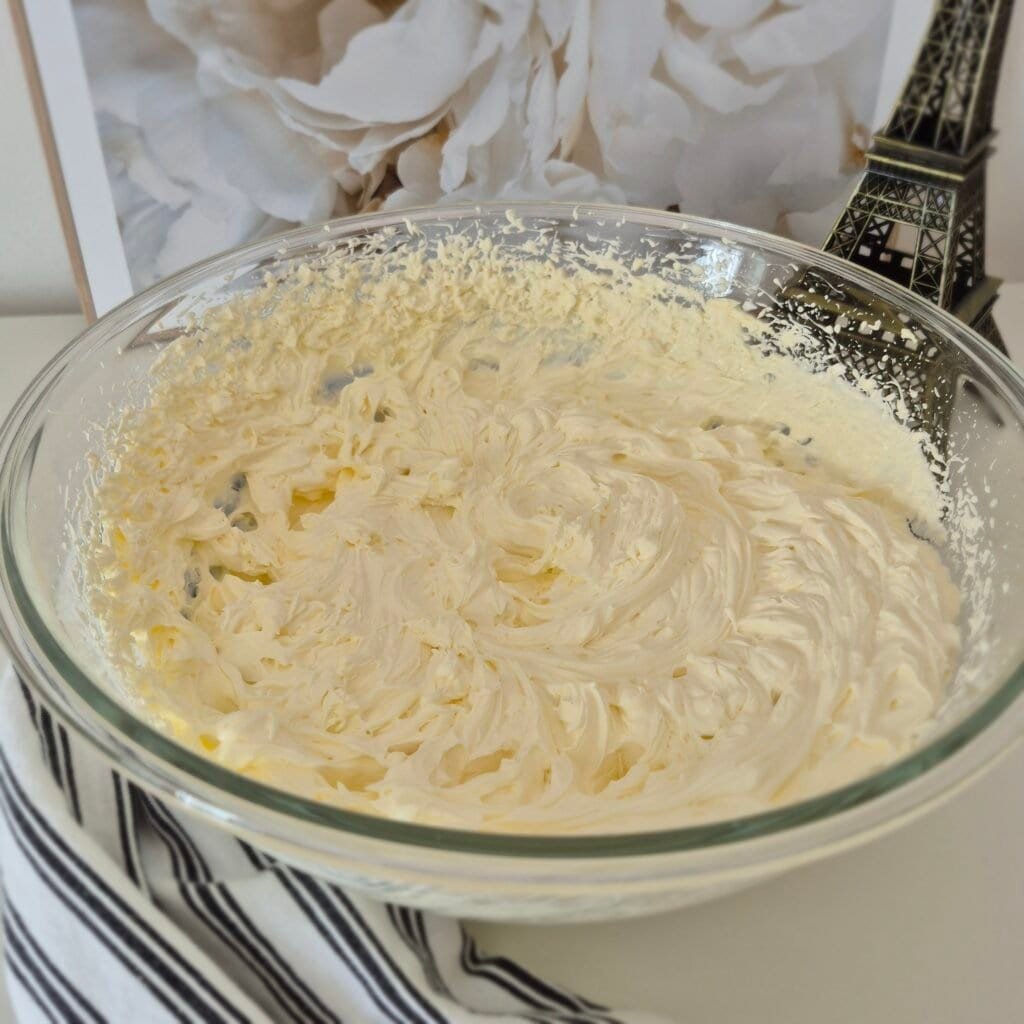
Only after that do I add the cold cream. This order matters. If everything is added at once, the mascarpone can stay lumpy and the texture will not be as smooth.
Once the cream is in, I beat just until the filling thickens and looks uniform. I do not keep going until it is very stiff. For this cake, that is not the goal. The filling should spread easily with a spoon or spatula and settle into the biscuit layers without leaving gaps.
Then I divide the filling into two equal parts so the layers stay even.
2. Build the first layer

I dip each biscuit briefly in the cooled coffee and place it in the pan.
A quick dip is enough. If the biscuits sit in the coffee too long, the base can become too soft and harder to handle later.
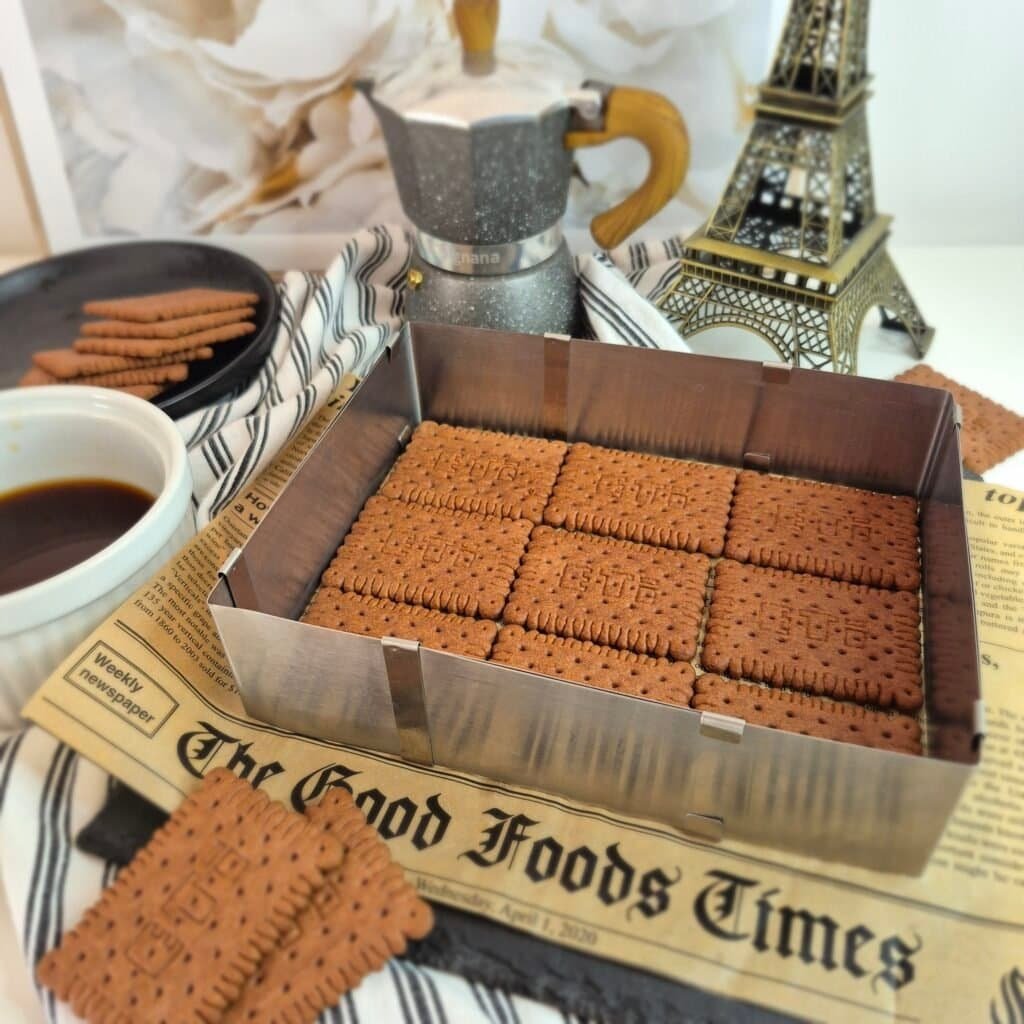
Once the first layer covers the bottom of the pan, I spread over the first half of the filling. I do this gently so the biscuits stay in place.
I try to push the filling right to the edges. That helps the slices look neater after chilling.
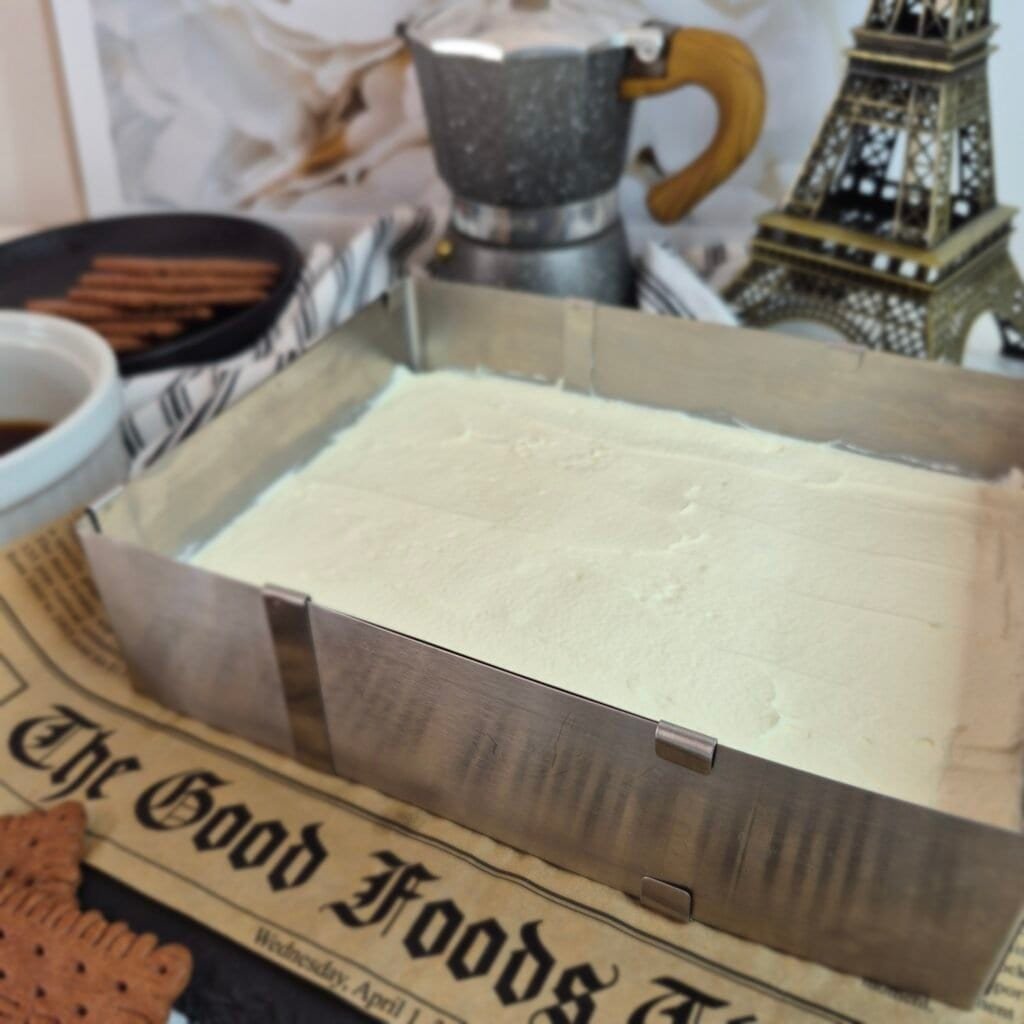
3. Add the second layer
The second layer is done the same way.
Each biscuit gets a quick dip in coffee, then goes on top of the filling.
After that, I spread over the second half of the cream.
At this point I smooth the top as much as I can, because the final biscuit layer will sit better on an even surface.
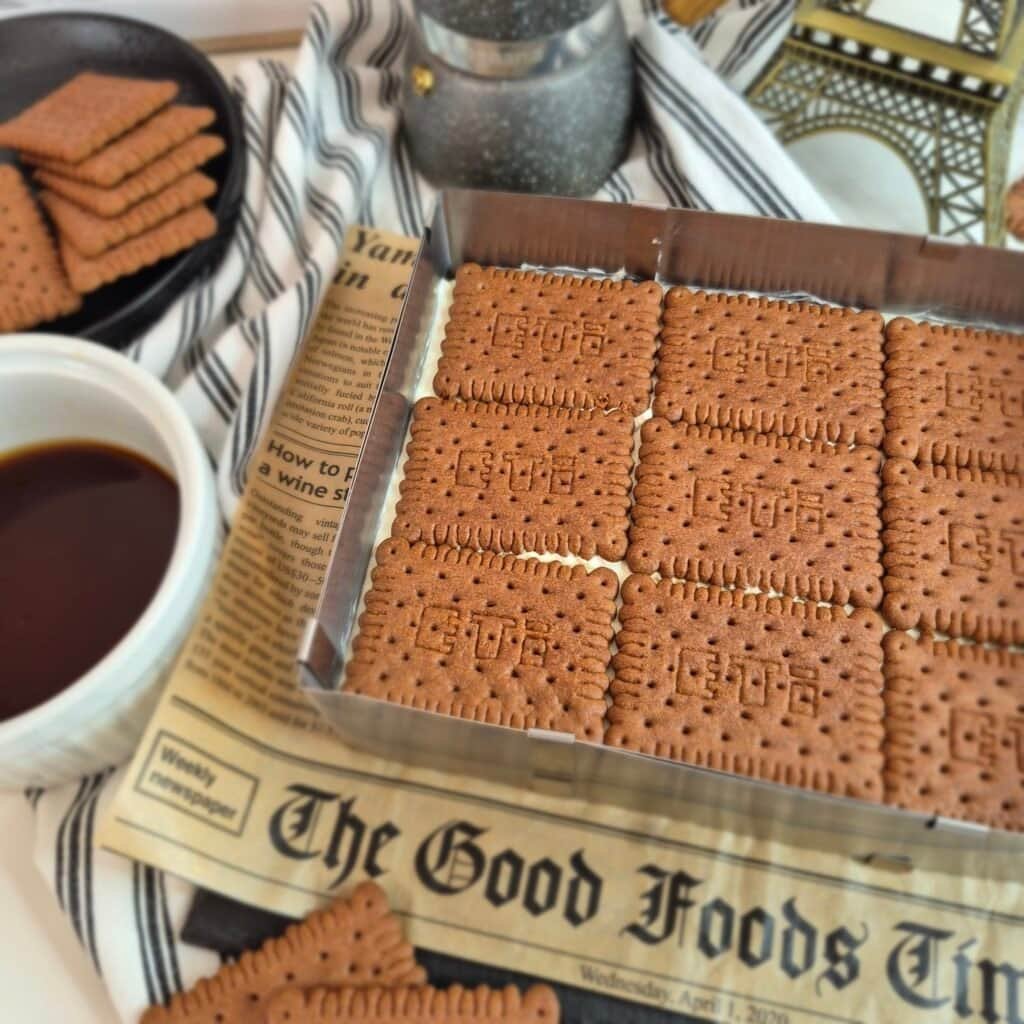
4. Finish with the top biscuit layer
For the top, I add one more layer of coffee-dipped biscuits.
This last layer gives the cake a proper shape and makes the Nutella topping easier to spread later. It also helps the whole dessert slice more cleanly.
Then the cake goes into the fridge for the first chill. This step is important because it firms up the filling before the topping is added.
5. Make the topping
After the first chill, I melt the Nutella with the coconut oil over a double boiler.
I do not rush this part. Gentle heat is enough. Once the mixture is smooth, I let it cool slightly before pouring it over the cake. If it is too warm, it can soften the top layer too much.
Then I pour it over and spread it into an even layer.
Back into the fridge it goes for the final chill, until the topping is set and the layers have had time to come together properly.
Tips that Help
The biggest mistake with this cake is over-soaking the biscuits.
It may not look like much at first, but they continue absorbing moisture while the cake chills. A short dip is always enough.
Another important point is the filling texture. If you whip it too much, it becomes too stiff and harder to spread. Then instead of smooth layers, you can end up pulling the biscuits around and creating uneven sections.
Use a pan with straight sides if you want clean slices.
If you want the neatest result, line the pan with baking paper so you can lift the cake more easily before cutting.
For slicing, a sharp knife works best. I like to wipe the blade between cuts, especially once the Nutella topping has set. That keeps the top from dragging.
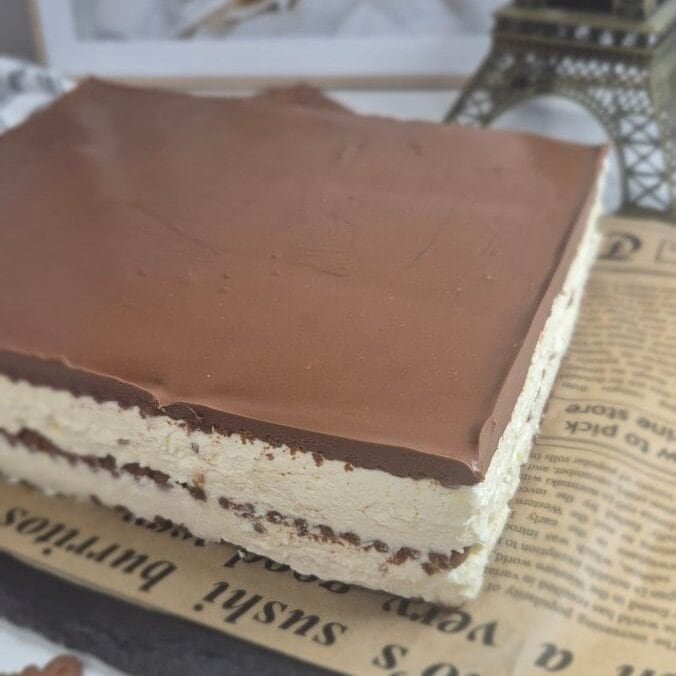
Flavor and texture
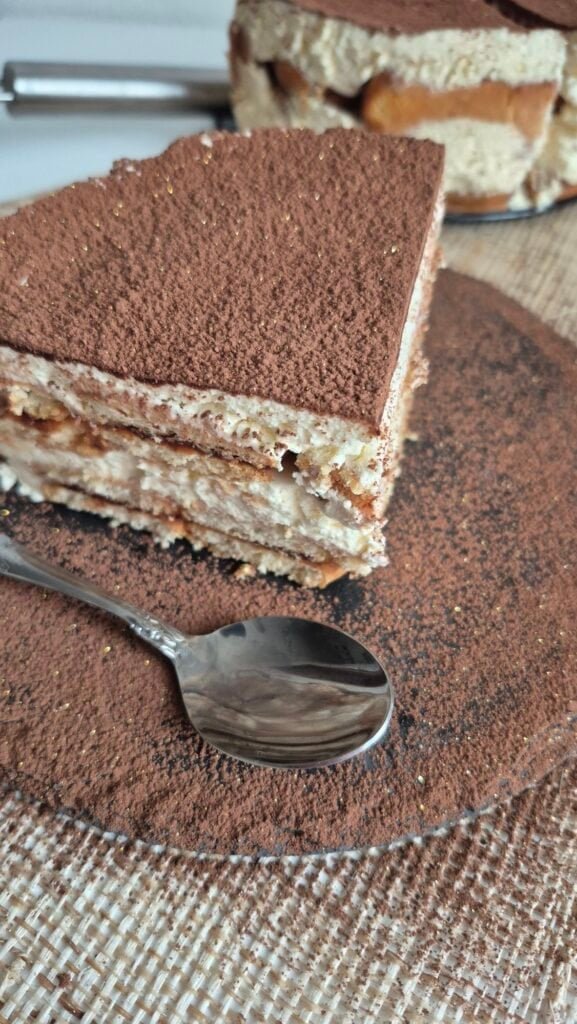
After chilling, the biscuits soften into layers that feel closer to cake than cookies.
The filling stays creamy and light, with enough structure to hold the shape of each slice.
The coffee comes through, but it does not dominate. It is there to sharpen the chocolate and mascarpone flavors.
The Nutella topping sets into a thin top layer that gives a bit of contrast without making the dessert too rich.
This is not the kind of cake with a hundred different textures going on at once. It is simple, soft, and balanced, which is exactly why it works.
How to store it
This cake should stay in the fridge.
Once chilled and set, it keeps well for a couple of days, and the flavor is often even better the next day because the layers have more time to settle.
Cover it well so the top stays fresh and the cake does not absorb any fridge smell.
I do not leave it at room temperature for long, especially because of the mascarpone and cream filling.
Easy variations
You can keep the structure exactly the same and make small changes depending on what you want.
A dusting of cocoa powder on top works if you want a less sweet finish than Nutella.
A little vanilla in the filling softens the mascarpone flavor.
If you prefer a stronger coffee taste, use espresso diluted just enough so it is not too intense for dipping.
You can also make it in a smaller pan for taller layers, or in cups for individual servings. The method stays the same.
Final thoughts
This is one of those cakes that does not need much explanation once people try it.
The ingredients are familiar, the method is straightforward, and the result looks good without extra work. It slices well, tastes even better after chilling, and fits easily into make-ahead dessert planning.
For me, the best part is that it feels finished as it is. It does not need decorations, extra fillings, or anything fancy on top. The coffee, mascarpone cream, cocoa biscuits, and Nutella already do enough.

Coffee Biscuit Cake with Mascarpone Cream and Nutella Topping
Ingredients
For the base
- 200 g cocoa biscuits
- 100 ml black coffee cooled
For the filling
- 300 g mascarpone cheese
- 2 tablespoons powdered sugar
- 500 ml heavy whipping cream 35% fat, cold
For the topping
- 3 tablespoons Nutella
- 1 teaspoon coconut oil
Instructions
- Prepare the coffee and let it cool completely.
- In a large mixing bowl, beat the mascarpone cheese with the powdered sugar until smooth.
- Pour in the cold heavy whipping cream and continue beating until you get a smooth, thick filling. Do not overbeat. The filling should be creamy and hold softly, not become completely stiff.
- Divide the filling into two equal parts.
- Dip each cocoa biscuit briefly into the cooled coffee and arrange the first layer in the bottom of your pan.
- Spread the first half of the filling evenly over the biscuit layer using a spoon or spatula.
- Dip more biscuits in the coffee and arrange a second layer over the filling.
- Spread the second half of the filling evenly on top.
- Add a third layer of coffee-dipped biscuits on top.
- Refrigerate the cake for 1 hour.
- Place the Nutella and coconut oil in a heatproof bowl and melt them gently over a double boiler, stirring until smooth.
- Let the topping cool slightly, then pour it over the chilled cake and spread evenly.
- Return the cake to the refrigerator for 2 more hours, or until fully set.
- Slice and serve cold.
Notes
- Dip the biscuits quickly in the coffee so they soften without turning soggy.
- Use cold heavy cream for the best filling texture.
- Do not whip the filling until stiff, or it will be harder to spread smoothly.
- For cleaner slices, chill the cake well and wipe the knife between cuts.
- Store leftovers covered in the refrigerator.