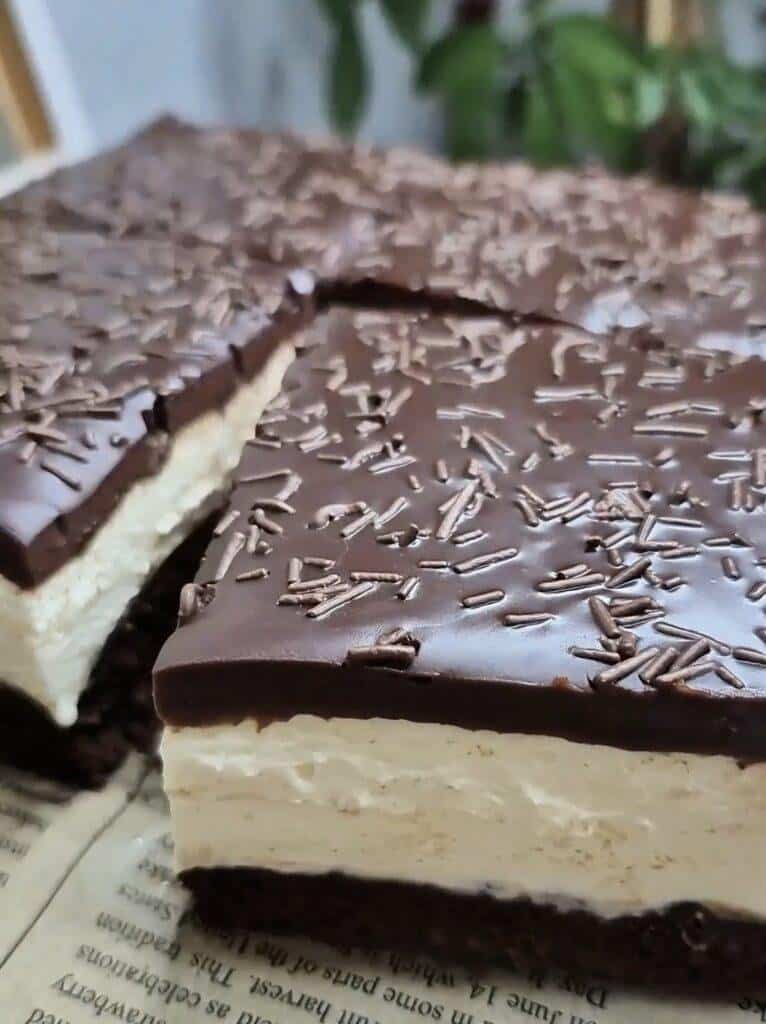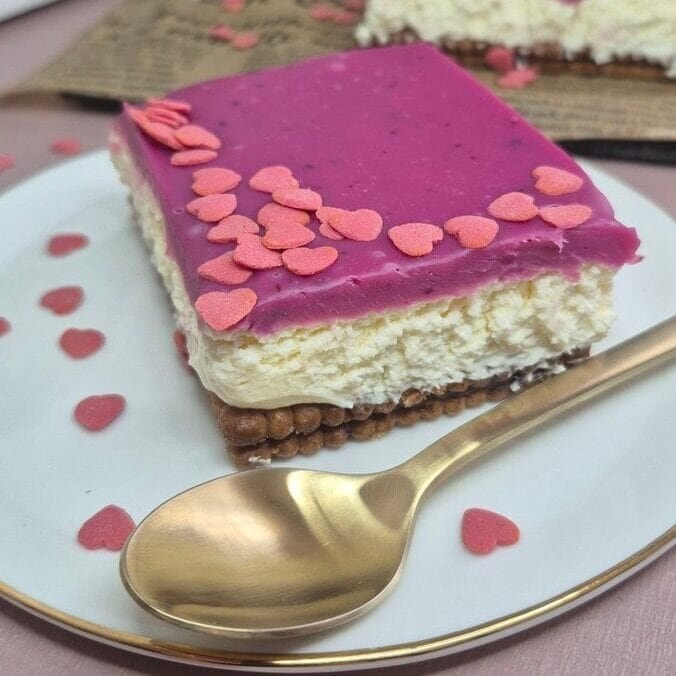
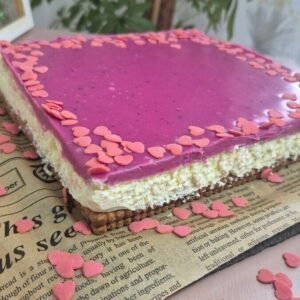
Some desserts are made for sharing, and this one is exactly that. I put this cake together in a square pan, chilled it, and it cut into neat little slices with a creamy mascarpone layer and a pink-tinted white chocolate topping. It’s rich without being heavy, sweet without being cloying, and it has that familiar Nutella flavor that basically guarantees empty plates.
This is a no-bake “cake” in the sense that it’s layered like a cake and sliced like a cake, but it’s built with biscuit sandwiches (Nutella in the middle) that get a quick dip in coffee-milk before they go into the pan. The biscuits soften just enough in the fridge, so the whole thing becomes sliceable and cohesive.
If you need a Valentine’s dessert that looks festive, holds its shape, and can be made ahead, this one fits the bill.
What this Valentine’s Nutella Cake is like
- Texture: soft biscuit layer (almost like tiramisù vibes), thick mascarpone cream, and a smooth ganache top.
- Flavor: Nutella-forward, lightly coffee-kissed, creamy vanilla-milk notes from mascarpone and cream, and sweet white chocolate on top.
- Difficulty: easy, but you do need to whip the filling correctly and keep things cold.

Ingredient breakdown (what each part does)
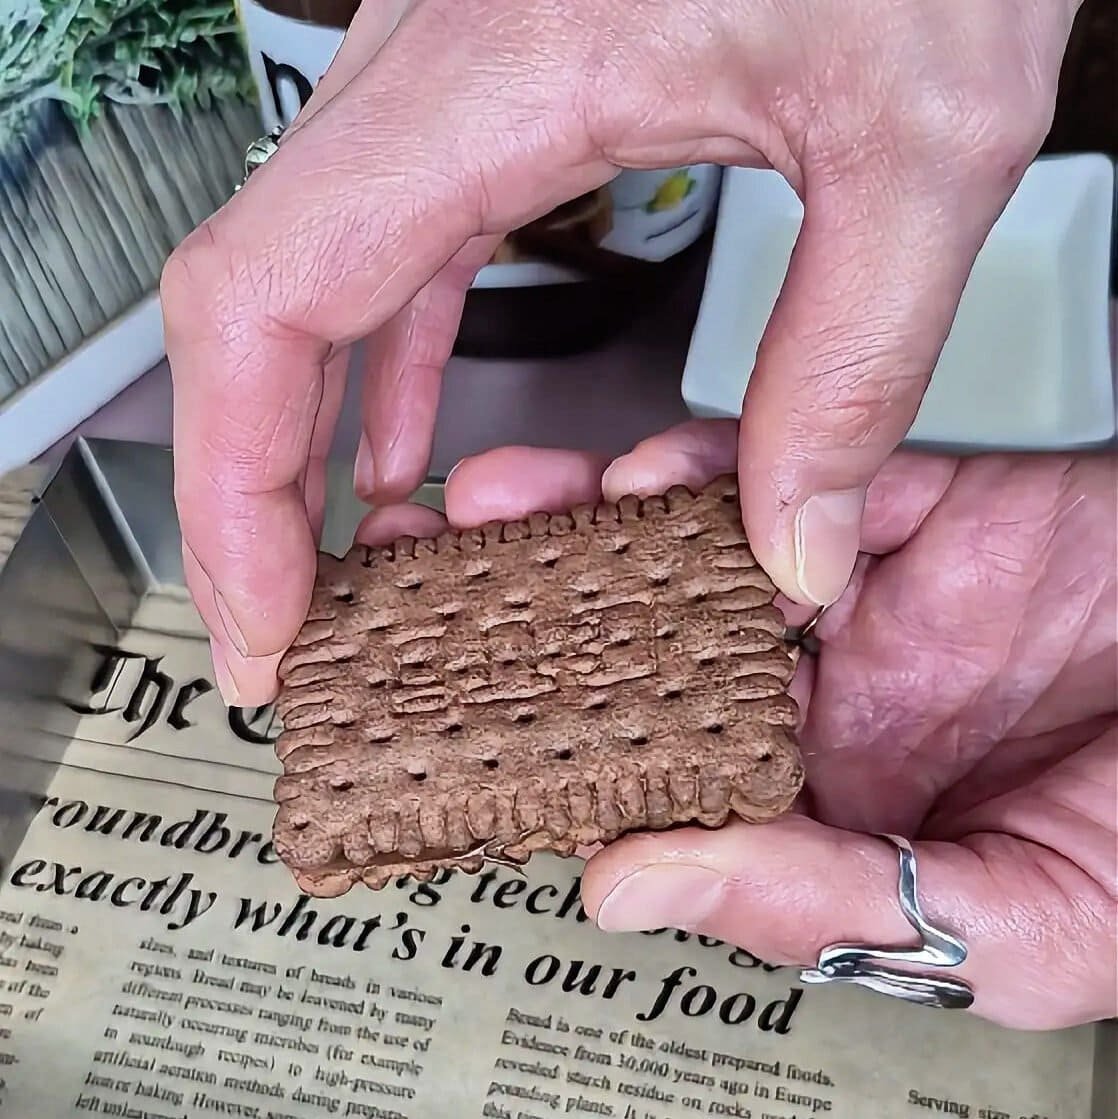
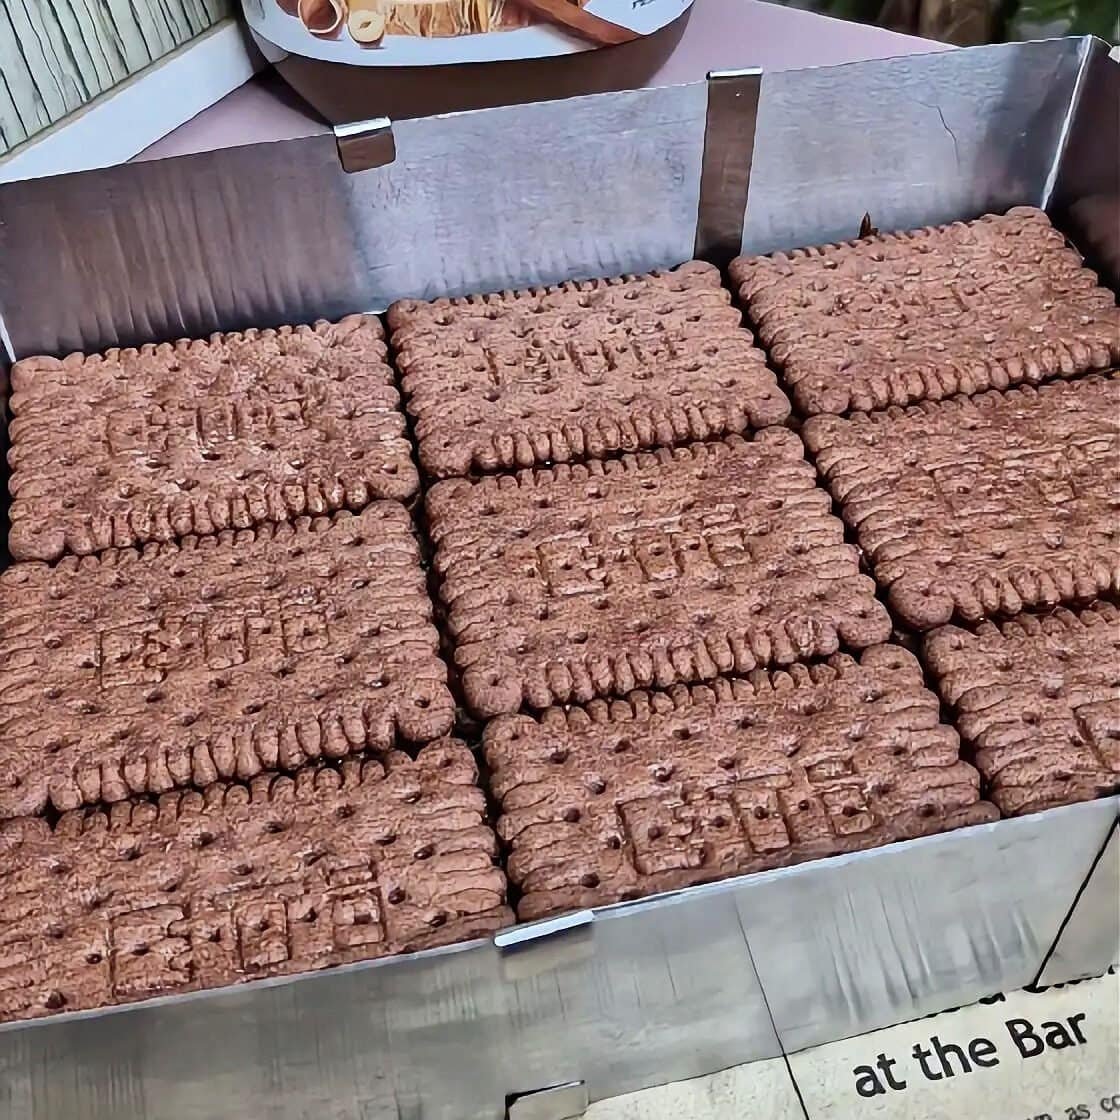
Biscuits/cookies + Nutella
This is the base structure. I make little Nutella biscuit sandwiches, dip them quickly, then arrange them tightly in the pan so the layer is stable. The Nutella acts like glue and adds richness.
Biscuit choice matters:
- Crisp plain tea biscuits, Petit Beurre-style, or any simple cookies that soften nicely work best.
- Very delicate cookies can fall apart when dipped.
- Very thick cookies may need a slightly longer chill to soften.
Coffee with milk
This adds a subtle flavor and helps the biscuits soften evenly. It’s not meant to taste like strong coffee—just a gentle background note.
Tip: make it lukewarm or cool before dipping so it doesn’t melt the Nutella inside the sandwich.
Mascarpone filling (cream + mascarpone + powdered sugar)
This layer is the whole “cake” part. It’s thick, stable, and spreads easily. Mascarpone brings that mild tang and richness, and the whipped cream makes it light enough to slice cleanly.
A big note here: use cold cream and don’t overwhip. You want firm and scoopable, not grainy.
White chocolate ganache topping + red coloring
This topping is what makes it look like a Valentine dessert without needing decorations. White chocolate ganache sets into a soft, sliceable layer (not rock-hard like a candy bar), and the red coloring turns it pink.
If your color is very strong, add it gradually. It’s easier to deepen the color than to fix an over-red ganache.
Equipment you’ll need
- 20×20 cm square pan (or similar)
- Mixing bowl + hand mixer/stand mixer
- Spatula or spoon for spreading
- Small saucepan or microwave-safe jug (to heat the cream)
- A shallow bowl for dipping the biscuit sandwiches
- Knife for slicing
Optional but helpful: parchment paper lining so you can lift the whole cake out cleanly.
Step-by-step instructions (measures are in the recipe card)
1) Make the Nutella biscuit sandwiches
Spread Nutella on one biscuit/cookie and top with a second biscuit to make a sandwich. Repeat until you have enough to cover the bottom of your pan.
I like to make all the sandwiches first, then dip and place—faster and less messy.
2) Dip quickly and build the base layer
Pour the coffee with milk into a shallow bowl. Dip each sandwich very briefly—think “in and out.” You’re not trying to soak them, just to give them a quick coating so they soften later.
Arrange the dipped sandwiches in a single layer in your pan. Pack them in tightly so there aren’t big gaps.
If you have small gaps at the edges, you can snap a biscuit to fit. It doesn’t have to be perfect—once chilled, it all slices nicely.
3) Whip the mascarpone filling
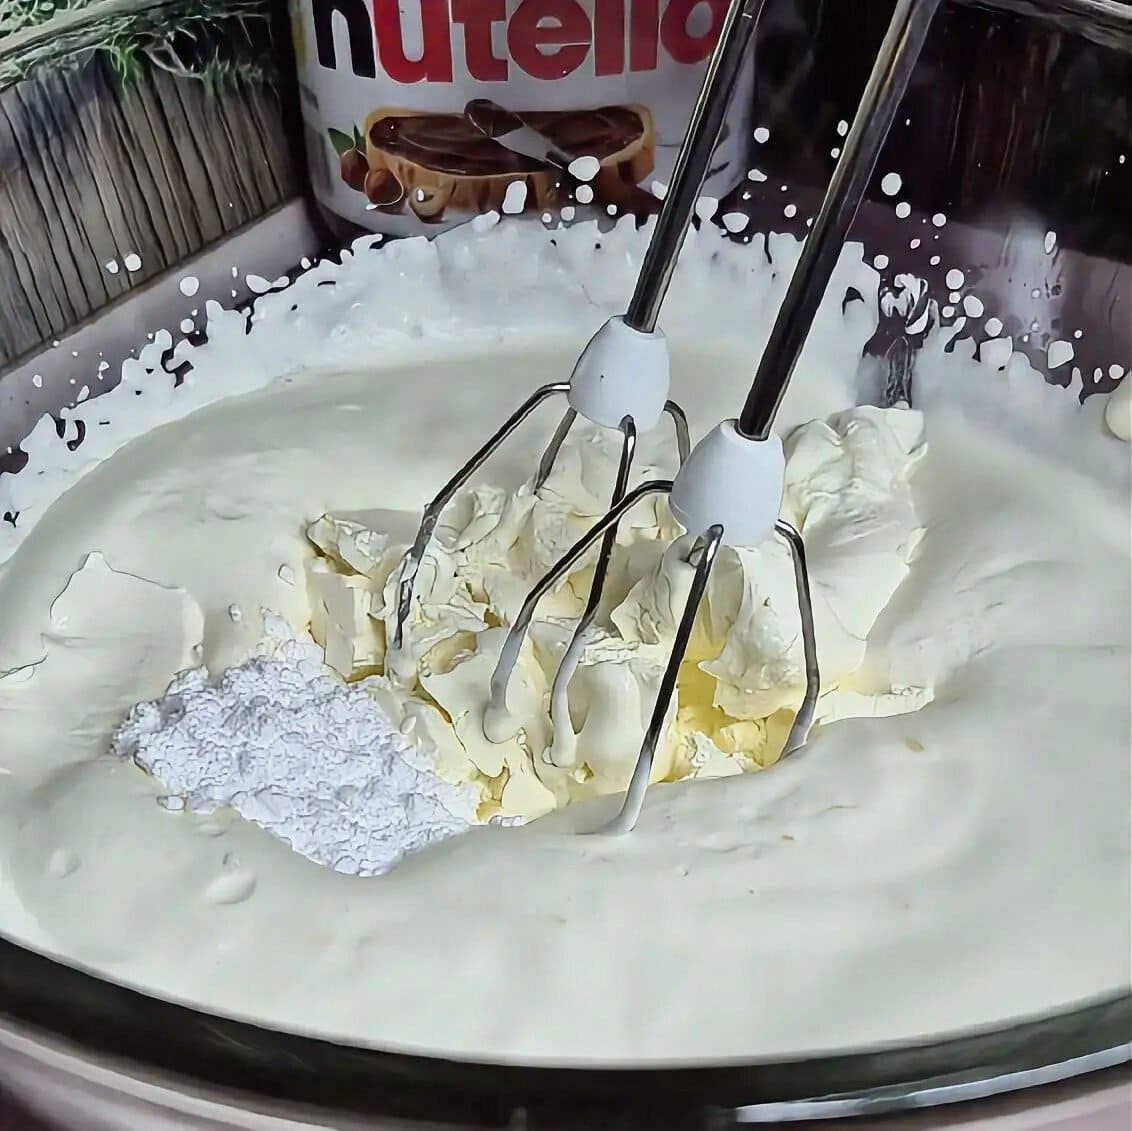
In a bowl, mix mascarpone with powdered sugar until smooth. Add the cold heavy cream and whip until firm.
The filling is ready when it holds strong shape and looks thick and stable. The “flip the bowl” test works, but you don’t need to be dramatic—just aim for a firm, spreadable consistency.
Important: stop as soon as it’s firm. If you keep whipping past that point, mascarpone + cream can turn grainy.
4) Spread the filling evenly

Spoon the filling over the biscuit layer and spread it out with a spatula. Take a minute here—an even layer makes the final slices look much cleaner.
Tap the pan gently on the counter to level it out.
5) Make the pink white chocolate ganache
Chop or break the white chocolate into small pieces and put it in a heatproof bowl.
Heat the cream until it just reaches a boil, then pour it over the chocolate. Let it sit for a minute, then whisk until smooth.
Add the red cake/icing color and whisk again until you get an even pink shade.
If the chocolate doesn’t fully melt right away: keep whisking; if needed, warm the bowl gently over a saucepan of hot water for a few seconds.
6) Pour the ganache and chill
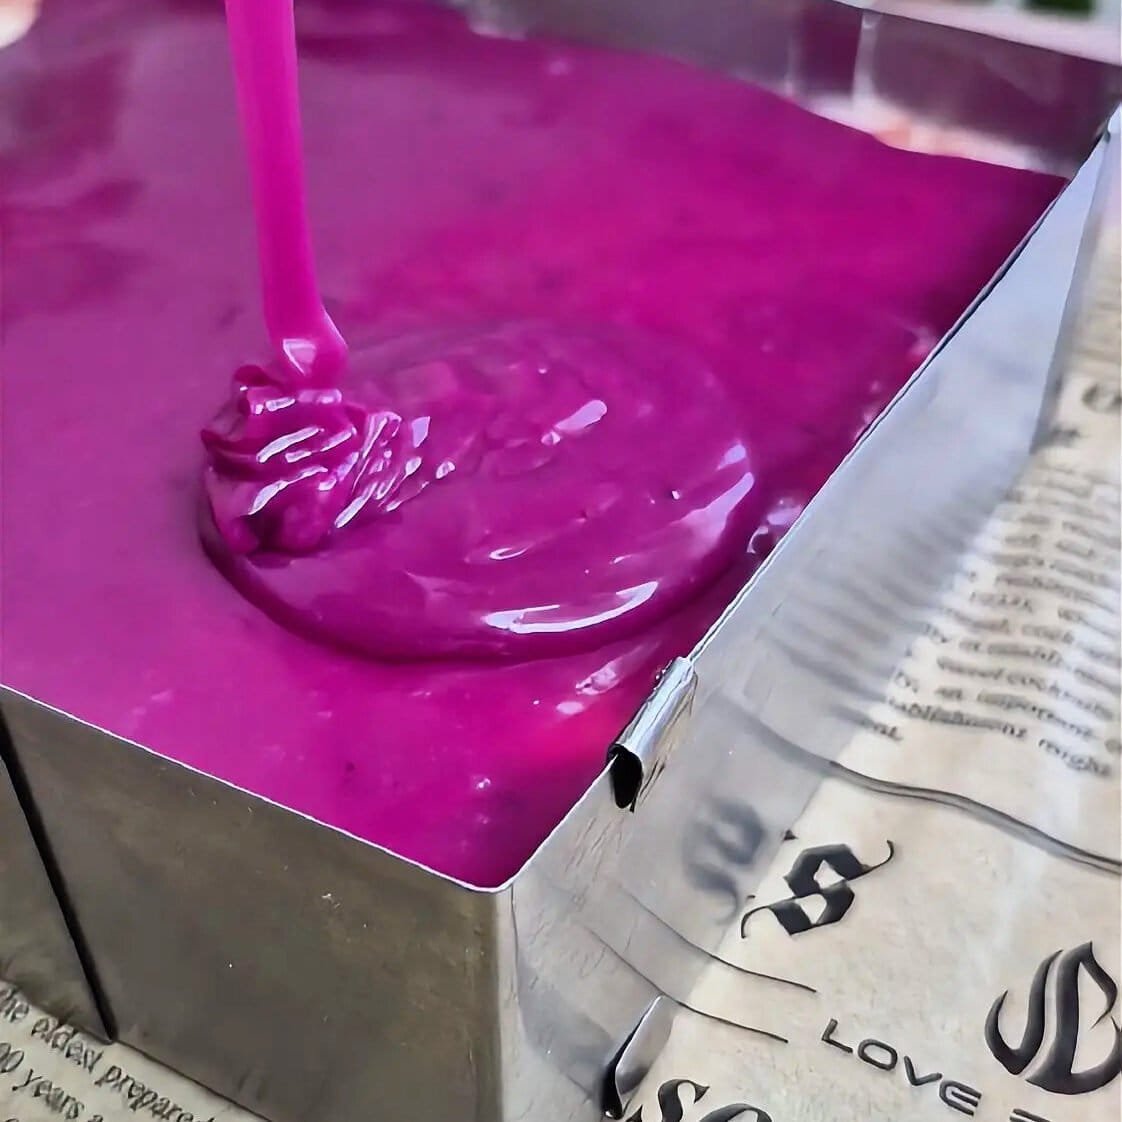
Pour the ganache over the filling and tilt the pan to help it spread, or use a spoon to guide it gently.
Refrigerate for at least 2 hours, until set.
7) Slice and serve
Once chilled, slice into squares. For clean slices:
- Use a sharp knife.
- Wipe the blade between cuts.
- If the ganache is very firm, warm the knife under hot water and dry it before slicing.
Tips that actually make a difference
- Keep the cream cold. Cold cream whips up faster and gives the filling structure.
- Don’t over-dip the biscuits. A quick dip is enough. Too much liquid makes the base mushy and can cause the slices to slump.
- Use good white chocolate. Cheap white chocolate sometimes seizes or turns oily. If you’re unsure, choose a bar you’d happily eat on its own.
- Chill longer if you want ultra-clean slices. Two hours is workable, but overnight is even better if you’re making it ahead.
- Coloring tip: gel/paste coloring works best for white chocolate. If yours is liquid, add very little at a time so the ganache doesn’t loosen.
Storage
- Fridge: keep covered and refrigerated. Best texture within 2–3 days.
- Freezing: you can freeze it, but the mascarpone layer can change slightly once thawed (still tasty, just not as perfect). If you freeze, wrap tightly and thaw overnight in the fridge.
Valentine’s Nutella Cake (No-Bake)
Ingredients
Base
- 70 –100 g biscuits/cookies enough to fill a 20×20 cm pan; I used 18 biscuits total
- Nutella about 1 tsp per sandwich, or to taste
- 50 ml coffee with milk lukewarm or cool
Filling
- 250 ml heavy/whipping cream cold
- 250 g mascarpone cheese
- 2 tbsp powdered sugar
Topping
- 150 g white chocolate chopped or broken into pieces
- 70 ml heavy/whipping cream
- 4 g red cake/icing color add gradually
Instructions
Make the biscuit sandwiches.
- Spread about 1 teaspoon of Nutella on one biscuit/cookie, then top with a second biscuit to make a sandwich. Repeat until you have enough to cover the base of a 20×20 cm pan.
Dip and layer.
- Pour the coffee with milk into a shallow bowl. Quickly dip each biscuit sandwich (in and out, do not soak), then arrange in a single tight layer in the pan.
Whip the filling.
- In a bowl, mix mascarpone and powdered sugar until smooth. Add the cold heavy cream and whip until firm and stable (do not overwhip).
Spread the filling.
- Spoon the mascarpone cream over the biscuit layer and spread evenly with a spatula.
Make the pink ganache.
- Heat the 70 ml cream until it comes to a boil. Pour it over the chopped white chocolate. Let sit 1 minute, then whisk until melted and smooth. Add red coloring and whisk until evenly pink.
Top and chill.
- Pour the ganache over the filling and spread gently if needed. Refrigerate for at least 2 hours.
Slice and serve.
- Cut into squares and serve chilled.
Notes
- Biscuit dip tip: Dip quickly—too much liquid can make the base soggy.
- Whipping tip: Stop whipping as soon as the filling is firm; overwhipping can make it grainy.
- Clean slices: Chill longer for sharper slices, and wipe the knife between cuts.
- Make-ahead: This no-bake Nutella mascarpone cake is even better after an overnight chill.