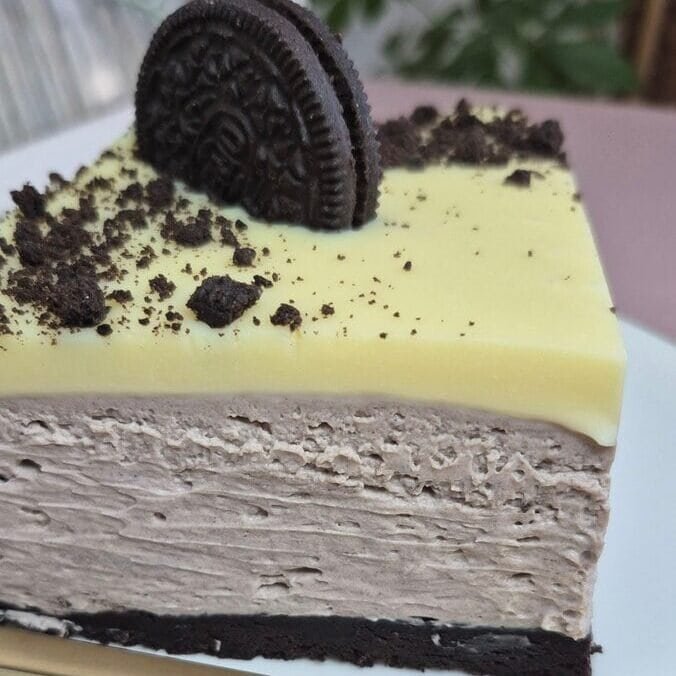
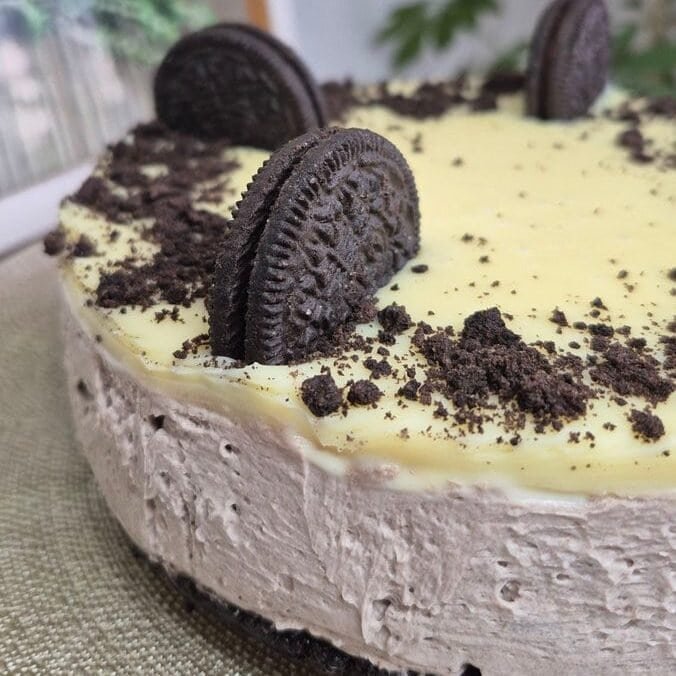
If you like desserts that look “bakery-level” but are actually straightforward to put together, this Oreo cake is one you’ll make again. It’s a no-bake cake with an Oreo crust, a mascarpone-and-cream filling with crushed cookies throughout, and a white chocolate ganache on top that sets into a clean slice. It’s the kind of cake that’s rich without being heavy, and the textures are the whole point: crisp base, creamy center, and that smooth topping that cracks slightly when you cut into it.
I’m sharing it exactly how I make it in my kitchen. The steps are simple, but a couple small details make a big difference (especially with the filling). All exact measurements are in the recipe card at the end so you can copy/paste straight into WP Recipe Maker.
What this Oreo Cake tastes like
This is not just “cookies + cream” in cake form. The crust is buttery and firm, the filling is lightly sweetened (not overly sugary), and the white chocolate layer balances the cocoa cookie flavor nicely. It chills into a sliceable cake, so you can cut neat pieces without it collapsing.
The texture is creamy but stable—more like a chilled cheesecake vibe than a mousse. If you’ve ever had a no-bake cheesecake that turned out too soft, this version is the fix: mascarpone adds structure, and the whipped cream is handled carefully so it sets well.
Ingredient breakdown (what each part does)
Oreo crust
- Oreos: The crust base. I use standard Oreos, scraped cream and all. The filling helps bind the crumbs once mixed with butter.
- Butter: This is what makes the crust set firm after chilling. Melt it completely so it mixes evenly.
- Milk: A small amount helps the crumb mixture pack down without cracking. Different Oreo batches grind slightly differently, so the milk is the “adjuster.”
Crust texture goal: It should feel like damp sand—holds together when pressed, not wet.
Mascarpone filling
- Mascarpone: The backbone. It gives a thick, creamy texture and helps the cake slice cleanly.
- Powdered sugar: Sweetens without making the filling gritty. A little goes a long way here.
- Cold heavy cream: Whips up inside the mascarpone mixture and gives the filling volume and lightness.
- Crushed Oreos: Adds texture and flavor. I like a mix of fine crumbs and some larger chunks so you get cookie bites in each slice.
Filling texture goal: Firm and spreadable, like thick whipped cream—holds peaks and doesn’t slump.
White chocolate topping
- White chocolate: This makes a smooth top layer that sets and looks polished.
- Heavy cream: Turns the chocolate into a ganache that you can pour.
- Optional butter: Not required, but it makes the ganache slightly softer and shinier once set.
Topping texture goal: Pourable when warm, then sets into a soft slice (not rock-hard).
Equipment notes (quick, but helpful)
- 18 cm pan: This recipe is designed for an 18 cm round pan. A springform pan is easiest for clean removal.
- Food processor or zip bag + rolling pin: Either works to crush Oreos.
- Electric mixer: Strongly recommended for the filling so you don’t overwork it by hand.
- Spatula: For smoothing layers.
Step-by-step: how I make Oreo Cake
Exact measures are in the recipe card below. This section is the method, with the details that matter.
1) Make the Oreo crust
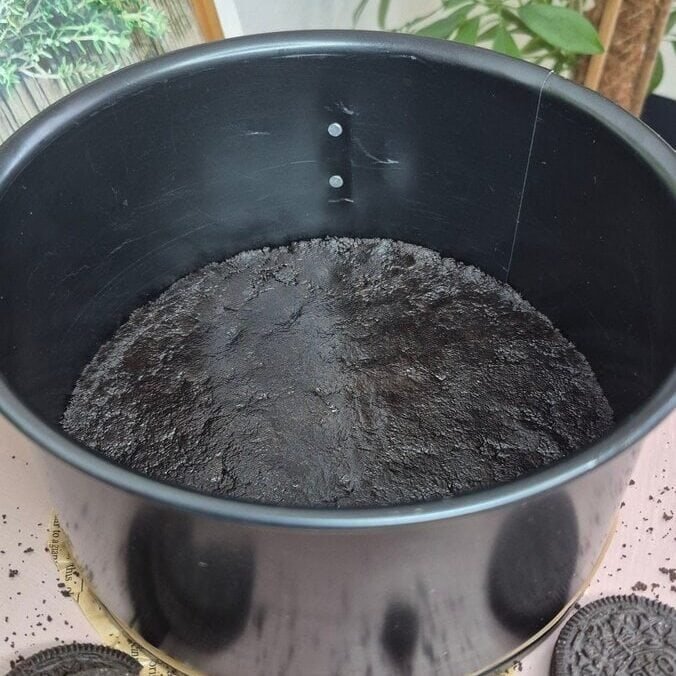
Crush the Oreos into fine crumbs. If you’re using a food processor, pulse in short bursts so it doesn’t turn into cookie dust. If you’re doing it by hand, a zip bag and rolling pin works—just take your time.
Melt the butter and mix it into the Oreo crumbs. Add milk a little at a time, just until the mixture presses together easily.
Press the crust into the bottom of your 18 cm pan. I start by dumping the crumbs in the center, spreading them out, then pressing firmly with the bottom of a glass. Take an extra minute here: the firmer the crust is pressed, the nicer it slices later.
Refrigerate the crust for about 30 minutes so it firms up while you make the filling.
2) Mix the mascarpone filling (the part that decides everything)

In a large bowl, combine mascarpone and powdered sugar. Mix briefly—literally just until it looks smooth. Don’t keep mixing “just because.” Mascarpone can loosen if it’s worked too much.
Add cold heavy cream and mix again, starting on low and increasing gradually. Watch the texture closely: you want a firm, thick filling that holds its shape. Once it’s stable, stop.

Fold in crushed Oreos (or mix on the lowest speed just until combined). I like to crush the Oreos so there are both crumbs and chunks—crumbs flavor the cream, chunks give texture.

Important: Overwhipping is the only real way to mess this up. If you go too far, the mixture can look grainy or start turning buttery. Stop as soon as it’s thick and holds.
3) Assemble the cake
Spoon the filling onto the chilled crust. Spread it out evenly with a spatula, smoothing the top. If your filling is the right consistency, it should spread easily and stay put.

Put the pan back in the fridge while you make the topping (even 10 minutes helps keep the layers clean).
4) Make the white chocolate ganache topping
Chop or break the white chocolate into small pieces and place it in a heatproof bowl.
Heat the heavy cream just until it’s about to boil—small bubbles around the edge is perfect. Pour the hot cream over the white chocolate and let it sit for a minute so the chocolate softens.
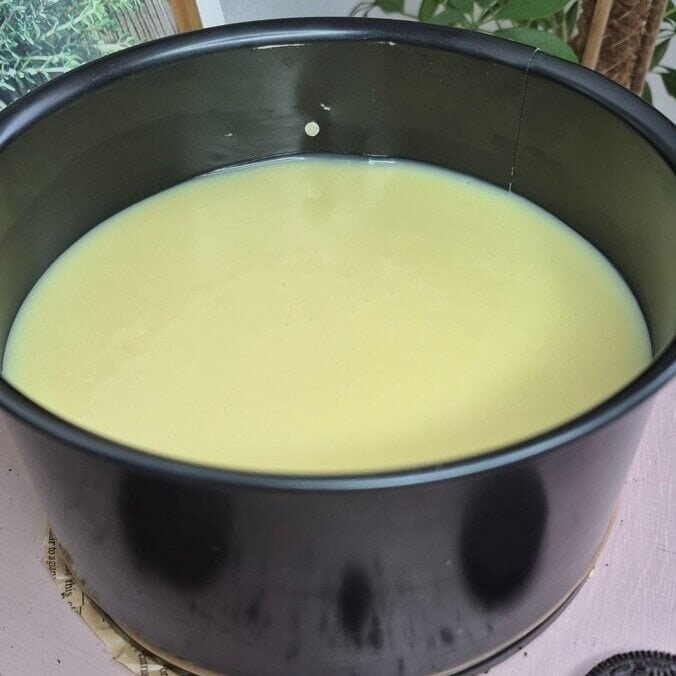
Whisk gently until smooth. If you want extra shine, add a small piece of butter while whisking. Let the ganache cool for a few minutes so it thickens slightly, then pour it over the filling.
Tilt the pan gently to help it spread into an even layer.
5) Chill, decorate, slice
Decorate with Oreos if you want (whole cookies, halves, or crumbs all work). Then refrigerate until set. I usually give it at least a couple hours; longer is even better if you want the cleanest slices.
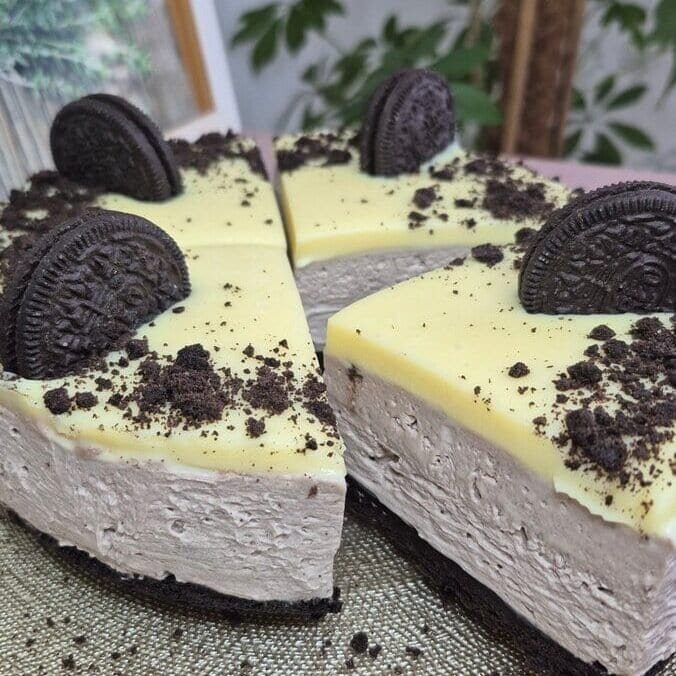
To slice neatly, use a sharp knife and wipe it between cuts. If the topping is firm, warming the knife under hot water (then drying it) makes the first cut smoother.
Tips that actually help (not filler)
Keep the cream cold
Cold cream whips faster and more reliably. If your kitchen is warm, chill the bowl for 10 minutes too.
Don’t “fix” mascarpone by mixing longer
If mascarpone looks a little stiff at first, that’s normal. Once the cream goes in, everything loosens and whips together. Overmixing mascarpone alone can make it runny.
Crush Oreos in two textures
A mix of fine crumbs + larger pieces gives the best bite. All crumbs can disappear into the filling, and all chunks can make slicing messy.
Let the ganache cool slightly before pouring
If it’s too hot, it can soften the top layer and sink a little. You want it warm and fluid, not steaming.
For clean removal
If you’re not using a springform pan, line the pan with parchment paper (base and sides) so you can lift it out.
Storage
- Fridge: Keep covered in the refrigerator. The texture stays best for a few days.
- Freezer: You can freeze slices. Wrap well and thaw in the fridge so the filling stays smooth.
Frequently asked questions
Is this Oreo cake baked?
No—this is a no-bake Oreo cake. The crust sets in the fridge, and the filling firms up as it chills.
Can I use cream cheese instead of mascarpone?
You can, but it changes the flavor (more tangy) and sometimes needs a bit more sugar. Mascarpone gives a cleaner, richer taste and a smoother texture.
Why did my filling turn grainy?
Usually overwhipping once the cream is added, or starting with mascarpone that was mixed too long. Next time, mix mascarpone + sugar briefly, then whip only until firm.

Oreo Cake (No-Bake Mascarpone Oreo Cake)
Ingredients
Crust
- – 200 g Oreo cookies
- – 80 g butter melted
- – 1–2 tbsp milk
Filling
- – 400 g mascarpone cheese
- – 2 tbsp powdered sugar
- – 250 ml heavy cream sweet/whipping cream, cold
- – 8–10 Oreo cookies crushed
Topping
- – 150 g white chocolate chopped
- – 70 ml heavy cream sweet/whipping cream
- – Optional: 1 tsp butter for extra shine
Instructions
Make the crust:
- Crush the Oreos into fine crumbs. Mix with melted butter. Add milk (start with 1 tbsp) and mix until the crumbs hold together when pressed. Press firmly into the base of an 18 cm pan. Refrigerate for 30 minutes.
Make the filling:
- In a large bowl, mix mascarpone and powdered sugar briefly, just until combined. Add the cold heavy cream and whip until the mixture is firm and holds its shape. Add crushed Oreos and mix on low just until incorporated (do not overwhip).
Assemble:
- Spread the filling evenly over the chilled crust and smooth the top. Refrigerate while preparing the topping.
Make the topping:
- Heat the heavy cream until just boiling. Pour over the chopped white chocolate. Let sit 1 minute, then whisk until smooth. If using, whisk in butter. Let cool 3–5 minutes, then pour over the cake and spread/tilt to level.
Chill and serve:
- Decorate with extra Oreos if desired. Refrigerate for 2–3 hours until set. Slice with a sharp knife (wipe between cuts).