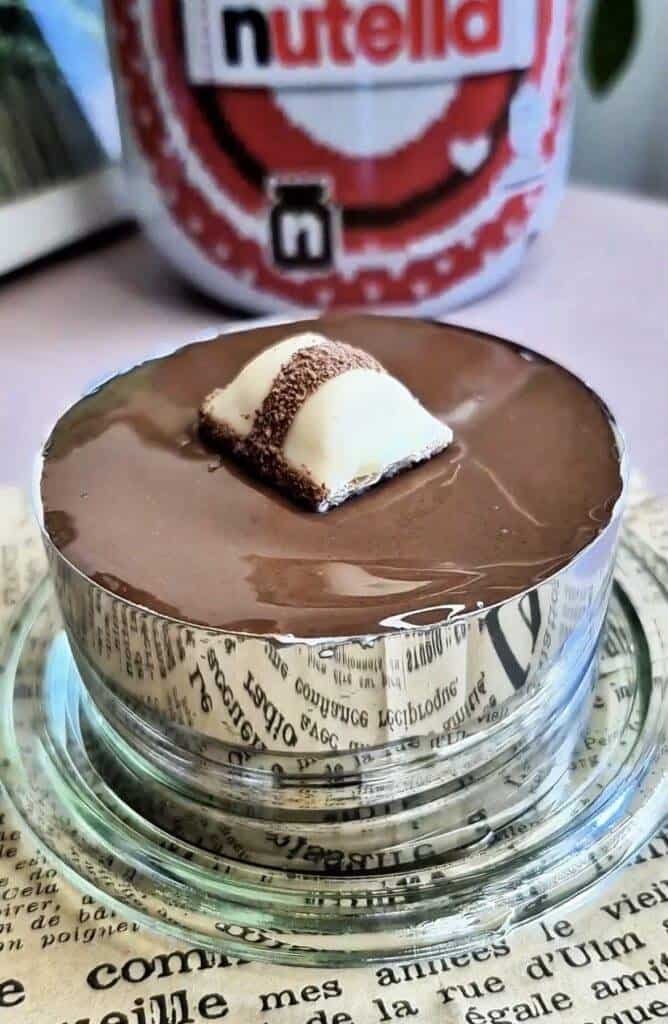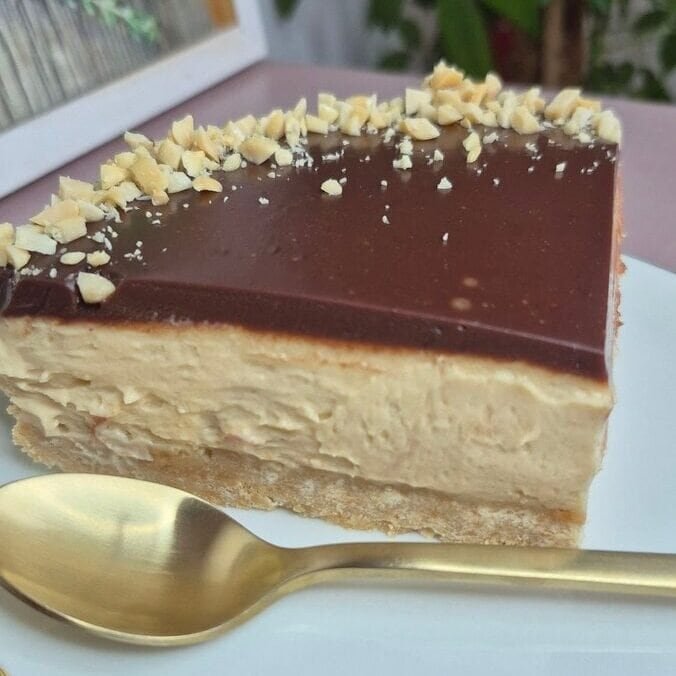
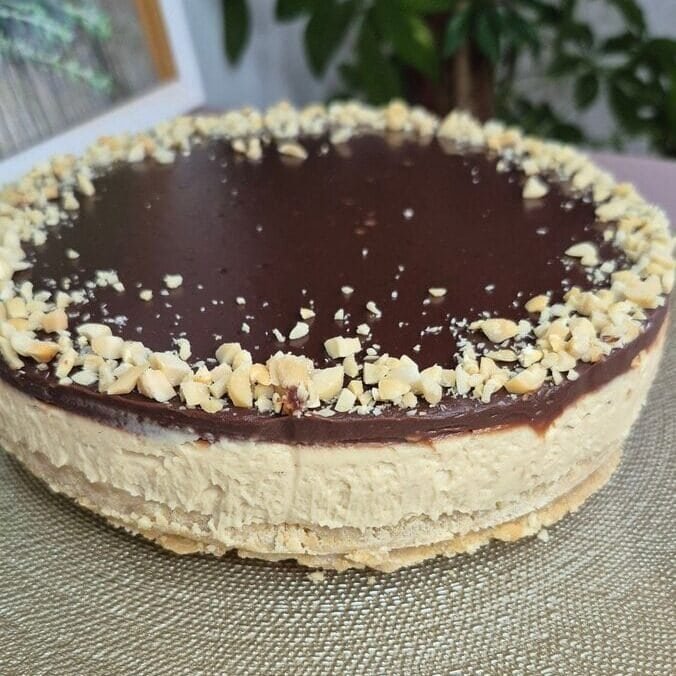
This is the mini cake I make when I want peanut butter + chocolate without baking. It’s three layers: biscuit crust, peanut butter mascarpone filling, and a simple chocolate ganache on top.
As long as you give it the fridge time, it sets up nicely and slices without falling apart. I usually make it the night before and serve it the next day.
What this cake is like (so you know what to expect)
- Texture: crisp base + creamy filling + firm-but-smooth chocolate top
- Flavor: peanut butter comes through without being salty or overpowering, and the chocolate layer balances the sweetness
- Difficulty: easy, but you do need a mixer for the filling (hand mixer works fine)
- Time: 20–25 minutes active time, then chilling
Ingredients
Crust
- 150 g biscuits/cookies, crushed
Anything crunchy works: plain tea biscuits, digestive-style biscuits, graham crackers, even chocolate cookies if you want it darker. - 50 g butter, melted
Butter is what binds the crumbs so the crust holds when you slice. - 3 tbsp milk
This softens the crumb mixture just enough so it presses into the pan without crumbling.
Filling
- 250 g mascarpone
Mascarpone makes the filling rich and stable. It sets nicely in the fridge without gelatin. - 2 tbsp powdered sugar
A small amount is enough because peanut butter and chocolate do a lot of the heavy lifting. - 3 tbsp peanut butter
Use smooth for the cleanest texture. Crunchy works too, but the filling won’t be as silky. - 200 ml heavy cream (whipping cream)
This is what gives the filling structure once it’s whipped in.
Topping
- 100 g chocolate
Use whatever you actually like eating. Dark chocolate gives a sharper finish; milk chocolate makes it sweeter and softer. - 100 ml heavy cream (whipping cream)
This turns the chocolate into a pourable ganache that sets into a sliceable layer.
Optional garnish
- Chopped peanuts
I like a small handful for texture and to make it obvious what’s inside.
Equipment I use (and why)
- 18–20 cm (7–8 inch) round pan — springform makes life easier, but a regular pan also works if you line it well.
- Parchment paper — helps you lift slices cleanly and avoids crust sticking.
- Mixing bowl + hand mixer/stand mixer — for a smooth, thick filling.
- Small saucepan — to heat the cream for the ganache.
Step-by-step instructions
1) Make the crust
- Crush the biscuits/cookies until you have fine crumbs.
- If you’re using a food processor: quick and tidy.
- If not: put them in a bag and crush with a rolling pin.
- Mix crumbs + melted butter + milk in a bowl. You want a texture like damp sand: it should clump when you squeeze it.
- Press into the pan (18–20 cm).
- I press the crumbs in firmly using the bottom of a glass.
- Make the layer even, especially around the edges.
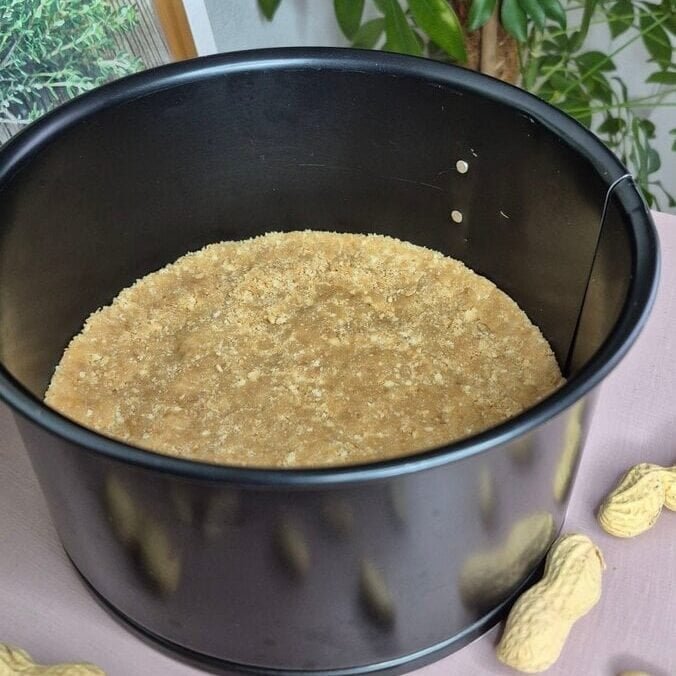
- Refrigerate the crust while you make the filling (at least 10–15 minutes).
This helps it firm up so it doesn’t mix into the filling later.
2) Make the peanut butter mascarpone filling
- In a mixing bowl, combine mascarpone + powdered sugar + peanut butter.
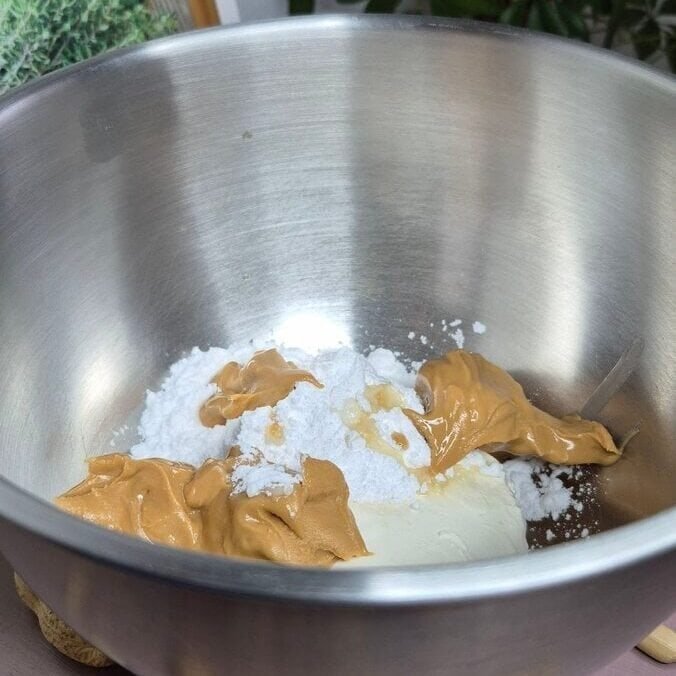
- Beat until smooth and fully mixed.
Scrape the bowl once or twice so there are no streaks. - Add the heavy cream and keep beating.
You’re aiming for a thick, spreadable filling that holds its shape (similar to a sturdy whipped cream/cheesecake texture).- Start on low so the cream doesn’t splash.
- Then increase speed until it thickens.
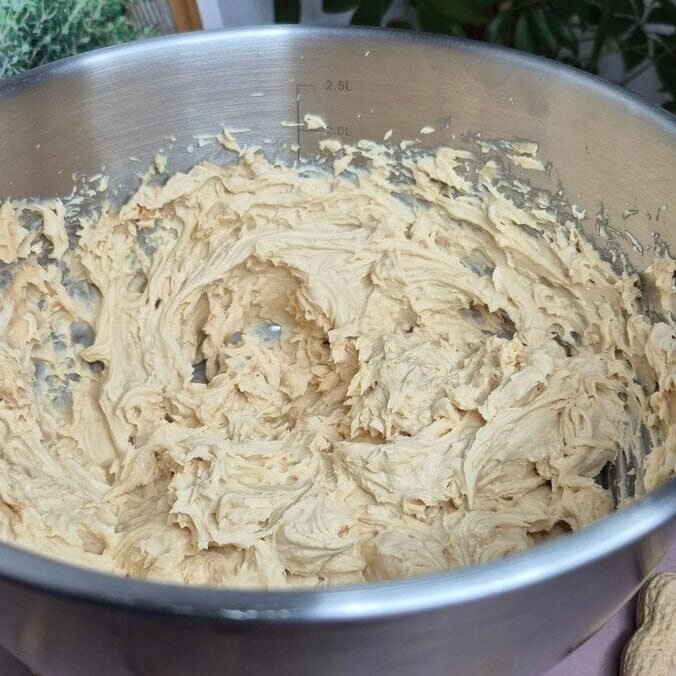
Important: stop once it’s thick and smooth. Overbeating can make mascarpone go grainy.
- Spread the filling over the crust and smooth the top.
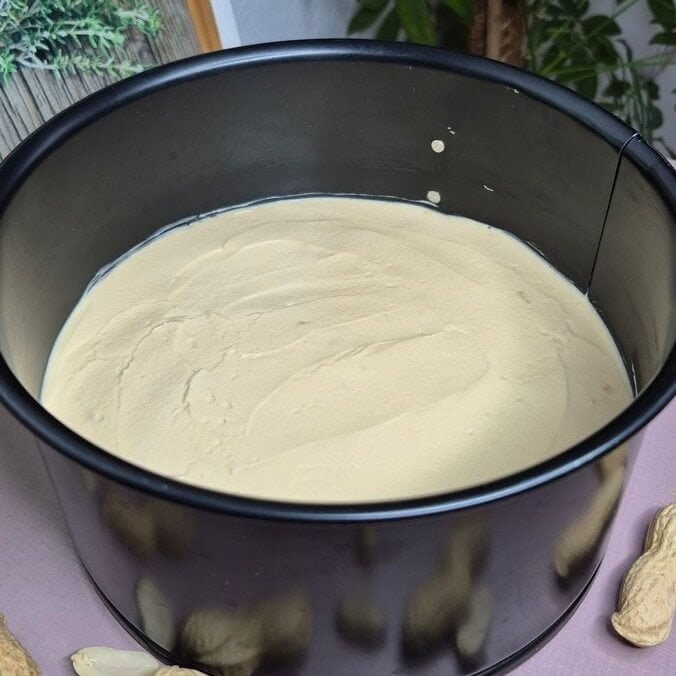
- Refrigerate for 1 hour.
This first chill matters. If the filling is too soft, the ganache can sink or mix on top.
3) Make the chocolate topping (ganache)
- Chop or break the chocolate into small pieces and place in a bowl.
- Heat 100 ml heavy cream until it’s just boiling (small bubbles at the edges).
- Pour the hot cream over the chocolate and let it sit for a few minutes.
Don’t stir immediately—waiting helps the chocolate melt evenly. - Stir until smooth.
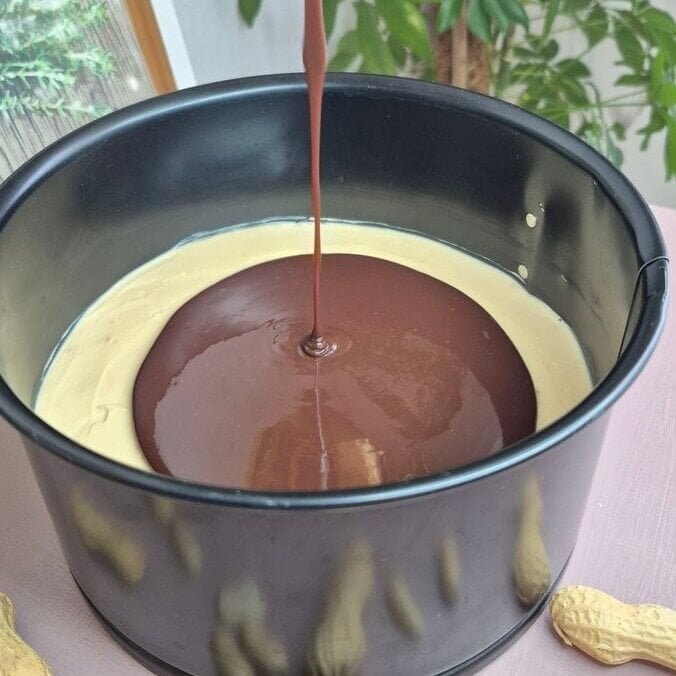
If there are stubborn bits, stir a little longer. (If needed, you can gently warm the bowl over a pot of hot water for a few seconds.) - Let the ganache cool until lukewarm (still pourable, not hot), then pour over the chilled filling.
Tilt the pan slightly to level it, or use a spoon to nudge it to the edges.
4) Garnish and chill
- Sprinkle chopped peanuts on top (optional but nice).
- Refrigerate for 3 hours (or overnight for the cleanest slices).
Tips that actually help (from making it a few times)
Use cold cream, but don’t use rock-hard mascarpone
- Cold heavy cream whips better and gives the filling structure.
- Mascarpone is easiest to beat when it’s cool but not icy. If it’s super cold, it can be harder to smooth out.
Don’t rush the first chill
That 1-hour chill after spreading the filling is what keeps the ganache sitting on top instead of sinking in.
Want cleaner slices?
- Chill overnight if you can.
- Use a sharp knife dipped in hot water, then wiped dry between slices.
If your ganache looks slightly dull or streaky
It usually means the chocolate got too hot or was stirred too aggressively while cooling. It still tastes the same. Next time, wait those few minutes before stirring and pour it lukewarm.
Pan release trick
If you’re using a springform pan, I like to run a thin knife around the edge after the final chill. If it’s sticking, warm the outside of the pan with your hands for 20–30 seconds.
Easy variations
Make it more “peanut forward”
Add 1 extra tablespoon peanut butter (total 4 tbsp). The filling will be a bit softer, so give it a longer chill.
Make it more chocolate-heavy
Use chocolate cookies for the crust or increase the topping to 150 g chocolate + 120 ml cream (slightly thicker top layer).
Add a salty finish
A tiny pinch of flaky salt on top of the ganache is simple and works really well, especially if you used milk chocolate.
Storage
- Fridge: keeps well for 3–4 days, covered.
- Freezer: you can freeze it (without peanuts on top is best), then thaw overnight in the fridge. Texture stays surprisingly good.

Mini Peanut Butter Chocolate Cake (No-Bake)
Ingredients
Crust
- 150 g biscuits/cookies crushed
- 50 g butter melted
- 3 tbsp milk
Filling
- 250 g mascarpone
- 2 tbsp powdered sugar
- 3 tbsp peanut butter
- 200 ml heavy cream
Topping
- 100 g chocolate chopped
- 100 ml heavy cream
Optional
- Chopped peanuts for garnish
Instructions
- Mix the crushed biscuits or cookies with the melted butter and milk until combined. Press the mixture firmly into an 18-20 cm (7-8 inch) pan. Refrigerate while you prepare the filling.
- Beat the mascarpone, powdered sugar, and peanut butter until smooth. Add the heavy cream and beat until the mixture is thick and spreadable.
- Spread the filling over the crust and refrigerate for 1 hour.
- Heat the heavy cream until just boiling. Pour it over the chopped chocolate, let it sit for a few minutes, then stir until smooth.
- Let the chocolate mixture cool to lukewarm, then pour it over the cake.
- Garnish with chopped peanuts, if using, and refrigerate for 3 hours or overnight.
- Slice and serve.