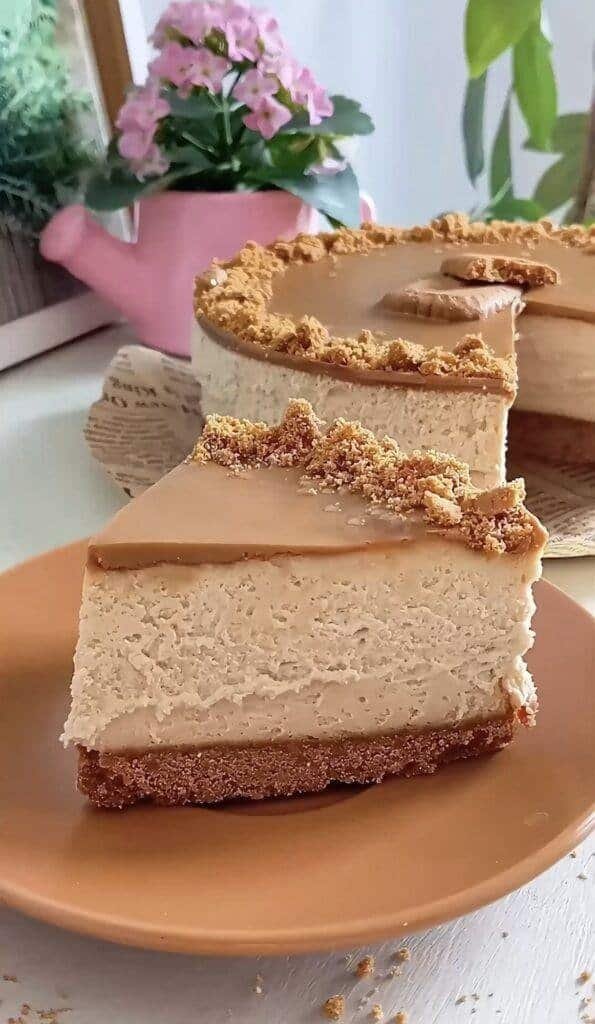
I made this cheesecake on a day when I wanted something sweet but didn’t feel like turning the oven on or washing five different bowls. It’s the kind of recipe I keep coming back to because it’s simple, it sets up neatly, and it tastes exactly like what it is: a creamy Nutella filling on a buttery digestive base.
It’s also a “quiet” dessert—no layers, no complicated steps, no fancy equipment. Just crush, mix, chill, spread, and you’re done. If you’ve got a 20 cm pan and a mixer (even a hand mixer), you can make it.
What to expect (so you’re not guessing)
- Texture: firm enough to slice after chilling, but still soft and creamy in the middle
- Flavor: Nutella is the main character, with mascarpone/cream cheese giving it a cheesecake feel instead of straight chocolate spread
- Sweetness: on the sweeter side (Nutella is doing the heavy lifting), but the slight tang from cream cheese keeps it from being flat
- Time: about 10–15 minutes of hands-on work + chill time

Ingredients (with a quick breakdown of what each one does)
Crust / base
100 g digestive biscuits
This gives you that classic crumb base with a slightly wheaty, caramel note. If you crush them finely, the base slices cleaner.
60 g butter (melted)
Butter is the glue. It binds the crumbs and turns them into a sliceable base once chilled.
Filling
125 g mascarpone
Mascarpone brings richness and a soft, milky flavor. It also makes the filling feel “rounder” and less sharp.
70 g cream cheese
Cream cheese adds structure and a little tang. This is what pushes the filling from “Nutella mousse” into “cheesecake”.
200 g Nutella
This provides sweetness, chocolate-hazelnut flavor, and most of the color. It also thickens the filling on its own, which is why this recipe can stay so minimal.
Equipment you’ll need
- 20 cm cake pan (springform is easiest, but not required)
- mixing bowl
- hand mixer or stand mixer
- spoon or spatula
- something to crush biscuits (food processor or rolling pin + bag)
If you don’t have a springform pan, line the base (and ideally the sides) with baking paper so you can lift it out more easily.
Step-by-step instructions
1) Make the digestive base
- Crush the biscuits until they’re fine crumbs.
- Food processor: easiest and fastest
- No processor: put biscuits in a sturdy bag and crush with a rolling pin
- Melt the butter (microwave or small pot) and pour it into the crumbs.
- Mix until it looks like wet sand.
- Press into your 20 cm pan.
I press the crumbs down firmly using the bottom of a glass. Don’t rush this—packing the base properly is what stops it crumbling later.

- Refrigerate for 1 hour.
This sets the butter and gives you a solid base before adding the filling.
2) Mix the Nutella cheesecake filling
- Add mascarpone and cream cheese to a bowl.
- Beat briefly with a mixer—just until combined and smooth.
Don’t go crazy here. Overmixing can loosen the mixture too much. - Add the Nutella and mix again until the filling is smooth and evenly combined.
Scrape down the sides once or twice so there are no pale streaks.

3) Fill and level
- Take the base out of the fridge.
- Spoon the filling over the crust and spread it out evenly.
I use the back of a spoon or a small offset spatula and smooth it right to the edges.

4) Decorate (optional, but fun)
Top it with anything that makes sense with Nutella. My usual choices:
- chopped toasted hazelnuts (best crunch + flavor)
- grated chocolate or chocolate curls
- a light dusting of cocoa
- drizzle of warmed Nutella (10 seconds in the microwave makes it pourable)
If you’re adding nuts, a quick toast in a dry pan makes them smell amazing.
5) Chill until set
This part isn’t in the short method you sent, but in real life it matters: once filled, the cheesecake needs time to firm up.
- Minimum: 3–4 hours in the fridge
- Best: overnight
If you try slicing too early, it won’t be a disaster—it’ll just be softer and a bit messy.
Tips that actually help (from making it more than once)
Use room temperature cheese
If mascarpone or cream cheese is too cold, it can mix unevenly and you’ll end up working the batter longer than you need to. I usually leave them out for 15–20 minutes.
Don’t overmix the filling
You’re not whipping air into it—just combining. Mix until smooth, then stop. The filling should look glossy and thick.
Press the base firmly
If the base is loosely packed, it crumbles when you slice. I press it down hard and especially pack the edges.
Want cleaner slices?
- Chill overnight
- Run a knife under hot water, wipe it dry, slice
- Repeat between slices
If your Nutella is stiff
In colder kitchens, Nutella can be thick and stubborn. I warm it for 5–10 seconds in the microwave (not more), just to loosen it slightly before mixing.
Easy variations (same base recipe, small changes)
Add a pinch of salt
A small pinch of fine salt in the filling makes the Nutella taste more “grown up” without changing the recipe.
Make it look like a bakery slice
- smooth the top very flat
- pipe a few small swirls of whipped cream around the edge
- finish with hazelnuts in the center
Turn it into mini cheesecakes
Press the base into muffin liners, fill, chill. They set faster and are easier for serving.
Storage
- Fridge: keep covered, up to 3 days
- Freezer: you can freeze slices. Wrap well, freeze up to 1 month. Thaw in the fridge.
The base softens slightly over time, but it’s still good—just less crunchy on day three.
Nutella Digestive Cheesecake (Recipe Card)
Yield: 8 small slices (20 cm cake)
Prep time: 15 minutes
Chill time: 4 hours (or overnight)
Total time: about 4 hours 15 minutes
Ingredients
Crust/Base
- 100 g digestive biscuits
- 60 g butter, melted
Filling
- 125 g mascarpone
- 70 g cream cheese
- 200 g Nutella
Optional topping
- chopped hazelnuts, grated chocolate, cocoa powder, Nutella drizzle
Instructions
- Crush the digestive biscuits into fine crumbs.
- Mix crumbs with melted butter. Press firmly into a 20 cm pan. Refrigerate for 1 hour.
- Beat mascarpone and cream cheese briefly until smooth.
- Add Nutella and mix until evenly combined.
- Spread filling over the chilled crust and smooth the top.
- Decorate as you like (hazelnuts, grated chocolate, etc.).
- Refrigerate at least 3–4 hours, ideally overnight, then slice and serve.
Notes
- For clean slices: chill overnight and use a warm knife.
- Don’t overmix the filling—mix just until smooth.
- Toasted hazelnuts add the best crunch.