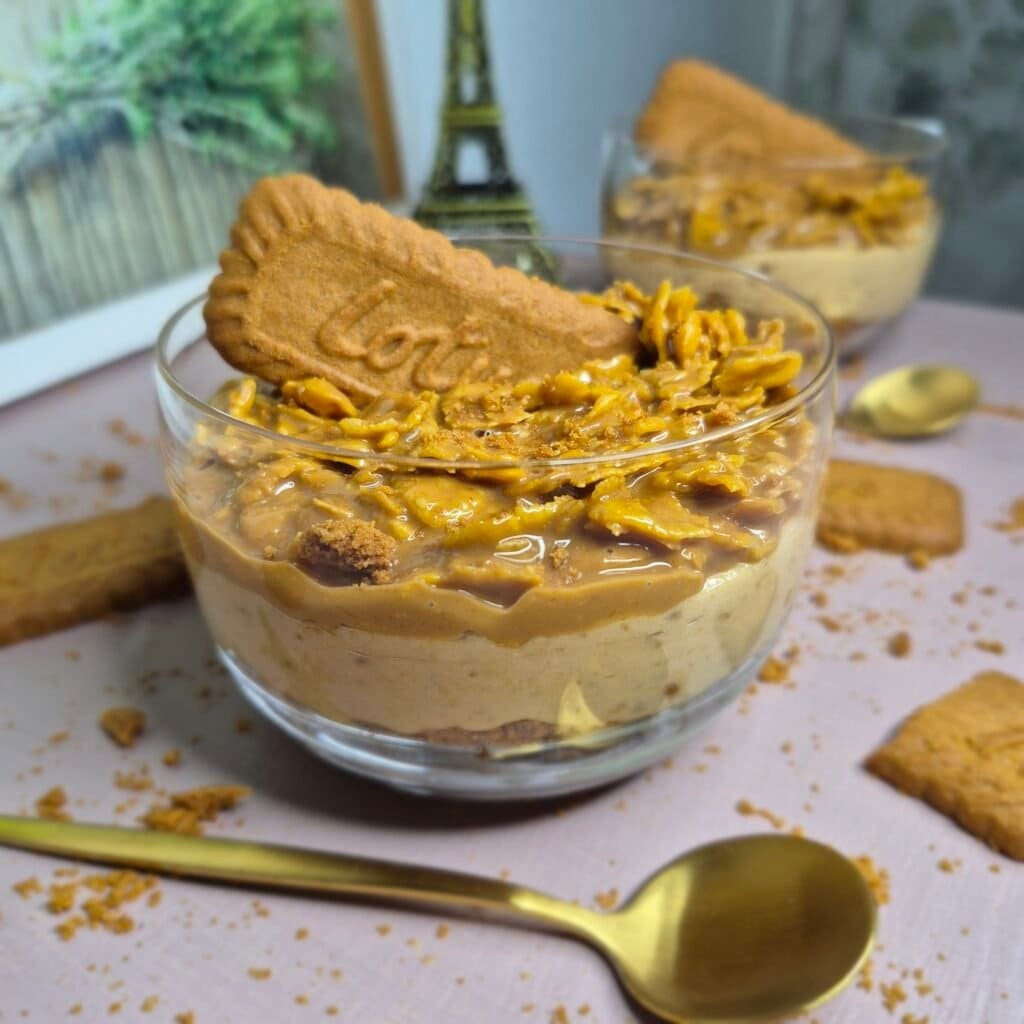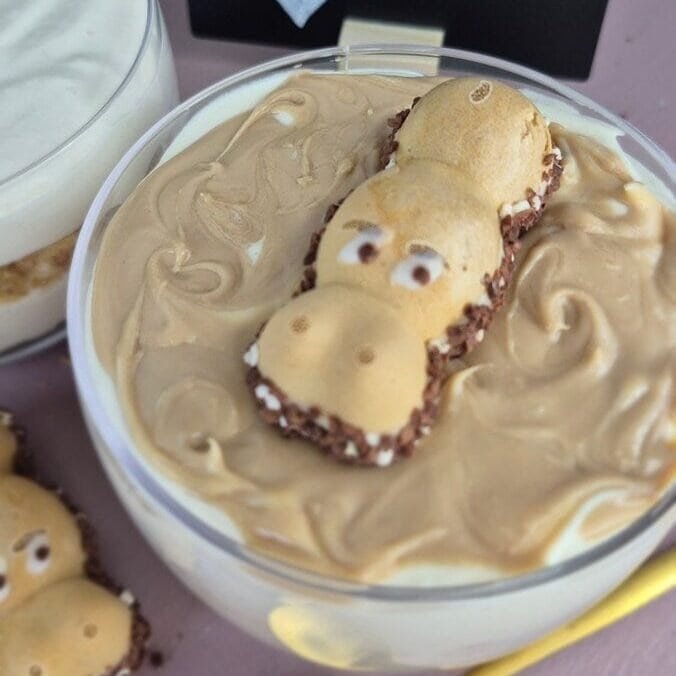
These Hippo Cheesecake Cups may look a little fun on top, but the texture and flavor are what make them worth making. The biscuit base stays slightly crumbly, the filling is creamy without feeling too heavy, and the hazelnut layer on top brings everything together without making the dessert too sweet.
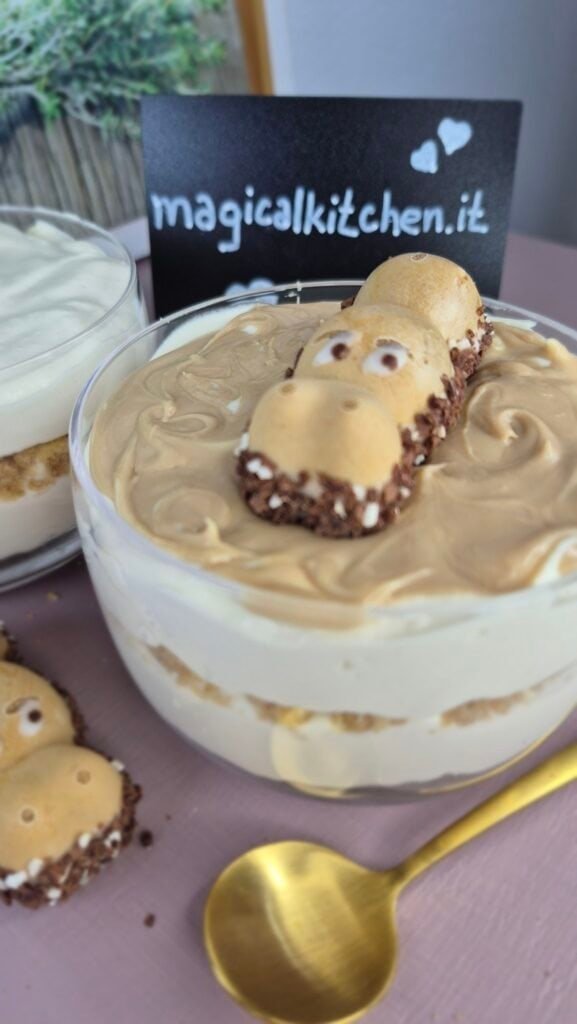
I made these in two glass dessert cups, and that size works really well because you get clear layers and a good spoonful of everything in each bite. The Happy Hippo on top is not there just for looks either. It fits the flavor of the filling and makes the dessert feel finished.
This is a chilled, no-bake dessert, so the texture depends more on a few small details than on complicated technique. That is exactly why I like making it. Once the base, filling, and topping are done properly, the cups set up nicely in the fridge and hold their layers well.
You will find the exact ingredient amounts in the recipe card at the end.
What makes these Hippo cups worth trying
A lot of no-bake cheesecake cups either turn out too loose or too dense.
With this one, the filling sits right in the middle. The whipped cream makes it light, the mascarpone gives it structure, and the hazelnut spread adds flavor without making the cream too runny.
The biscuit base also matters more than people think.
I do not make it wet like a pressed cheesecake crust. I keep it a little drier on purpose so it stays crumbly and gives some contrast to the soft filling. That small difference changes the whole dessert.
The top layer is simple, but it does a lot.
Once the hazelnut spread is melted and poured over the chilled cream, it settles into a thin topping that looks neat and gives a stronger hazelnut finish. Then the Happy Hippo goes on top, and the dessert immediately looks like it took more effort than it actually did.
What these cheesecake cups taste like
The first thing you notice is the contrast between the cream and the biscuit.
The filling is smooth and rich, but not heavy in that sticky way some no-bake desserts can be. The biscuit layer breaks that up and keeps every spoonful from feeling too soft.
The hazelnut flavor is present in two places.
It is mixed into the filling, so you taste it throughout, and then it comes back again in the topping. That second layer makes the flavor clearer without needing extra ingredients or extra work.
The Happy Hippo on top adds a bit of crunch and makes the cups feel more fun, but the dessert still tastes like a proper cheesecake-style glass dessert, not just a decorated cream cup.
Ingredient breakdown
Digestive biscuits
These form the base of the dessert.
I crush them quite finely, but not into complete dust. A little texture is good here. Once mixed with milk, they should hold together lightly when pressed into the cups, while still staying crumbly.
Milk
The milk is there just to bring the biscuit layer together.
I add only enough to moisten the crumbs. If you add too much, the base becomes pasty and loses that nice crumb texture once chilled.
Mascarpone cheese
Mascarpone gives the filling body and that cheesecake-style richness.
It also helps the mixture set more cleanly in the fridge than whipped cream alone would. I prefer it straight from the fridge so the filling stays stable.
Hazelnut spread
This goes into the filling and again on top.
Inside the filling, it adds flavor and a little sweetness. On top, it gives the dessert its finished look. I melt the topping gently so it spreads easily and does not drag through the cream.
Heavy cream
Cold heavy cream is important here.
It needs to whip properly before the mascarpone and hazelnut spread are added. That whipped texture is what keeps the filling light.
Happy Hippo
This is the final touch.
It gives the dessert its name, makes the cups look instantly recognizable, and works really well with the hazelnut and biscuit layers underneath.
How I make Hippo Cheesecake Cups
1. Make the biscuit base
I start by crushing the digestive biscuits until they are fine and even.
Then I mix in the milk gradually. I do not pour everything in at once because the texture changes quickly. What I want is a crumb mixture that looks moistened and can be pressed lightly into the glasses, but still stays loose rather than wet.
Once that is ready, I divide it between the dessert cups.
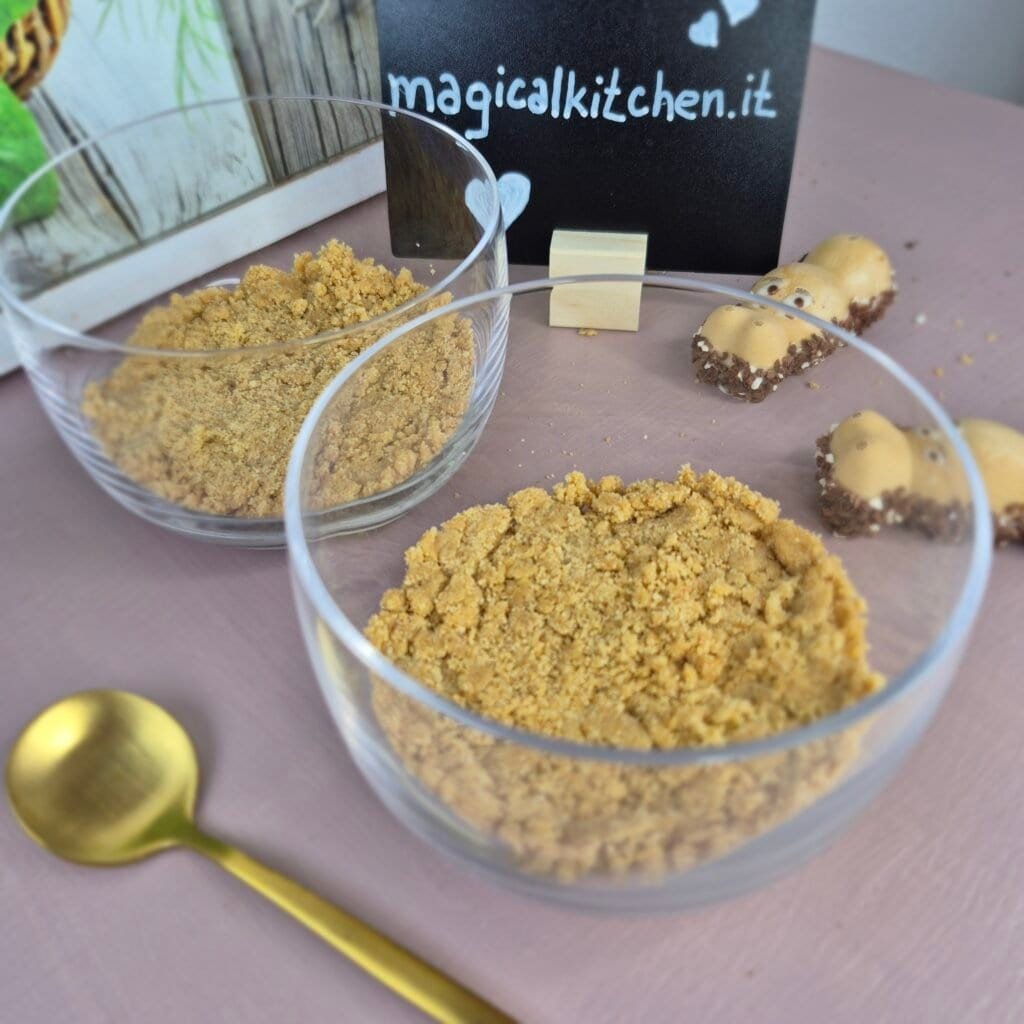
I press it down gently with the back of a spoon. Not too firmly. If you compact it too much, the base becomes hard to spoon through once chilled.
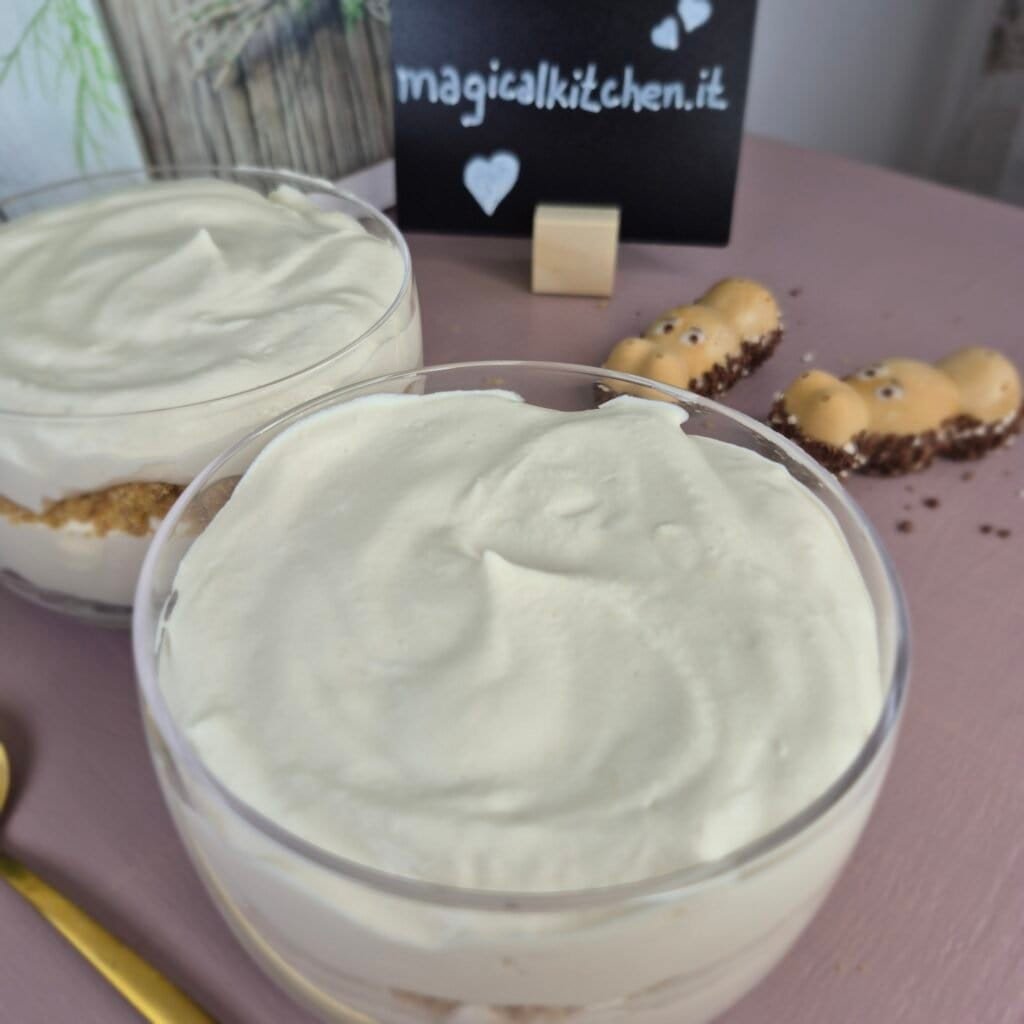
2. Whip the cream first
For the filling, I whip the cold heavy cream until it holds its shape.
I always do this first before adding anything heavier. If you start by mixing everything together in one bowl, you do not get the same light texture.
The cream should be whipped enough to hold softly but not so much that it turns stiff and grainy.
3. Add the mascarpone and hazelnut spread
Once the cream is whipped, I add the mascarpone and hazelnut spread.
At this stage, I mix just until the filling is smooth and combined. Overmixing can make it too dense, so I stop as soon as the texture looks even.
The filling should be thick enough to spoon into the cups without running.
4. Build the layers
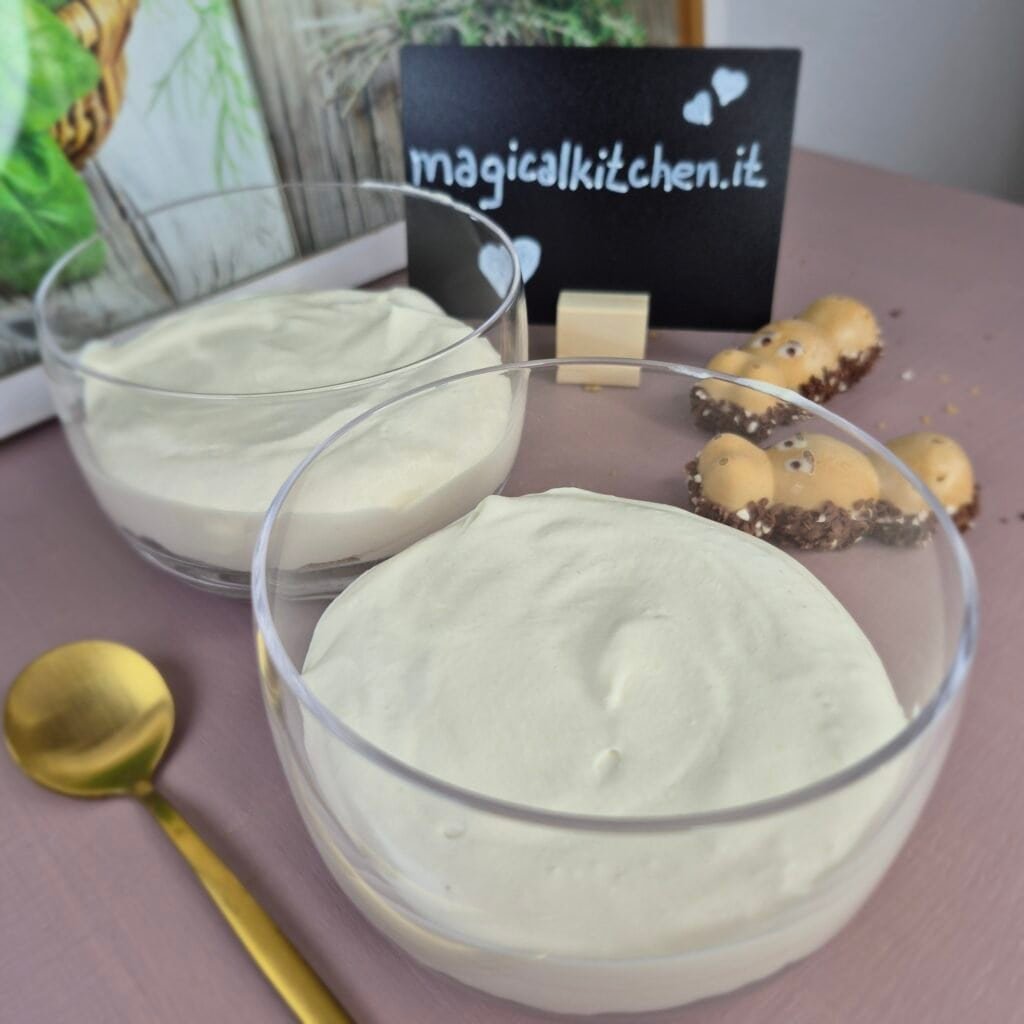
I spoon some of the filling over the biscuit base first.
Then I add a little extra crushed biscuit in the middle.
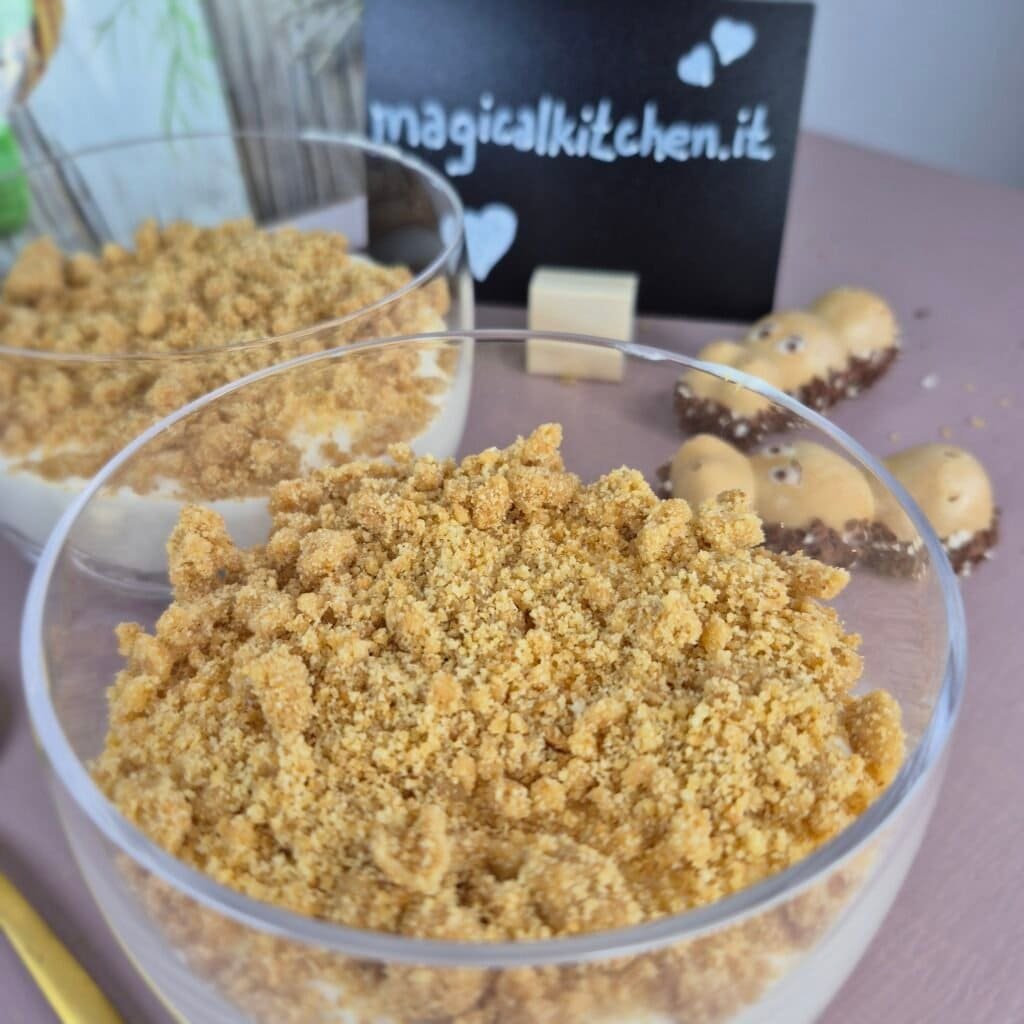
This middle layer is small, but I like what it does. It breaks up the cream and gives the dessert another bit of texture when you scoop down through the cup.
Then I finish with the remaining filling on top.
At this point, I put the cups in the fridge for a short chill so the cream firms up before the topping goes on.
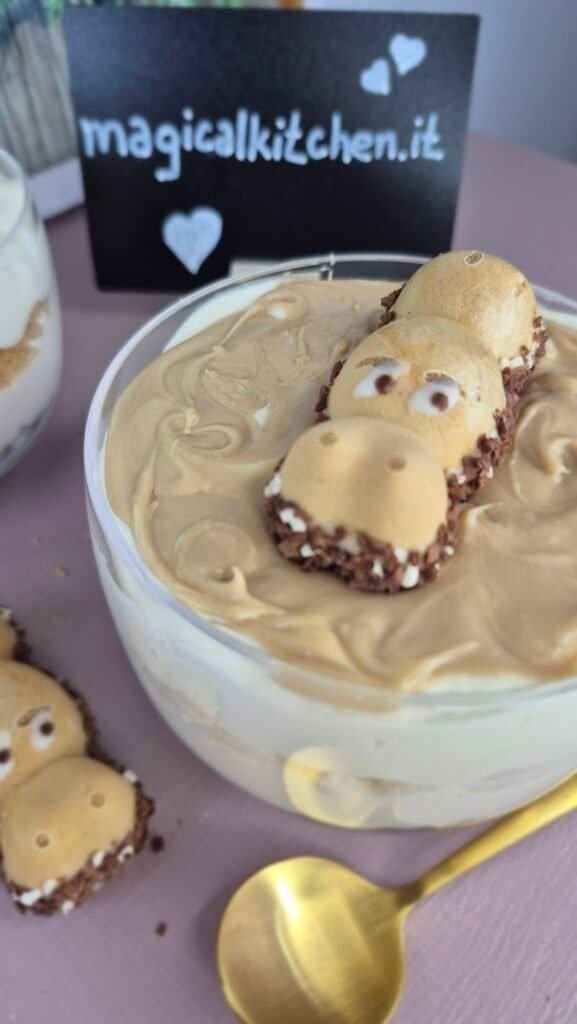
5. Add the hazelnut topping
While the cups are chilling, I gently melt the hazelnut spread over a double boiler.
I do not microwave it aggressively because it can become too hot and too thin. Gentle heat keeps it smooth and easy to control.
Once the dessert has had that first chill, I spread the melted hazelnut spread over the top.
Because the filling is already slightly set, the topping stays closer to the surface instead of sinking in.
6. Finish and chill
I place a Happy Hippo on top of each cup and return them to the fridge.
After the final chill, the layers settle properly, the topping firms up a little, and the whole dessert tastes more balanced than it does straight after assembling.
That final fridge time is worth it.
Small tips that help this recipe turn out better
Keep the cream cold before whipping.
Warm cream takes longer to whip and does not hold the same way. If your kitchen is warm, chill the bowl for a few minutes too.
Do not over-wet the biscuit base.
This recipe is better when the biscuit stays a little crumbly. If the base looks too dry at first, add milk very slowly. It is easier to add more than to fix a soggy crumb mixture.
Whip the cream before adding mascarpone.
That order matters. It gives the filling a lighter texture and makes it easier to control.
Do not overmix after adding the mascarpone.
Once everything is combined, stop there. Too much mixing can flatten the cream and make the filling feel heavier.
Chill between layers.
Even a short chill before adding the topping helps keep the layers clean.
Melt the topping gently.
If the hazelnut spread gets too hot, it can soften the cream underneath and make the top look messy.
How to serve them
I like serving these straight from the fridge.
They should be cold, with the topping just firm enough to hold its shape but still soft enough to cut through with a spoon.
Because they are made in glass cups, the layers do a lot of the presentation work for you.
That is another reason I keep the base crumbly and the filling thick. Once spooned in neatly, they already look finished before the topping goes on.
Storage
These Hippo Cheesecake Cups should be kept in the fridge.
They are best on the day they are made and the day after, when the biscuit still has some texture and the topping looks fresh.
If you need to make them ahead, assemble the cups and chill them as usual. They hold well in the fridge, covered, until serving.
I would still add the Happy Hippo close to serving time if you want it to look at its best.
FAQ
Can I make these cheesecake cups in more than two servings?
Yes. You can divide the mixture into smaller glasses for more portions, or use slightly larger cups if you want a fuller dessert. Just keep an eye on the layering so each cup still gets a good balance of base, filling, and topping.
Can I use another biscuit for the base?
Yes, but digestive biscuits work especially well because they stay firm enough while still softening slightly in the fridge. If you swap them, choose a plain biscuit that is not already heavily filled or coated.
Can I skip the middle biscuit layer?
You can.
I still recommend it because that little extra layer gives the dessert a better texture from top to bottom.
Do I have to use mascarpone?
For this exact texture, yes, I would stick with mascarpone. It gives the filling its rich but stable consistency.
Can I freeze these?
I would not.
The texture of the cream and mascarpone filling is much better from the fridge than after freezing and thawing.
One last thing
These Hippo Cheesecake Cups are simple, but they do not taste thrown together.
The texture is the part I like most. You get soft cream, crumbly biscuit, a smooth hazelnut top, and that small crunch from the Happy Hippo to finish it off.
It is also the kind of dessert that looks clear and tidy in the glass, which always helps.
If you make it the same way I do, especially keeping the base slightly drier and chilling before the topping, the cups come out neat, creamy, and easy to serve.
Hippo Cheesecake Cups
Ingredients
For the base:
- 100 g digestive biscuits
- 4-5 tablespoons milk
For the filling:
- 150 g mascarpone cheese
- 1 tablespoon hazelnut spread
- 150 ml heavy cream 35%
For the topping:
- 2 tablespoons hazelnut spread
- 2 Happy Hippos for topping
Instructions
- Crush the digestive biscuits finely and place them in a bowl. Add the milk gradually and mix until the crumbs are moistened but still slightly crumbly.
- Divide the biscuit mixture between 2 glass dessert cups and gently press it down with the back of a spoon.
- In a separate bowl, whip the cold heavy cream until it holds its shape.
- Add the mascarpone cheese and 1 tablespoon hazelnut spread to the whipped cream. Mix just until smooth and combined.
- Spoon some of the filling over the biscuit base in each glass.
- Add a small layer of extra crushed biscuit in the middle if desired.
- Finish with the remaining filling and smooth the tops.
- Chill the cups in the fridge for 30 minutes.
- Melt the 2 tablespoons hazelnut spread gently over a double boiler until smooth.
- Spoon or spread the melted hazelnut spread over the chilled dessert cups.
- Place 1 Happy Hippo on top of each cup.
- Chill for 1 more hour before serving.
Notes
- Do not add too much milk to the biscuit base. It should stay slightly crumbly, not wet.
- Make sure the heavy cream is cold before whipping.
- Mix the filling only until combined so it stays light and smooth.
- Chill before adding the topping so the layers stay neat.
- These cheesecake cups are best served cold.