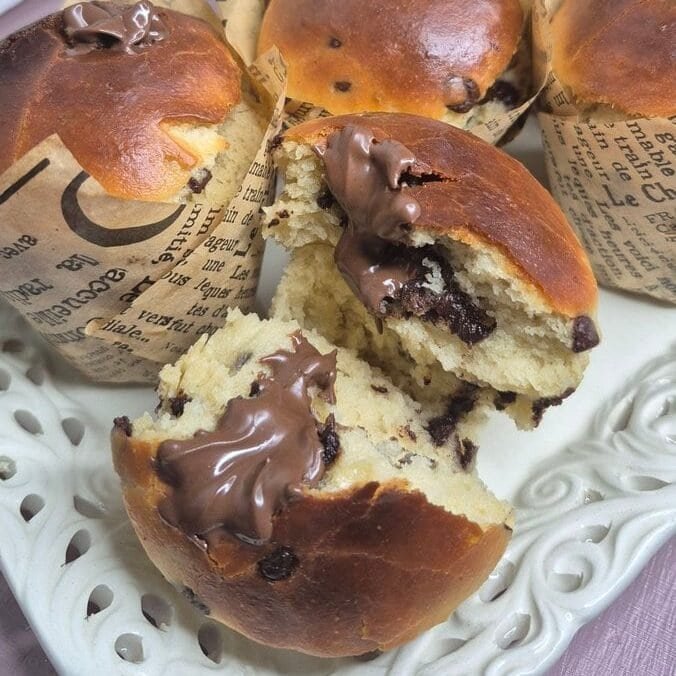
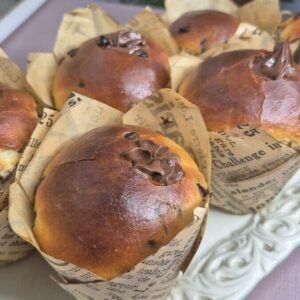
These muffins sit somewhere between a classic muffin and a small, chocolate-studded sweet bun. They rise with yeast, so the crumb comes out light and stretchy rather than cake-like, and the “roll–fold” step spreads the chocolate chips through the dough so you get little pockets in every bite instead of one heavy layer sinking to the bottom.
If you’re used to quick muffins made with baking powder, this method will feel different—but it’s not complicated. The dough is forgiving, the shaping is simple, and the bake time is short. The only real requirement is giving the yeast enough time to wake up and the dough enough time to rise.
Below I’m walking you through the ingredients, what each one does, and the step-by-step process exactly as I make it. The exact measurements are kept in the recipe card at the end, so you can scroll straight there when you’re ready to bake.
What to expect from these muffins
- Texture: soft, fluffy, slightly chewy (in a good way), like a gentle sweet roll.
- Sweetness: mild—sweet enough for breakfast or dessert, not overly sugary.
- Chocolate distribution: spread throughout thanks to the rolling and folding.
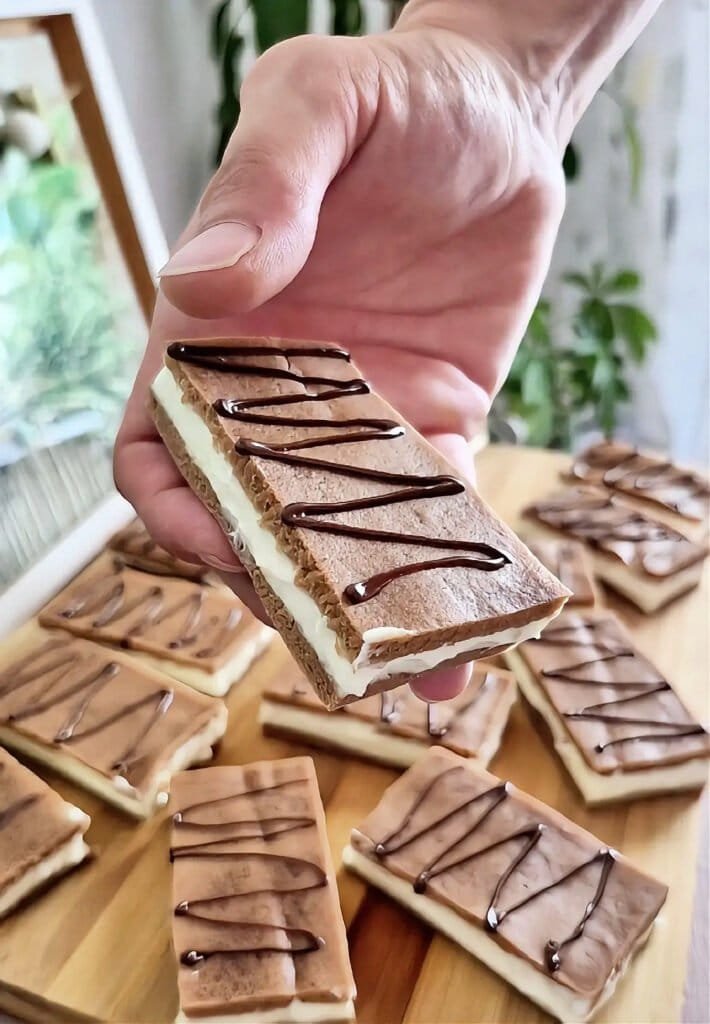
- Optional filling: Nutella in the center turns them into a bakery-style treat.
Ingredients breakdown (why each one matters)
Dry yeast
This is the engine of the recipe. Once it’s activated in warm milk with a little sugar, it creates the lift that makes these muffins airy instead of dense. If your yeast doesn’t foam after resting, it usually means the milk was too hot, too cold, or the yeast is old.
Sugar
Sugar does two jobs here: it feeds the yeast during activation and adds a gentle sweetness to the dough. These aren’t meant to taste like dessert cake; they’re more like lightly sweet buns with chocolate.
Salt
Salt keeps the dough from tasting flat and helps balance the sweetness. It also strengthens the dough slightly, which helps with structure.
Milk
Milk makes the dough soft and tender. You’ll use a small portion warm to activate the yeast, and the rest goes into the dough. Warm means comfortably warm to the touch—not hot.
Oil
Oil gives the crumb softness and keeps the muffins from drying out quickly. It also makes the dough easier to handle.
Egg yolk
Using just the yolk adds richness and color without making the dough heavy. It’s subtle, but it makes the inside feel more “bakery” than plain.
Flour
Flour is the backbone. The amount in the recipe makes a dough that’s soft but workable. Because flour can vary a bit depending on brand and humidity, you’re watching the feel of the dough more than anything: it should be smooth and elastic, not sticky like batter.
Chocolate chips
Chocolate chips are mixed in with a rolling-and-folding method rather than kneaded straight into the dough at the beginning. That’s on purpose: it keeps chips from tearing the dough too much while kneading and spreads them in thin layers so every piece has chocolate.
Equipment that makes this easier (but nothing fancy)
- Muffin tin
- Paper liners
- Rolling pin (a bottle works if you’re in a pinch)
- Mixing bowl
- Cloth or towel to cover the dough
- Optional: piping bag if you want to fill with Nutella
Step-by-step instructions
1) Activate the yeast
Warm a small portion of the milk until it feels warm but not hot. Stir in the yeast and sugar and let it sit until you see bubbles and foam on top.
What you’re looking for: a visibly active surface—tiny bubbles, a light foam, and a slightly “yeasty” smell.
If nothing happens: don’t continue yet. Yeast that hasn’t activated won’t give you the rise.
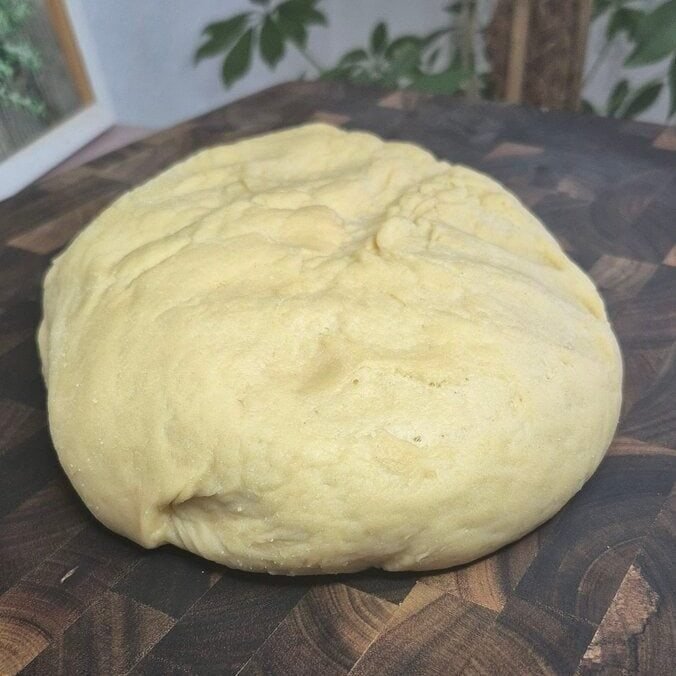
2) Mix and knead the dough
Once the yeast mixture is bubbly, add it to a bowl with the remaining milk, oil, egg yolk, flour, and salt. Mix until you have a rough dough, then knead until it becomes smooth.
You can knead by hand or with a mixer. By hand, it usually takes several minutes. The dough should go from shaggy to elastic, and it should stop clinging to your hands as much.
Quick dough check: press a finger gently into the dough—if it slowly springs back, you’re in a good place.
3) First rise (until doubled)
Cover the dough and place it in a warm spot. Let it rise until it roughly doubles in size.
The time depends on room temperature. In a warm kitchen, it moves faster. In a cooler kitchen, it takes longer. Don’t rush this part—good rise equals good texture.
Tip: If your kitchen is cold, put the covered bowl in an unheated oven with the oven light on. That gentle warmth helps a lot.
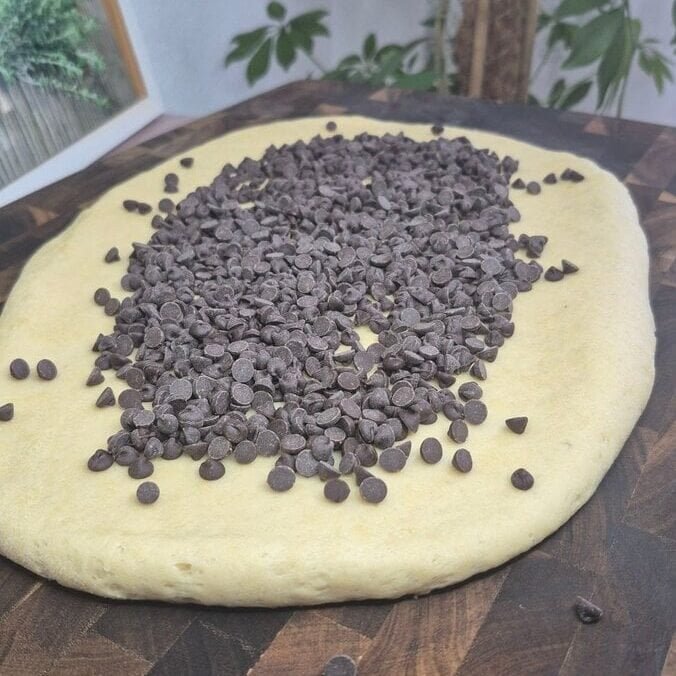
4) Roll out and layer the chocolate chips
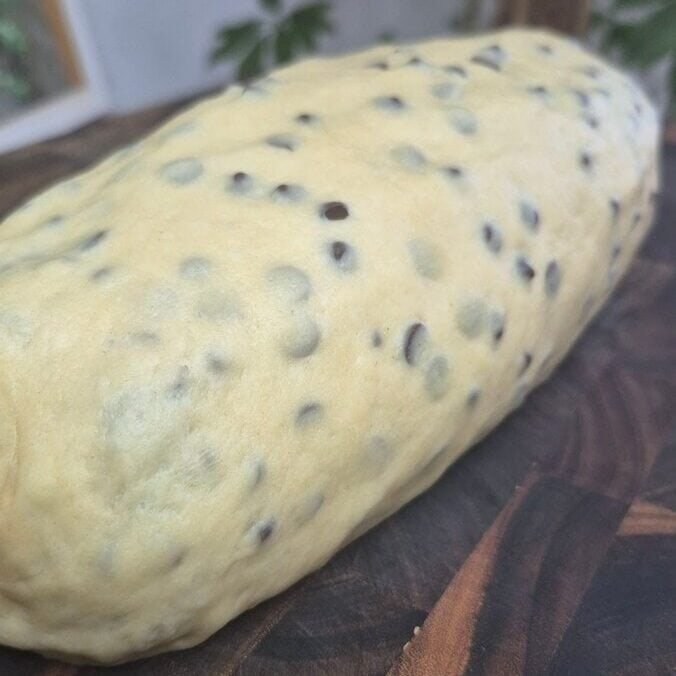
Once risen, place the dough on a board and roll it out into a rectangle. Sprinkle chocolate chips across the surface. Roll the dough up from the side into a log, then fold it over itself.
Repeat the roll–sprinkle–roll–fold process twice.
This sounds like extra work, but it’s the trick that makes the chocolate spread evenly without clumping.
Why this step matters: chocolate chips don’t always knead evenly into a soft dough. Layering keeps distribution consistent and helps the dough stay smooth.
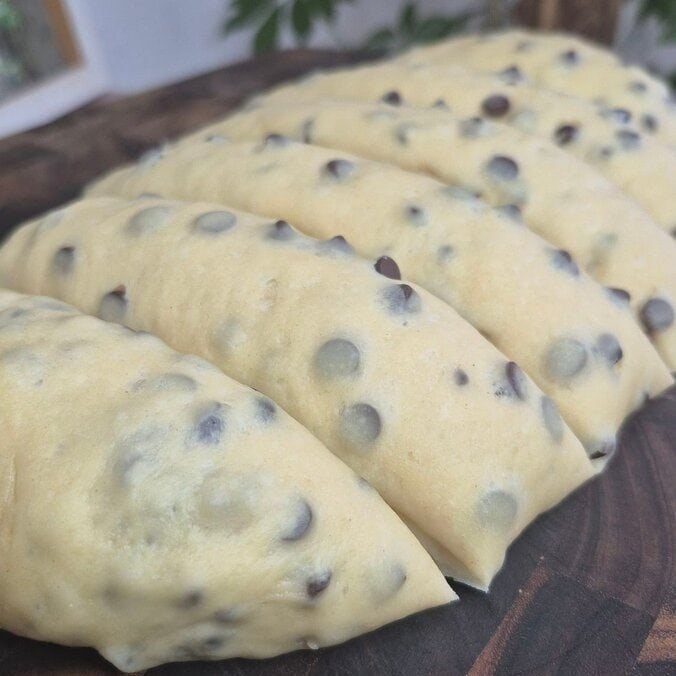
5) Cut, shape, and second rise
When you have a final log, cut it into equal pieces.
Shape each piece into a ball by tucking the edges underneath until the top looks smooth.
Place each ball into a paper liner in a muffin tin. Brush the tops lightly with milk, then let them rise again for a short time.
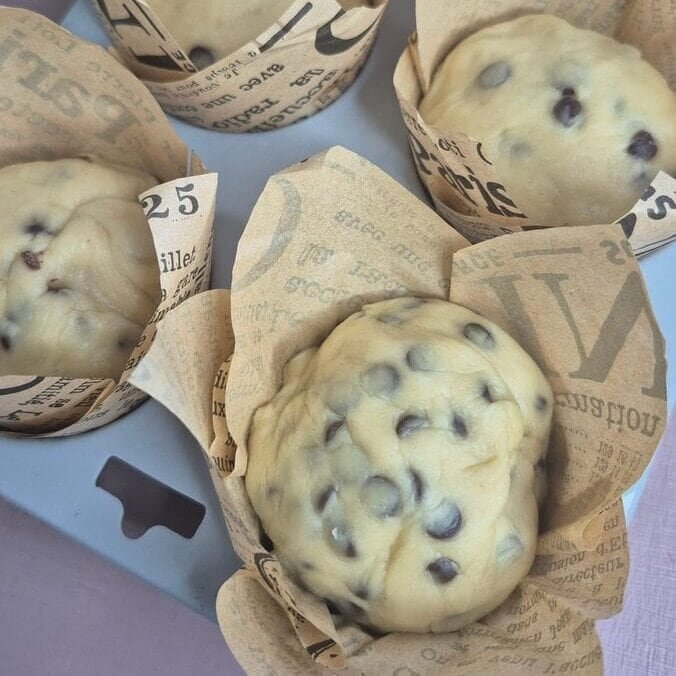
This second rise gives you that rounded, fluffy top and a lighter interior.
How to tell they’re ready: they should look puffier and feel airy when you touch the side gently.
6) Bake
Bake until the tops are lightly golden and the muffins feel set. Once out of the oven, let them cool in the tin for a few minutes, then move them to a rack to finish cooling.
If you leave them sitting in the hot tin too long, the bottoms can steam and soften more than you want.
7) Optional: fill with Nutella
If you want the filled version, wait until the muffins are completely cool. Then use a piping bag to push Nutella into the center.
Easy method: poke a small hole in the top with the piping tip, squeeze gently, and stop when you feel a little resistance. Overfilling can split the muffin.
Tips that help every time
Keep the milk truly “warm,” not hot
Hot milk can kill yeast. If you’re unsure, test with a fingertip—warm bath temperature is about right.
Don’t pack in extra flour too quickly
This dough should be soft. If you add too much flour while kneading, the muffins can bake up heavier. If it’s sticky at first, give it time—kneading often fixes stickiness.
Make the pieces the same size
Even sizing means even baking. If you want to be precise, weigh the dough log and divide by the number of muffins you want.
Chocolate chip choice matters
Regular chips hold their shape. Mini chips spread more evenly. If your chips are very large, the dough can tear slightly when rolling—still fine, just roll gently.
For a softer top
Brushing with milk before the second rise helps keep the tops from drying out and encourages an even color in the oven.
For a slightly shinier finish
If you prefer, you can brush with milk again right before baking (lightly). Don’t soak—just a thin coat.
Storage and serving
- Best on the day they’re baked, when the crumb is at its softest.
- Store cooled muffins in an airtight container.
- If they feel a little firm the next day, a quick warm-up brings them back: a few seconds in the microwave works well.
Chocolate Chip Yeast Muffins
Ingredients
- 1 sachet of dry yeast
- 2 tablespoons sugar
- 1 teaspoon salt
- 250 ml milk
- 100 ml oil
- 1 egg yolk
- 500 g flour
- 125 g chocolate chips
Instructions
- Dissolve the yeast and sugar in 50 ml of warm milk. Leave for 15–20 minutes until bubbles appear.
- Add the remaining milk, oil, egg yolk, flour, and salt. Knead until smooth.
- Cover and let rise in a warm place until doubled in size.
- Roll out the dough, sprinkle with chocolate chips, roll it up, and fold it over. Repeat twice.
- Shape into a log, cut into 8–10 pieces, shape into balls, and place in paper liners in a muffin tin. Brush tops with a little milk and let rise 20 minutes.
- Bake at 180°C for 20–25 minutes.
- Optional: once cooled, fill with Nutella using a piping bag