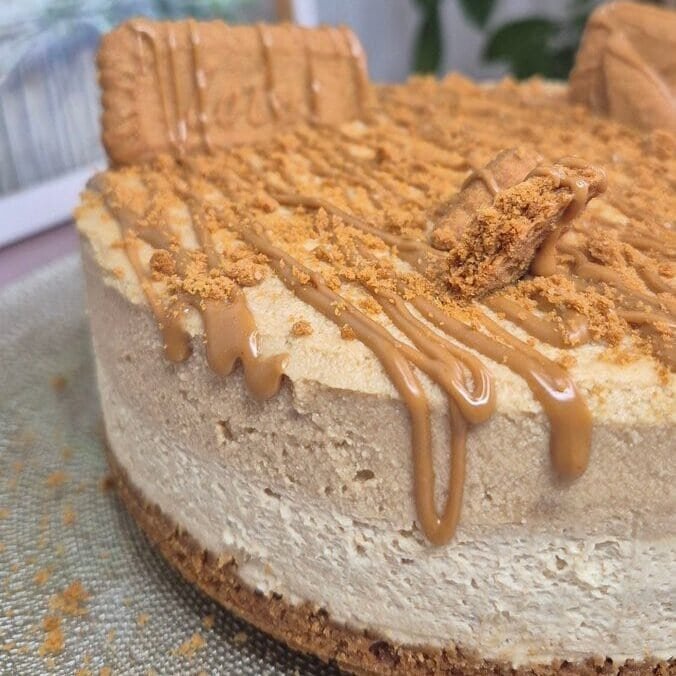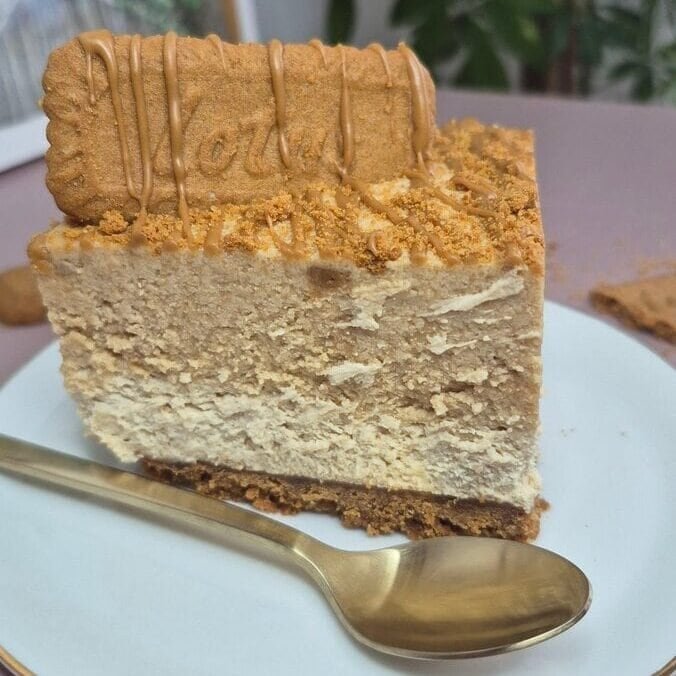
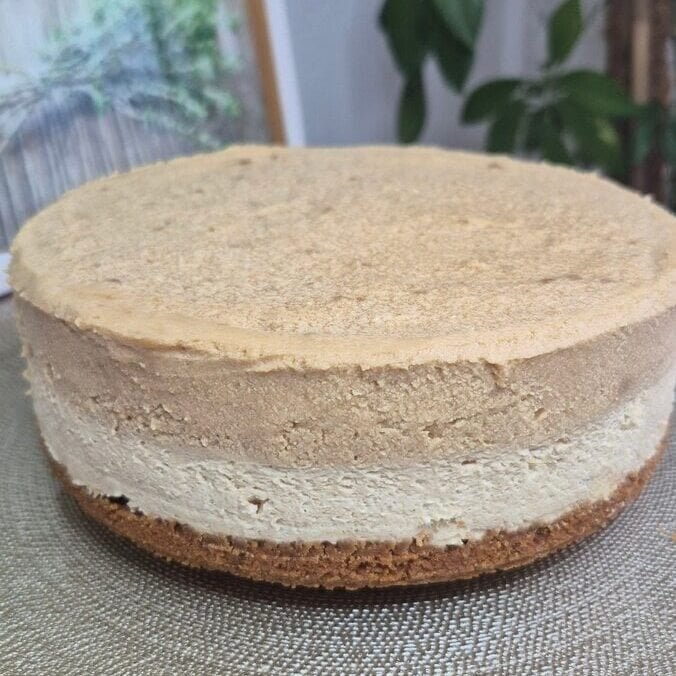
If you like that caramelized, lightly spiced Lotus Biscoff flavor, this cake is the cleanest way I know to turn it into a proper dessert without baking anything. It’s a no-bake cake with a compact biscuit base and a two-layer mascarpone filling: one layer has crushed biscuits mixed in, and the other is blended with Biscoff spread so it sets smooth and glossy.
The texture is the main reason I keep making it. It slices like a soft cheesecake, but it’s lighter because the filling is whipped cream + mascarpone rather than baked cream cheese. It also holds up well in the fridge, which means you can make it ahead and serve it when you want.
What this cake tastes like (and what to expect)
This isn’t overly sweet, and it doesn’t taste “buttery” the way some no-bake biscuit cakes do. The crust is crisp and slightly chewy once it chills, and the filling is creamy with little crunchy bits in the first layer. The Biscoff-spread layer is smoother and more uniform, so you get contrast from bite to bite.
It’s best served cold. If you leave it at room temperature for too long, it’ll soften (still tasty, just harder to slice cleanly).
Equipment you’ll need
- 18 cm round pan (springform is easiest, but a regular round pan works too if you line it well)
- Mixing bowl
- Hand mixer or stand mixer
- Spatula
- Spoon or flat-bottomed glass (for pressing the crust)
- Baking paper (highly recommended)
If you’re using a non-springform pan, line the base and sides so you can lift it out. I usually let the paper stick up above the rim a bit to use it like handles.
Ingredient breakdown (what each part is doing)
The crust
The crust is simply crushed biscuits bound with butter and a little milk.
- Lotus Biscoff biscuits: The base flavor and crunch.
- Butter: Helps the crumbs set into a sliceable layer once chilled.
- Milk: Makes the crumb mixture easier to press firmly and prevents it from turning too dry and crumbly.
Texture note: This crust is not rock-hard. It’s a firm, press-in base that cuts cleanly when chilled.
The filling
The filling is a mascarpone cream that’s whipped just until semi-firm, then divided into two flavors.
- Mascarpone: Gives structure and a rich, creamy mouthfeel without needing baking.
- Powdered sugar: Sweetens and dissolves quickly so the filling stays smooth.
- Cold heavy cream (35% fat): Adds volume and lightness; the cold temperature matters so it whips properly.
- Crushed biscuits: Adds texture and a slightly toasty caramel crunch to one half.
- Biscoff spread: Adds concentrated flavor and a smoother, slightly denser second layer.
Important: Mascarpone can loosen or split if beaten too aggressively. The trick is to mix it briefly, then whip the cream in just until the filling holds shape.
Step-by-step: how I make it (measures are in the recipe card)
1) Prepare the pan
Line the base (and sides if you can) with baking paper. If you’re using a springform, line the base and lightly grease the sides so the paper stays put.
2) Make the biscuit crust
Crush the biscuits into fine crumbs. You can do this in a food processor, or with a zip bag and rolling pin.
Melt the butter, then mix it with the biscuit crumbs and milk until the texture looks like damp sand and holds together when pressed. Tip it into the pan and press firmly into an even layer. I use the back of a spoon to compact it, then go over it again with a flat-bottomed glass to really pack it down.
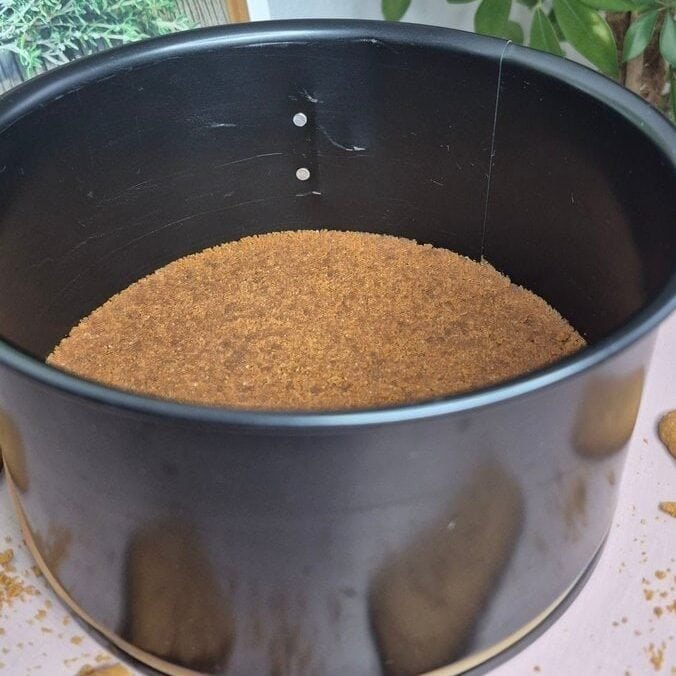
Put the pan in the fridge while you make the filling.
3) Mix mascarpone and sugar (briefly)
In a mixing bowl, add the mascarpone and powdered sugar. Beat just until it looks smooth and combined. Don’t keep mixing once it’s blended—overmixing mascarpone is the fastest way to end up with a loose filling.
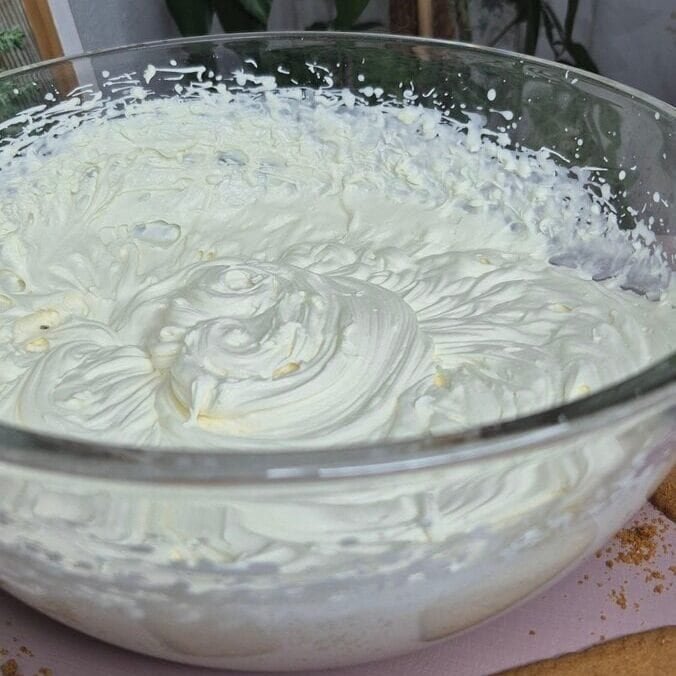
4) Add cold cream and whip to “semi-firm”
Pour in the cold heavy cream. Start mixing on a low speed for a few seconds (so it doesn’t splash), then increase to medium.
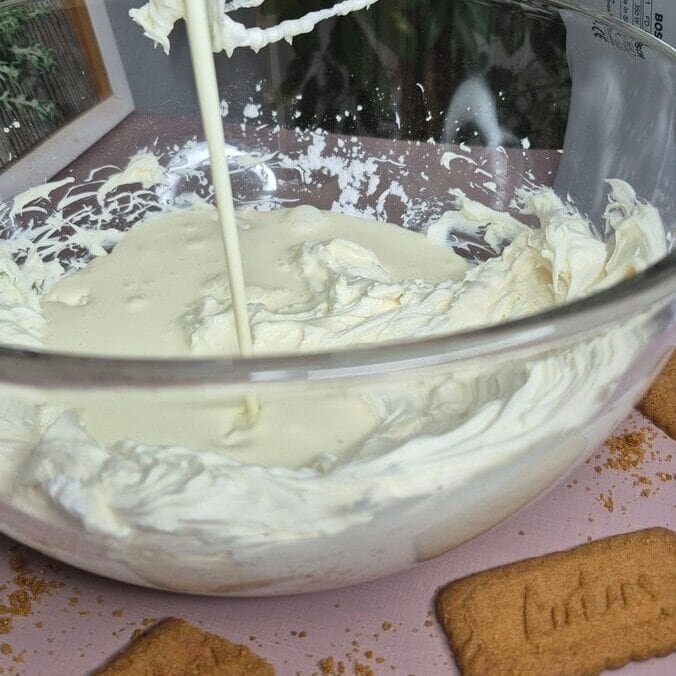
Stop when the mixture is semi-firm: it should hold soft peaks and look thick enough to spread without running. If you whip until it’s very stiff, it can turn grainy and you’ll lose that smooth, cheesecake-like texture.
5) Split the filling into two bowls
Divide the filling into two equal parts. You can eyeball it, or weigh the bowl if you want it perfect.
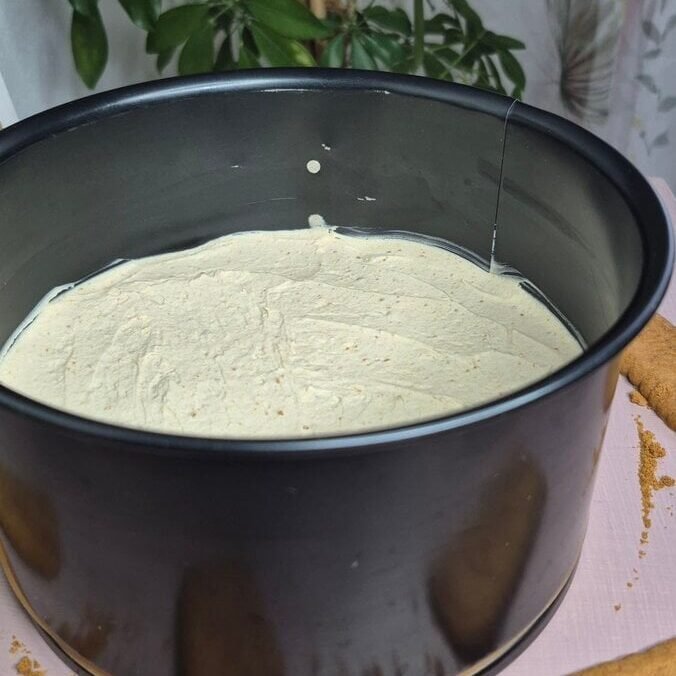
6) First layer: biscuit crunch layer
Stir crushed Lotus biscuits into one half of the filling. Mix briefly—just enough to distribute them—then spread this layer over the chilled crust. Smooth it out to the edges.
7) Second layer: Biscoff spread layer
Add Biscoff spread to the other half of the filling and beat briefly until smooth. Spread it over the first layer and smooth the top.
8) Chill to set
Refrigerate for at least 3 hours. If you can leave it overnight, it slices even better.
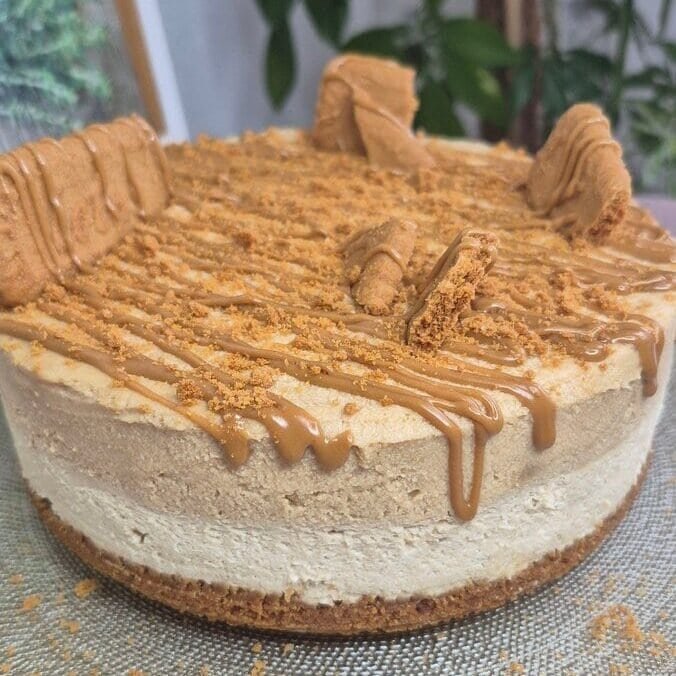
9) Decorate (optional, but fun)
Decorate however you like. I usually warm a little Biscoff spread so it drizzles easily, then finish with crushed biscuits or broken pieces. If you want a cleaner look, do just a thin drizzle and a simple biscuit border.
Tips that make a difference
Keep the cream cold
Cold cream whips faster and holds structure better. If your kitchen is warm, you can chill the mixing bowl for 10 minutes too.
Don’t overwhip the filling
Once it’s thick and spreadable, stop. If you keep going, it can get grainy or start separating. If you’re unsure, stop a little earlier rather than later—the chilling time helps it firm up.
Press the crust harder than you think
A well-packed crust means clean slices. If it’s loosely pressed, it crumbles when you cut.
For neat slices
- Chill fully (3 hours minimum, longer is better).
- Use a sharp knife dipped in hot water, then wiped dry between cuts.
- If the cake is very cold, let it sit 5 minutes before slicing.
Want a stronger Biscoff flavor?
Add a little extra crushed biscuit on top, or decorate with more warmed spread. The filling already has Biscoff spread, so you don’t need much to boost it.
Storage
- Fridge: Keeps well for 3 days, covered.
- Freezer: You can freeze it (well wrapped). Thaw overnight in the fridge. The texture stays good, though the crust can soften slightly after thawing.

Lotus Biscoff Cake (18 cm, No-Bake)
Ingredients
Crust
- 150 g Lotus Biscoff biscuits
- 50 g butter
- 2 tbsp milk
Filling
- 400 g mascarpone cheese
- 3 tbsp powdered sugar
- 400 ml heavy/whipping cream about 35% fat, cold
- 50 g Lotus Biscoff biscuits crushed
- 2 tbsp Biscoff spread
Instructions
- Crush the biscuits for the crust. Mix with melted butter and milk. Press firmly into an 18 cm pan. Refrigerate while preparing the filling.
- Briefly beat mascarpone with powdered sugar just until combined. Add cold heavy cream and mix until semi-firm. Do not overwhip. Divide the filling into two equal parts.
- Mix crushed biscuits into one half. Spread over the crust.
- Mix Biscoff spread into the other half until smooth. Spread over the first layer.
- Refrigerate for 3 hours.
- Decorate as desired (melted Biscoff spread, crushed/broken biscuits, whipped cream, etc.).