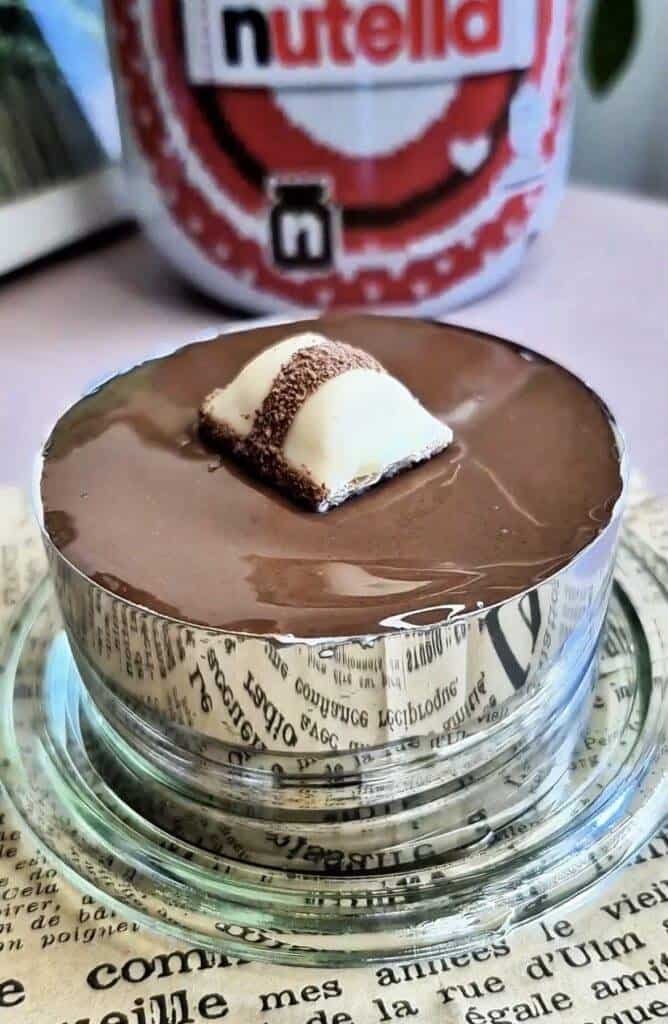
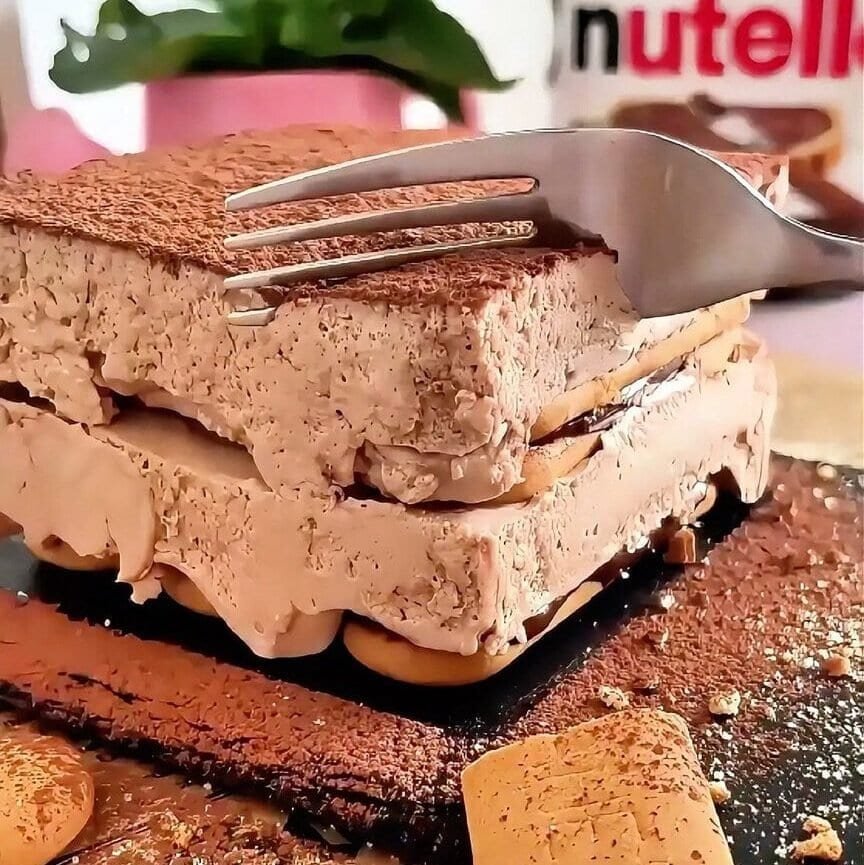
This mini chocolate biscuit cake is one of those desserts that looks neat when you slice it, but the work is mostly stacking, spreading, and chilling. It’s built with Plasmon biscuits, a quick Nutella layer, and a mascarpone cream that sets softly in the fridge. No baking, no complicated tools, and it fits perfectly in a small 10×10 cm dish.
I make it when I want a dessert that’s easy to portion, easy to store, and still feels “finished” once it’s dusted with cocoa. The texture is the best part: the biscuits soften into a cake-like bite, while the cream stays light and chocolatey without being heavy.
What it tastes like and how it sets
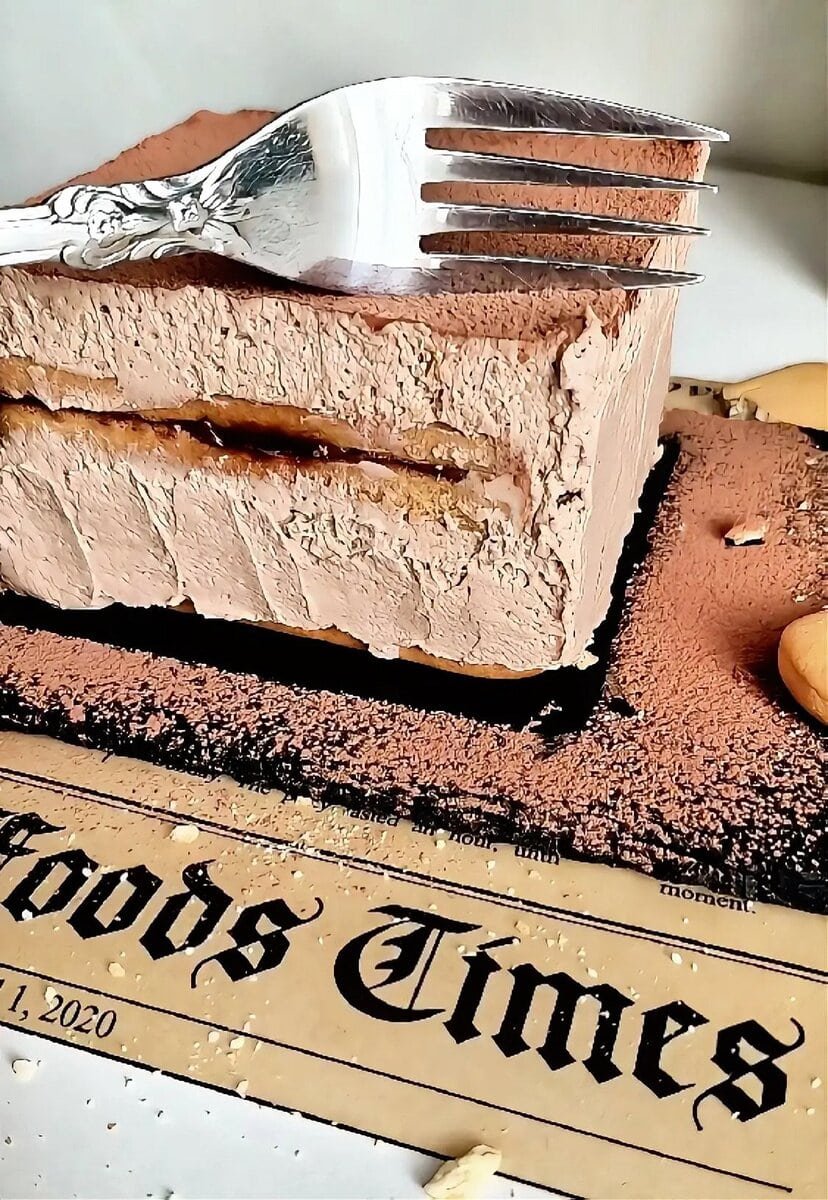
After chilling, the biscuits absorb just enough milk to turn tender, but they don’t melt into mush as long as the dip is quick. The Nutella between each pair of biscuits gives little pockets of richness, and the mascarpone cream holds everything together so the slices don’t collapse.
If you’ve ever had those classic fridge cakes that cut messy, this one behaves better because:
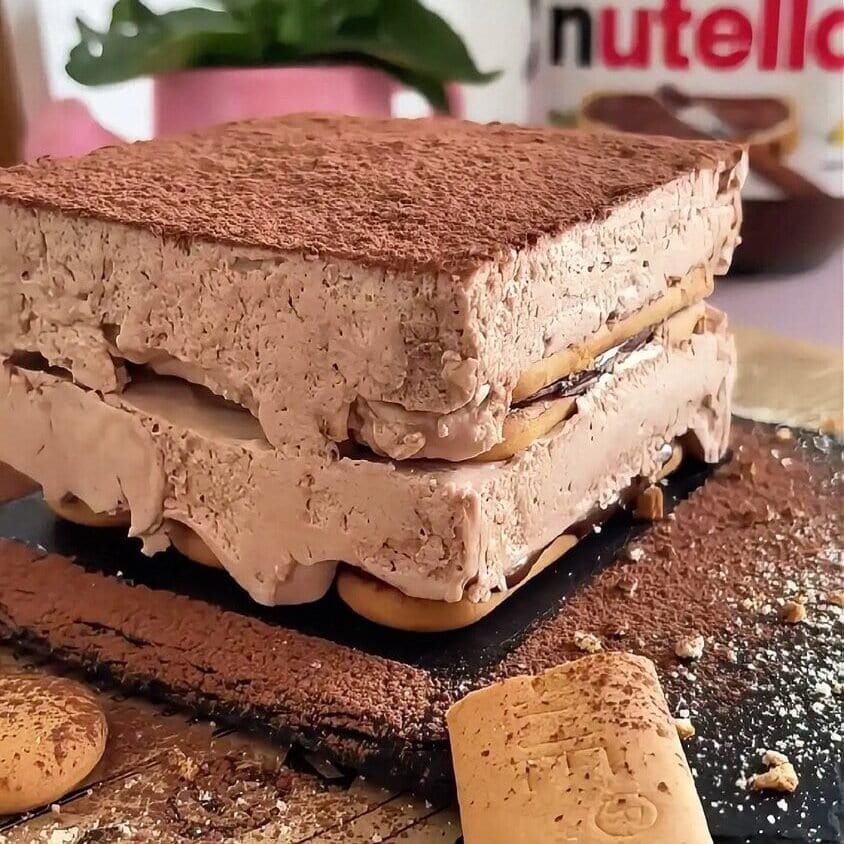
- the biscuits are paired (two together) which gives structure
- the filling is semi-firm (whipped cream + mascarpone)
- the dish is small, so the layers press evenly
Ingredient notes (what each one does)
Plasmon biscuits
These are slightly sweet, very dry biscuits that soften beautifully once dipped. They’re sturdy enough to stack without breaking apart immediately, and after chilling they slice cleanly.
If you can’t find Plasmon: any tea biscuit / plain sweet biscuit works, but choose something crisp and not too thin. If the biscuit is very delicate, dip even faster.
Nutella
Nutella is doing double-duty here: it glues the paired biscuits together and it flavors the cream. Because it’s already sweet and chocolatey, you don’t need extra sugar in the filling.
Milk
Milk softens the biscuits and helps them turn “cake-like.” The key is a fast dip—think in and out, not soaking.
Mascarpone
Mascarpone gives the filling body and a mild dairy flavor that keeps the Nutella from tasting too sweet. It also helps the cream set in the fridge.
Sweet whipping cream (cold, 35%)
Cold cream whips into stable peaks and makes the filling airy. The fat percentage matters; lighter cream won’t whip as reliably and can turn loose.
Cocoa (for the filling + topping)
A small amount in the cream deepens the chocolate flavor, and a light dusting on top makes it look finished. Use unsweetened cocoa if possible.
Equipment you’ll need
- 10×10 cm mini baking dish (or a similar small container)
- Bowl + whisk or hand mixer
- Small spoon or spatula
- Fine sieve (for dusting cocoa, optional but helpful)
Step-by-step instructions (measures are in the recipe card)
1) Get your dish ready
Set your 10×10 cm dish on the counter. Keep the milk in a small bowl so dipping is easy. Have your biscuits and Nutella nearby so you can assemble without stopping.
2) Make the first biscuit layer

Take one Plasmon biscuit and spread a small amount of Nutella on it. Place a second biscuit on top to make a “sandwich.”
Now dip that sandwich quickly in milk—front and back—then place it into the dish. Repeat until the bottom is covered in a single layer.
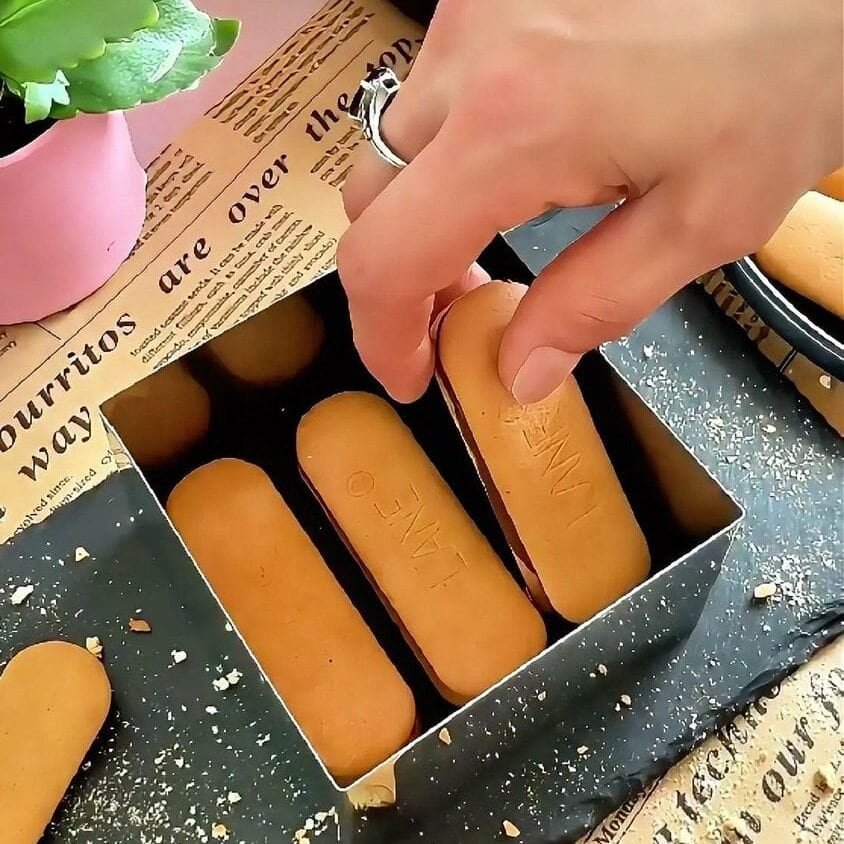
Tip: Don’t leave the biscuit in the milk. A quick dip is enough.
3) Whisk the filling
In a bowl, whisk the mascarpone with the Nutella first. This step matters because it smooths out the mascarpone and spreads the Nutella evenly.
Add the cold whipping cream and continue whisking until you reach a semi-firm texture. It should hold shape but still look creamy and not stiff.
Stop as soon as it thickens. Overwhipped cream can turn grainy quickly, especially with mascarpone.
Mix in the cocoa (or add it earlier—either way is fine as long as it’s evenly blended).
4) Split the filling
Divide the cream into two equal parts. This helps you keep the layers even and makes the cake look better when sliced.
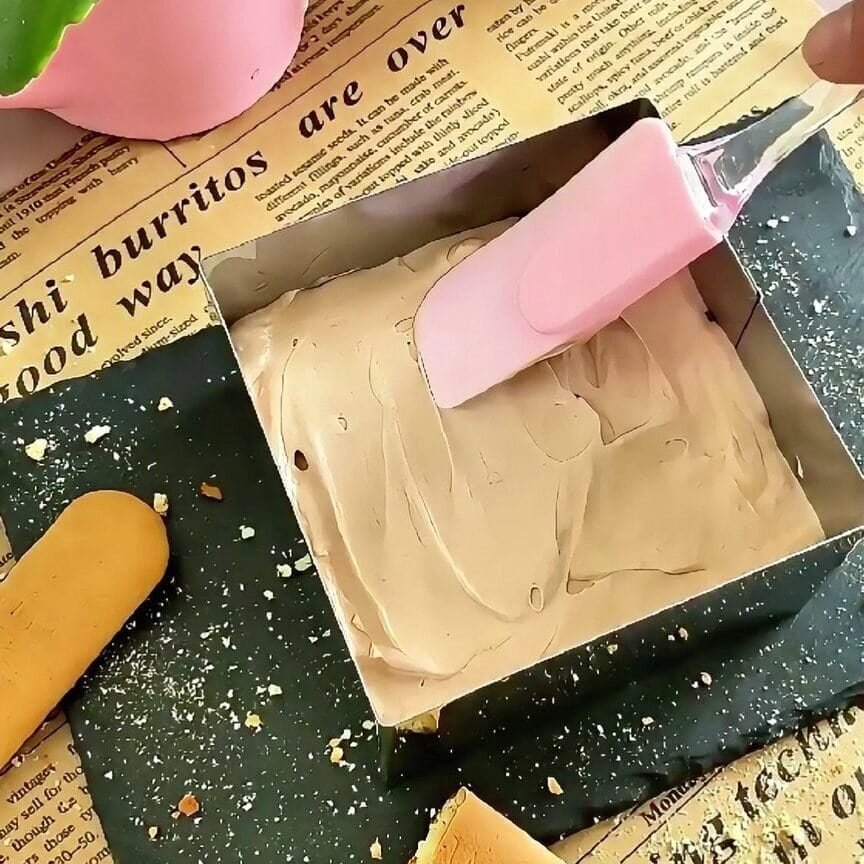
5) Add the first filling layer
Spread the first half of the cream over the biscuit layer. Use the back of a spoon or a small spatula and push it gently into the corners.
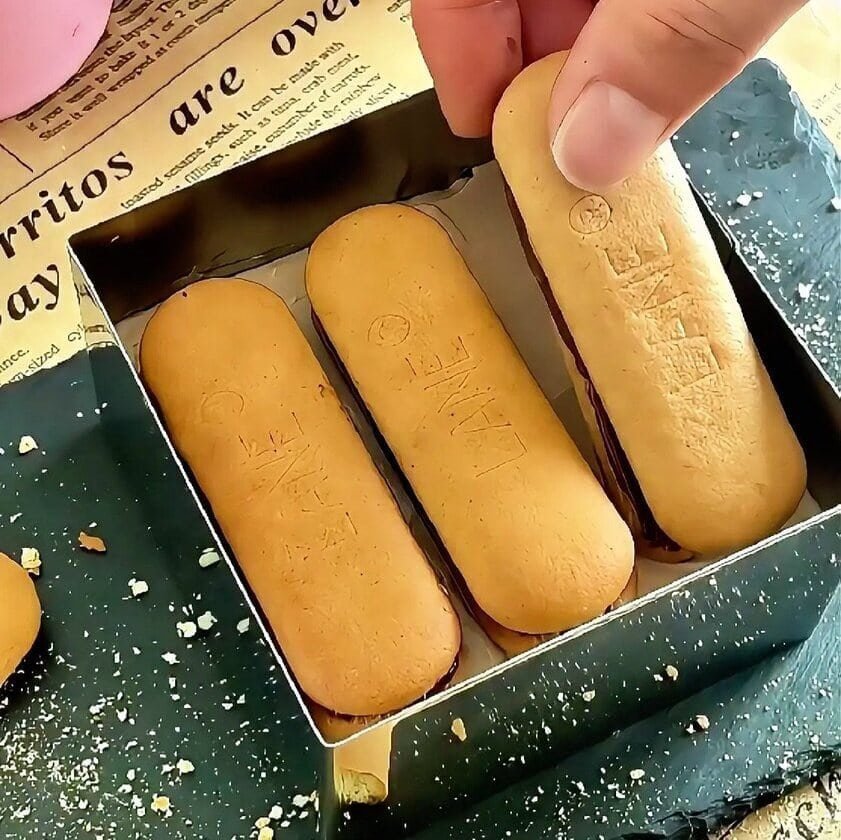
6) Build the second biscuit layer
Repeat the same biscuit sandwich process:
- Nutella on one biscuit
- another biscuit on top
- quick milk dip
- arrange over the cream
Try to line them up neatly. In a small dish, the tidier you build it, the cleaner the slices later.
7) Top with the rest of the cream
Spread the second half of the filling over the biscuits. Smooth the top as much as you like—flat is nice, but it doesn’t need to be perfect.
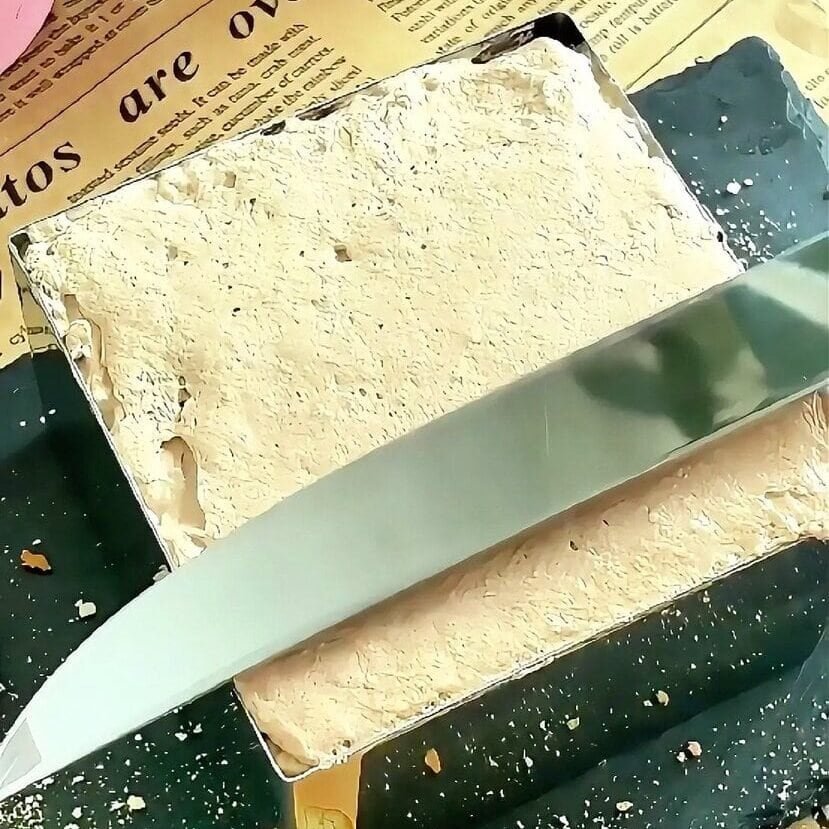
8) Chill
Refrigerate for at least 2 hours. This is when the biscuits soften and the cream sets enough to slice.
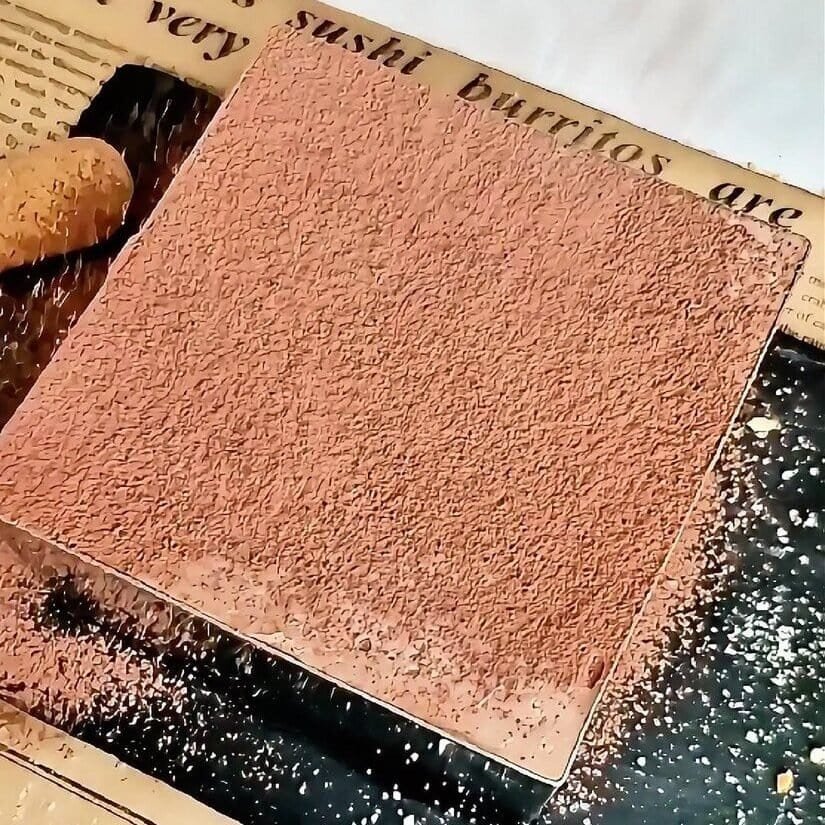
9) Finish with cocoa
Right before serving, dust the top with cocoa. If you dust it too early, the cocoa can darken and look slightly wet (still tasty, just a different look).
Tips that make a difference
Dip fast, always
This is the biggest factor in texture. If the biscuits soak too long, the cake turns soft in the wrong way and can slump when you cut it.
Keep the cream cold
Cold cream whips better and stays stable. If your kitchen is warm, you can chill the bowl for 10 minutes before whipping.
Don’t chase “super stiff” peaks
For this cake, semi-firm is ideal. It spreads smoothly and sets nicely in the fridge without turning heavy.
Want cleaner slices?
After chilling, let it sit at room temperature for 5 minutes, then slice with a knife wiped clean between cuts.
Make it ahead
This dessert holds well in the fridge. You can make it the night before and dust with cocoa right before serving.
Simple variations (same method)
- Coffee version: replace some of the milk dip with cooled coffee (not too strong, just enough for flavor).
- Hazelnut crunch: add a small handful of chopped toasted hazelnuts between layers.
- Darker chocolate: use a little extra cocoa in the filling for a more intense chocolate taste.
(If you change anything wet—like dipping liquid—keep the dips quick so the structure stays firm.)
Storage
- Fridge: keep covered and refrigerated; it’s best within 2 days.
- Freezer: I don’t usually freeze this one because the cream texture can change when thawed, but it’s possible if needed—just expect a slightly softer filling.

Mini Chocolate Biscuit Cake (10×10 cm)
Ingredients
For the layers
- 12 Plasmon biscuits
- Nutella for spreading
- 50 ml milk for dipping
Filling
- 100 ml sweet whipping cream cold, 35%
- 100 g mascarpone cheese
- 1 tablespoon Nutella
1 teaspoon cocoa (plus extra for dusting)
Instructions
- Spread Nutella on one biscuit, top with a second biscuit, dip quickly in milk, and place in a 10×10 cm dish to form the first layer.
- Whisk mascarpone with Nutella until smooth. Add cold whipping cream and whisk until semi-firm. Mix in cocoa.
- Divide the filling into two parts. Spread the first half over the first biscuit layer.
- Build a second layer of biscuit “sandwiches” (Nutella in the middle, quick milk dip), then spread the remaining filling on top.
- Refrigerate for 2 hours. Dust with cocoa before serving.