I made this chocolate mousse tiramisu the first time because I wanted something that tastes like tiramisu, but with a stronger chocolate presence and a cleaner slice. No eggs, no mascarpone, no complicated layering—just ladyfingers soaked in coffee-with-milk, a chocolate mousse that sets in the fridge, and a simple ganache topping that turns glossy as it cools.
This is the kind of dessert I make when I want something that looks “planned” but doesn’t feel like a whole-day project. It’s also forgiving: if your mousse isn’t perfectly folded, it still tastes great. If your ladyfingers soak a touch too long, it still works. And because it chills in stages, it’s easy to fit into a normal day.
Below is exactly how I make it, with the little details that make it come out right every time.
What this dessert tastes like (and why it works)
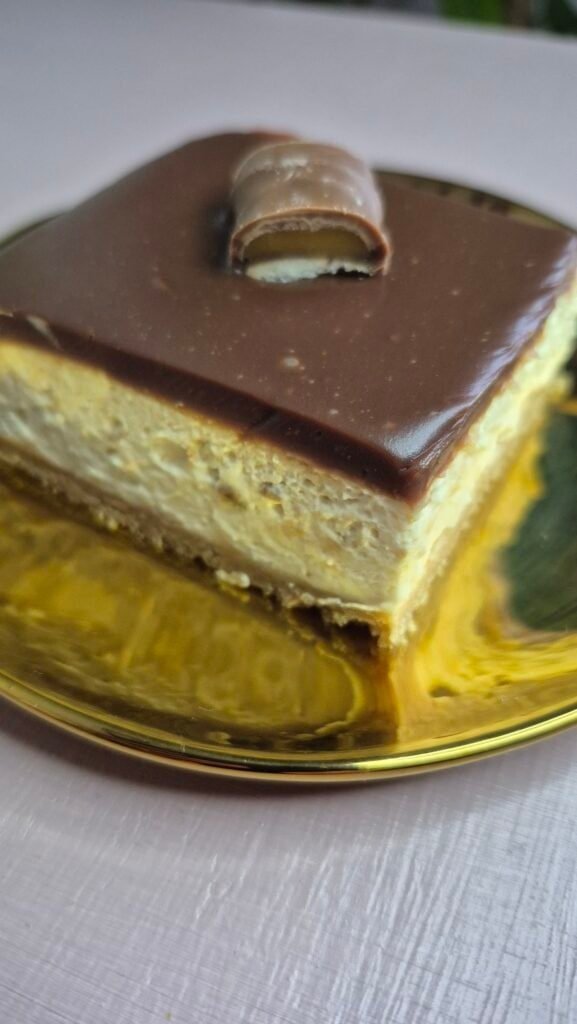
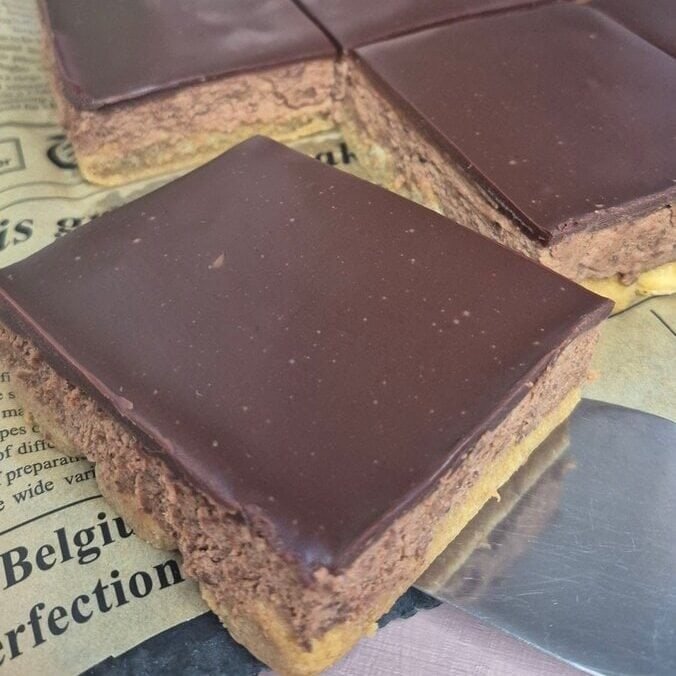
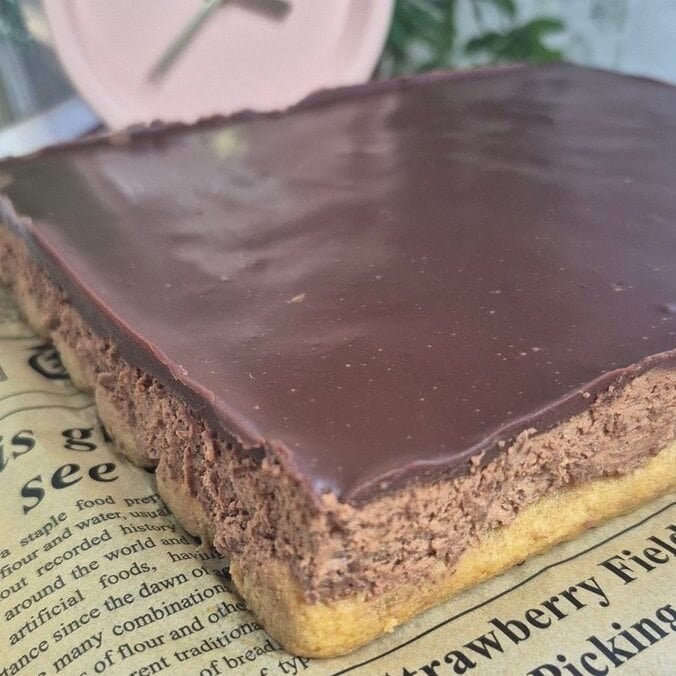
Think of it as a tiramisu base with a chocolate mousse top, and then a thin ganache “lid” that firms up into the first bite. The coffee-and-milk soak keeps the ladyfingers soft without turning them soggy, and the mousse is airy but not foamy—more like a soft-set chocolate cream.
The key is temperature and texture:
- Chocolate must cool before you fold in cream, or the mousse turns grainy or loose.
- Cream must be whipped halfway, not stiff, so it folds smoothly and keeps volume.
- Chill time matters because the mousse needs time to set before the ganache goes on.
Ingredients (with a quick breakdown of what each one does)
Base
- 100 g ladyfingers
- They’re the structure. They soak up coffee, soften, and become your “cake layer.”
- 100 ml coffee with milk
- The milk softens the bitterness and makes the soak gentler. I use coffee that tastes good on its own, not super strong or burnt.
Chocolate mousse
- 150 g chocolate (45%)
- This percentage gives a balanced chocolate flavor without turning the mousse too sweet. If your chocolate is much darker, you may want a touch more sugar.
- 250 ml heavy/sweet cream (whipping cream)
- This is what makes it mousse, not frosting. It gives lift and that creamy texture.
- 1 tbsp powdered sugar
- Sweetens and helps stabilize the whipped cream slightly.
- Pinch of salt
- It makes the chocolate taste more “finished.” Don’t skip it.
Topping (ganache)
- 100 g chocolate
- For the top layer. You can use the same chocolate as the mousse.
- 100 ml heavy/sweet cream (whipping cream)
- Heated and poured over chocolate to make a smooth, shiny ganache.
Equipment I use (nothing fancy)
- 20 × 18 cm pan (this size matches the recipe nicely)
- Medium pot + heatproof bowl (for a double boiler)
- Hand mixer or stand mixer
- Rubber spatula
- Shallow bowl for dipping ladyfingers
- Small saucepan (for ganache)
Step-by-step instructions (with the small things that matter)
1) Melt the chocolate (and let it cool properly)
Set up a double boiler: a pot with a little simmering water, and a heatproof bowl on top (the bowl shouldn’t touch the water). Add 150 g chocolate and melt slowly, stirring occasionally.
Once it’s fully melted, take it off the heat and stir in a pinch of salt.
Important: let the chocolate cool until it’s no longer hot to the touch—still fluid, but not warm. If it’s warm, it can melt the whipped cream and you’ll lose the airy texture.
My quick check: if I can hold the bowl comfortably with both hands, it’s cool enough.
2) Whip the cream to “almost there”
Pour 250 ml whipping cream into a mixing bowl. Add 1 tbsp powdered sugar. Whip it, but stop before it turns stiff.
You want soft peaks that hold a shape briefly, but still look smooth and a bit relaxed. If you lift the beaters, the peak should bend over.
Why not stiff? Stiff whipped cream is harder to fold into chocolate without knocking out air or leaving lumps. Softer whipped cream blends into chocolate much more easily.
3) Make the mousse by folding (spoon by spoon)
Now the part that makes or breaks the texture.
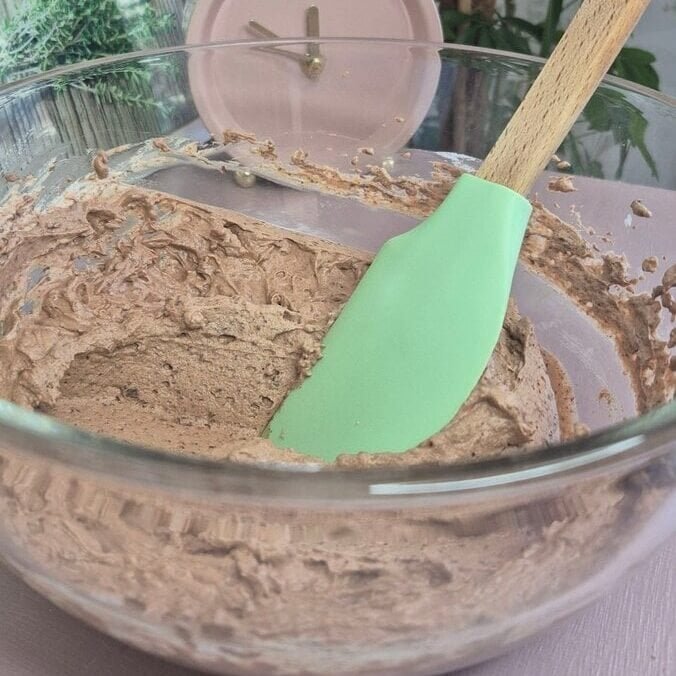
Take the cooled melted chocolate and add whipped cream one spoonful at a time, folding gently with a spatula. The first couple spoonfuls will look messy—almost like it’s separating. Keep going. Once the chocolate loosens up, the rest of the cream folds in smoothly.
How I fold: I scrape down the sides, cut through the center, and turn the bowl as I go. I don’t stir fast. I don’t beat it. I just fold until there are no big streaks.
When it’s evenly mixed, that’s your mousse.
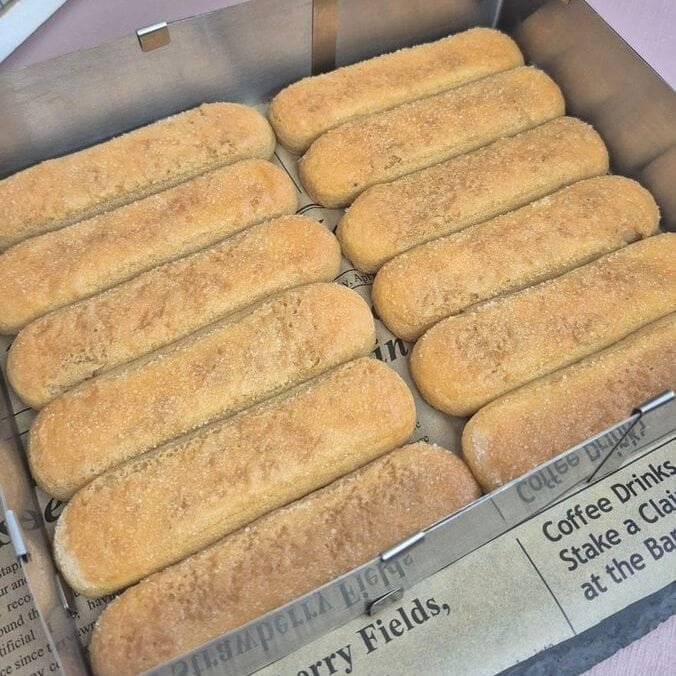
4) Build the base: dip ladyfingers quickly
Pour your coffee with milk (100 ml) into a shallow bowl.
Take each ladyfinger and dip it quickly—just a short dip, not a soak. If you leave them in too long, they can collapse and make the base too wet.
Arrange dipped ladyfingers in your 20 × 18 cm pan in an even layer. If you need to break a few to fit gaps, do it. Nobody sees the bottom.
5) Add mousse and chill
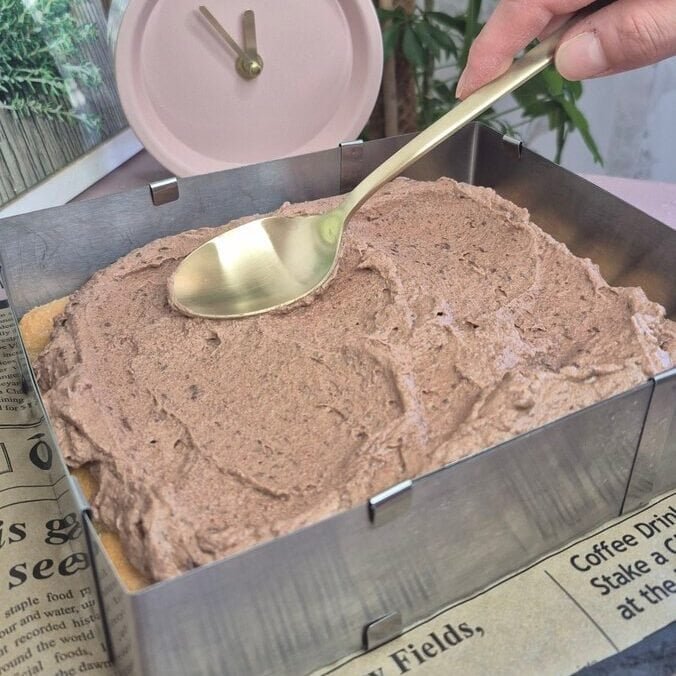
Spoon the mousse over the ladyfingers and spread it into an even layer.
Cover the pan (or place it in the fridge carefully) and refrigerate for 1–2 hours.
Why this chill is important: the mousse needs to firm up before you pour ganache over it. If you pour ganache too early, it can sink in and you’ll lose that clean top layer.
6) Make the ganache topping
Chop or break 100 g chocolate into a bowl.
Heat 100 ml cream in a small saucepan until it just comes to a boil (tiny bubbles around the edges). Pour the hot cream over the chocolate.
Wait 2–3 minutes without stirring—this helps the chocolate melt evenly. Then stir slowly until smooth and glossy.
If it looks a little uneven at first, keep stirring gently. It usually comes together.
7) Pour, chill again, then slice
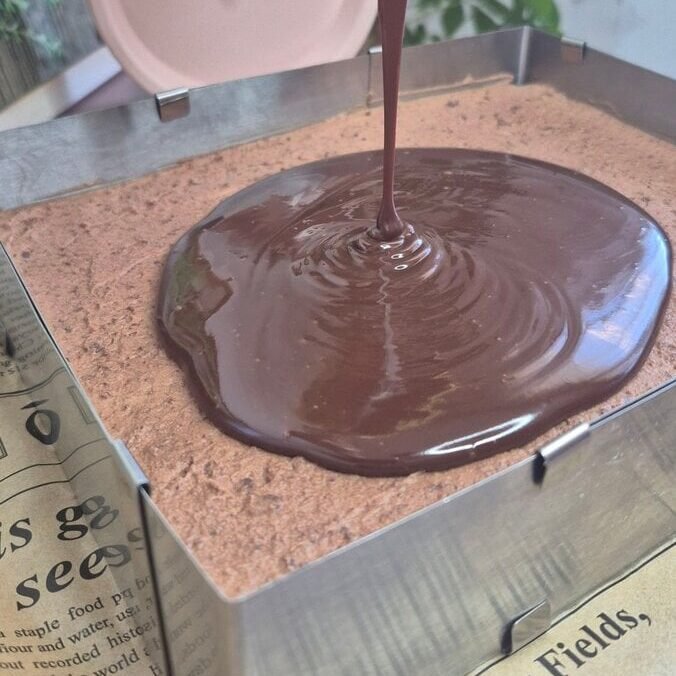
Pour the ganache over the chilled mousse and tilt the pan to spread it evenly. If needed, use a spatula lightly, but I usually just tilt.
Refrigerate for another hour, then slice into pieces.
For clean cuts, I wipe the knife between slices. If the ganache is very firm, running the knife under hot water and drying it helps.
Tips that save the day (and make it look nice)
1) Cool chocolate = stable mousse
If the chocolate is warm, the cream softens and the mousse can turn loose. Let it cool properly.
2) Don’t overwhip the cream
If it’s stiff, it won’t fold smoothly and you’ll chase lumps forever.
3) Ladyfingers: dip fast
A quick dip gives you a soft base without puddles. If your coffee mixture is warm, let it cool first.
4) Want stronger coffee flavor?
Use less milk or make the coffee a bit more concentrated. Even adding a spoon of espresso to the coffee-with-milk works.
5) For neat layers, chill in stages
That first 1–2 hour chill before ganache really matters. It’s the difference between “layers” and “everything blending together.”
6) Storage
This keeps well in the fridge for about 2–3 days. The ladyfingers get softer over time (still good, just more cake-like).
Variations I’ve tried (optional, but useful)
- More intense chocolate: use darker chocolate for the mousse (60–70%) and increase powdered sugar to 1.5–2 tbsp, to taste.
- Thicker ganache top: increase topping to 120 g chocolate + 120 ml cream for a slightly thicker layer.
- Extra texture: add a thin dusting of cocoa powder right before serving (only if you like that classic tiramisu vibe).
Chocolate Mousse Tiramisu — Recipe Card
Yield: 1 pan (20 × 18 cm), about 9–12 pieces
Chill time: 2–3 hours total
No-bake | Egg-free
Ingredients
Base
- 100 g ladyfingers
- 100 ml coffee with milk
Mousse
- 150 g 45% chocolate
- 250 ml whipping cream
- 1 tbsp powdered sugar
- Pinch of salt
Topping (Ganache)
- 100 g chocolate
- 100 ml whipping cream
Instructions
- Melt 150 g chocolate over a double boiler. Stir in a pinch of salt. Let cool until no longer warm but still fluid.
- Whip 250 ml cream with 1 tbsp powdered sugar to soft peaks (not stiff).
- Fold whipped cream into cooled chocolate spoon by spoon until smooth and airy.
- Quickly dip ladyfingers in coffee with milk and arrange in a 20 × 18 cm pan.
- Spread mousse evenly on top. Refrigerate 1–2 hours.
- Heat 100 ml cream until just boiling. Pour over 100 g chopped chocolate. Wait 2–3 minutes, then stir until smooth.
- Pour ganache over chilled mousse. Refrigerate 1 hour. Slice and serve.
Notes
- Cool chocolate before folding to keep mousse fluffy.
- Dip ladyfingers quickly to avoid a wet base.
- Wipe your knife between slices for clean edges.