There are desserts you bake because you’re craving something sweet… and then there are desserts you bake because the idea of them is sweet enough to pull you into the kitchen instantly. This Nutella swirl roll dream definitely falls into the second category. Every time I make it, it fills the entire home with that warm, chocolatey, freshly-baked aroma that makes you want to hover around the oven like a kid waiting for a treat.
If you love soft sweet bread, rich cocoa flavor, and a Nutella swirl that melts into little rivers of chocolate, then this recipe is going to make your heart skip a beat. And the best part? It’s incredibly simple — the kind of recipe that looks stunning even though it doesn’t demand any complicated techniques. A little kneading, a little patience, and a whole lot of chocolate magic.
Today I’m sharing the full recipe and my own experience making it, along with small details that help it come out perfectly soft, fluffy, and visually irresistible every single time. This is a dish that feels like a warm hug, a cozy afternoon, and a chocolate celebration all rolled into one.
So let’s dive right in — flour-dusted hands, melted chocolate, swirling patterns and all!
Why This Nutella Swirl Roll Is SO Special
Before I get into the detailed steps, let me tell you what makes this Nutella swirl roll worth every minute of preparation:
It’s unbelievably soft
There’s softness… and then there’s this. The dough rises beautifully, bakes into a fluffy cloud, and then gets a surprising boost of tenderness thanks to the milk you pour over during the last 15 minutes of baking. That step alone adds a magical finish that makes every bite pillow-soft.
It has the perfect balance of chocolate
Cocoa in the dough + Nutella inside + white chocolate drizzle + crunchy hazelnuts = absolute chocolate heaven.
It looks stunning
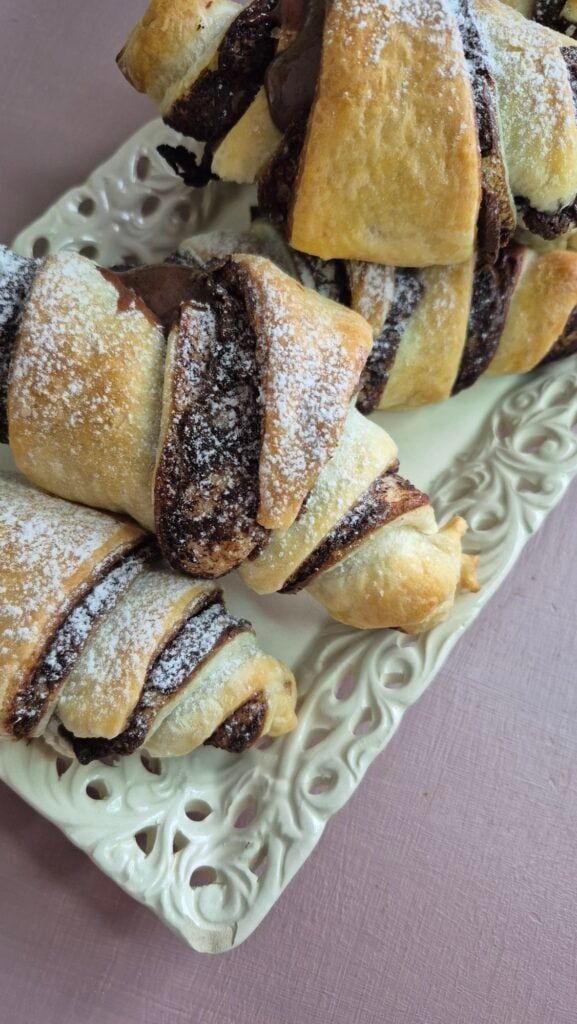
The swirl effect gives it a bakery-style appearance without requiring any advanced techniques. Cut logs arranged in a small dish create natural petals, almost like a chocolate flower blooming in your oven.
It’s perfect for gatherings
Serve it warm, serve it chilled, serve it as breakfast, dessert, or with coffee — people will ask for seconds and will ask for the recipe.

Ingredients You’ll Need
Let’s keep things simple and clear. Here’s everything required for the dough, filling, and final decoration.
For the Dough
- 450 g flour
- 3–4 tablespoons cocoa
- 1 packet dry yeast or 20 g fresh yeast
- 1 egg yolk
- 200 ml milk
- 1 tablespoon sugar
- ½ teaspoon salt
- Lemon zest to taste
- 20 ml oil
Filling
- 3–4 tablespoons Nutella
Softness Boost (15 minutes before end)
- 100 ml milk
Decoration (optional but highly recommended!)
- 100 g melted white chocolate
- Chopped hazelnuts
- Kinder chocolate pieces
Before You Start: A Few Helpful Notes
Temperature is everything.
Make sure your milk is lukewarm (not hot!) when mixing with yeast. This wakes the yeast up gently without killing it.
The dough should feel smooth and elastic.
If it’s too sticky, sprinkle a bit of flour. Too firm? Add a tablespoon of milk.
Let the dough rise somewhere warm.
A slightly warm oven (turned off!) works wonders.
Use good-quality cocoa.
It boosts both flavor and color, giving the dough a deeper chocolate tone.
Nutella spreads best when slightly warmed.
A quick 10–15 seconds in the microwave makes spreading effortless.
Step 1: Preparing the Dough (The Heart of the Recipe)
Every great baked dessert starts with dough — and this one is incredibly satisfying to handle. I begin by mixing the dry ingredients: flour, cocoa, sugar, and salt. Just stirring them together immediately fills the air with a soft cocoa scent, and I haven’t even added the good stuff yet.
Activating the Yeast
If I’m using dry yeast, I sprinkle it directly into the warm milk and sugar mixture. If using fresh yeast, I crumble it into the milk and stir until it dissolves. The warmth encourages it to become active — forming tiny bubbles that let me know it’s alive and ready to work its magic.
Once the yeast mixture is ready, I pour it into the dry ingredients. Then I add the egg yolk and lemon zest.
Side note: That hint of lemon zest adds a subtle brightness to the dough. You won’t taste lemon, but you’ll notice a gentle lift in the aroma and flavor — like a whisper of freshness behind the cocoa.
Kneading
Kneading is always my favorite part. There’s something peaceful about working the dough, feeling it transform from sticky to smooth, from heavy to springy. I drizzle the oil in slowly as I knead, and the dough absorbs it like a sponge, becoming soft and silky.
After about 10 minutes, the dough becomes elastic and bouncy — the exact texture I want.
Step 2: Letting It Rise (The Waiting Game)
I lightly oil a bowl, place the dough inside, and cover it. Watching dough rise always feels like a small miracle. It doubles in size, becomes incredibly soft to the touch, and smells subtly sweet.
Depending on the warmth of the kitchen, this takes around 1–1.5 hours — just enough time to prepare the Nutella, stretch your fingers, maybe sneak a little taste of chocolate.

Step 3: Rolling and Filling (A Heavenly Layer of Nutella)
Once the dough has doubled, it’s time for the fun part!
I gently punch it down — not aggressively, just a soft press to release trapped air — and place it on a floured surface. Then I roll it out evenly to about ½ centimeter thickness. The sheet looks like a smooth chocolate blanket, and this is when the real magic begins…

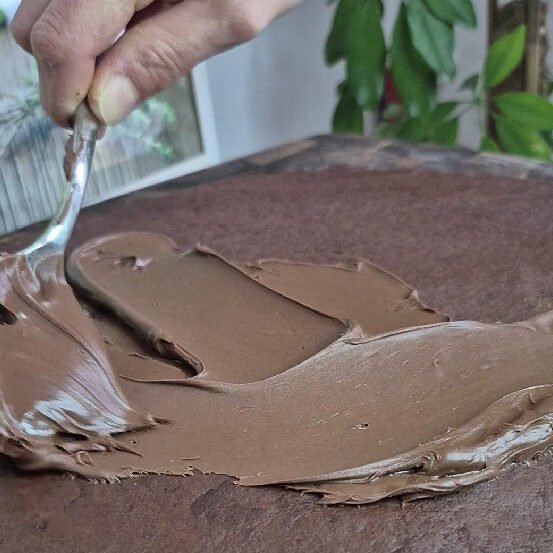
The Nutella Layer
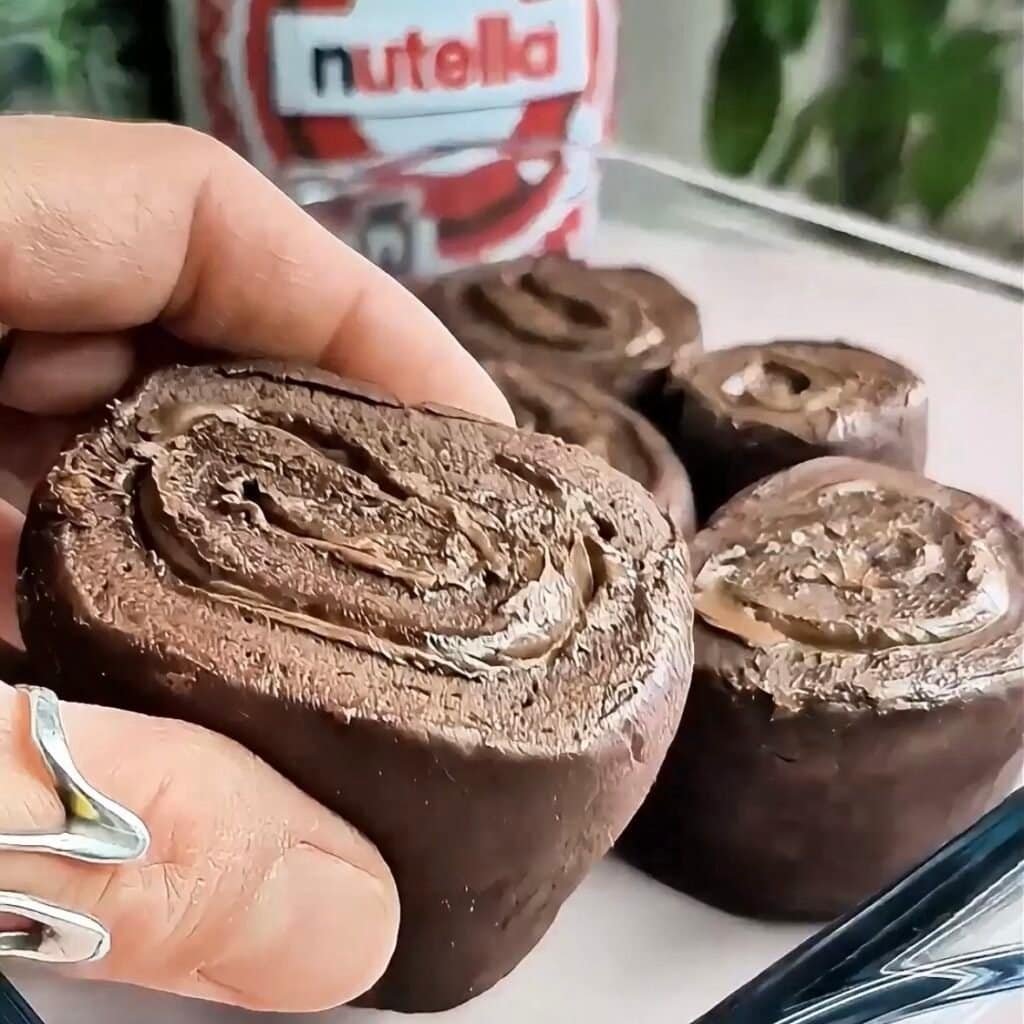
I spread 3–4 tablespoons of Nutella over the dough. If the Nutella is perfectly creamy, it glides across the surface like a dream. I make sure to go almost to the edges because I want every single slice to have swirls of chocolate in every bite.
It’s impossible not to admire the glossy Nutella surface — it’s like dessert artwork.
Step 4: Rolling, Cutting, and Arranging
I roll the dough tightly, turning it into a beautiful chocolate spiral.
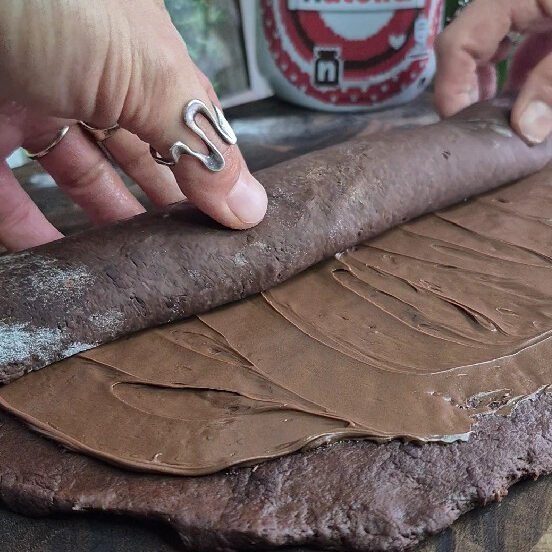
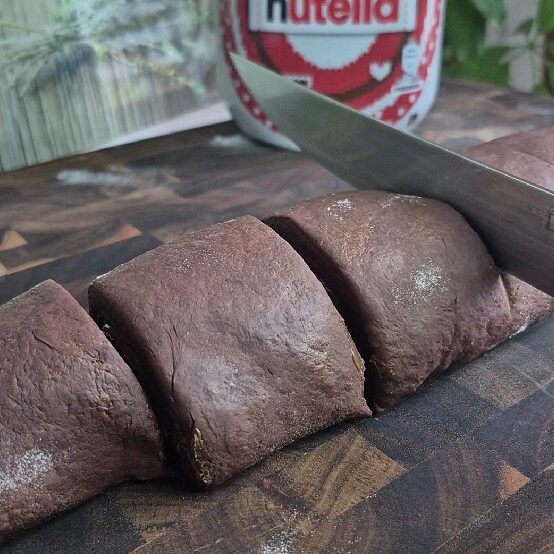
Then I slice it into 6–7 thick pieces. Each piece reveals a stunning swirl pattern that already looks delicious even before baking.
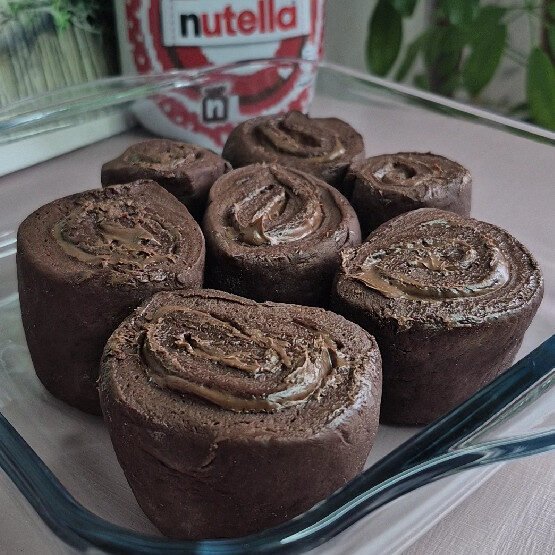
Here’s my favorite part:
I place the pieces cut-side up into a 20×20 ovenproof dish. As they sit snugly next to each other, they begin to look like chocolate roses blooming in a square garden.
Step 5: Second Rise (Just 30 Minutes More)
I let the arranged rolls rise again for about 30 minutes. During this time, the pieces puff up and fill the baking dish even more. It’s the moment where everything starts to feel real — you can practically visualize the final Nutella swirl roll at this point.
Step 6: Baking (And the Secret Softness Trick!)
I preheat the oven to 200°C and place the dish inside. The smell that fills the home is divine — Nutella, cocoa, warm dough… everything blends into an irresistible aroma that feels like happiness baking inside the oven.
Baking Time
40–45 minutes total.
The Softness Trick
15 minutes before the end, I carefully pull the rack out and pour 100 ml warm milk over the rolls.
This instantly transforms the texture — the dough absorbs the milk, becoming moist and unbelievably tender. It’s the step that makes this Nutella swirl roll melt-in-your-mouth soft.
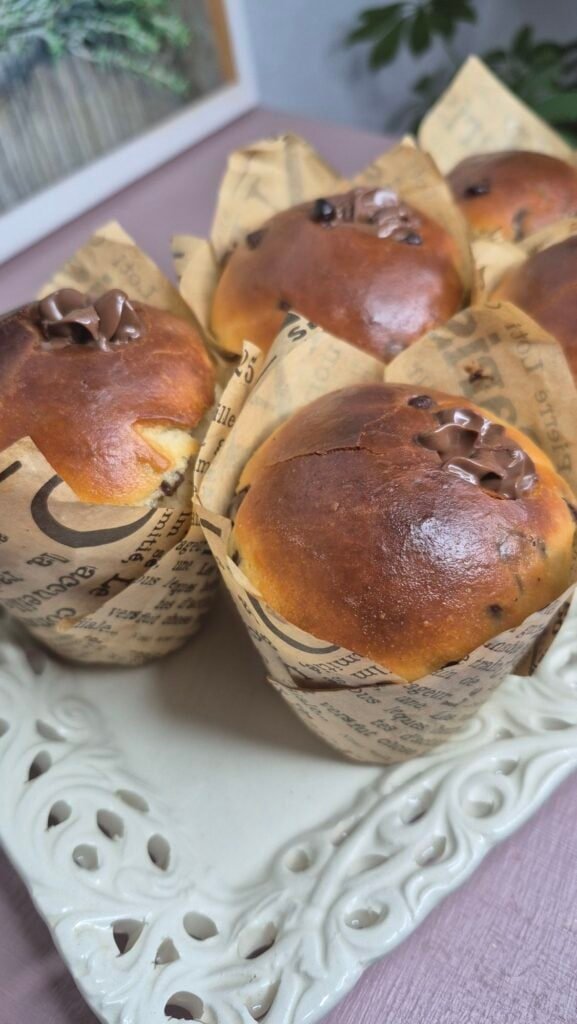
When the timer finally rings, I take out a beautifully risen, golden-brown, chocolate-swirled masterpiece.
Step 7: Decorating (Because More Chocolate = More Joy)
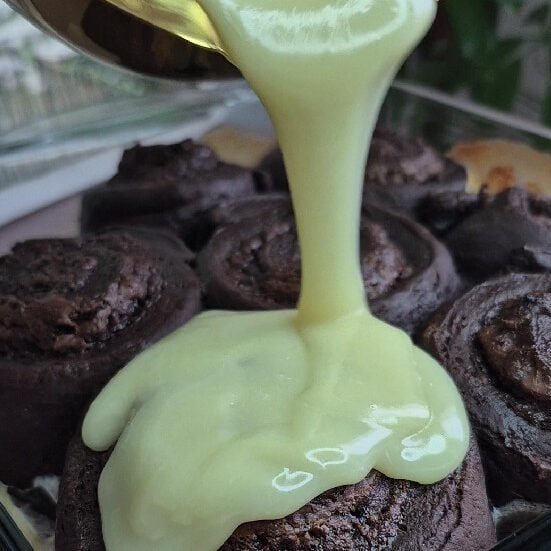
While it cools slightly, I melt 100 g white chocolate. The contrast of white chocolate over the cocoa dough makes the dessert look unbelievably elegant.
I drizzle it generously over the top, creating ribbons of sweetness.
Then I finish it with:
- Chopped hazelnuts for crunch
- Kinder chocolate pieces because why not?
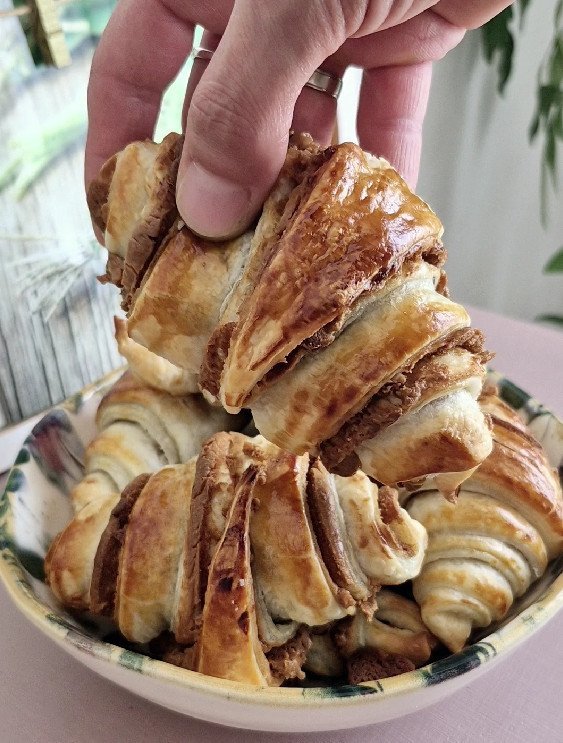
The final result? A Nutella swirl roll that looks like it belongs in a bakery window — glossy, swirled, textured, and absolutely overflowing with chocolate charm.
The Final Taste: Pure Melt-in-Your-Mouth Heaven
The first bite is warm, soft, creamy, and incredibly chocolatey. The dough practically melts between your fingers. The Nutella swirl gives you that luxurious hazelnut-chocolate creaminess. The white chocolate drizzle adds sweetness and beauty, and the hazelnuts bring crunch — a perfect balance of textures.
You taste:
- The cocoa in the dough
- The softness from the milk
- The richness of Nutella
- The gentle citrus hint from the lemon zest
- The sweetness of white chocolate
- The crunch from hazelnuts
It’s a harmony of flavors, a dessert that feels special without being complicated.
Tips for Perfect Results Every Time
Warm your Nutella slightly for effortless spreading.
Use a sharp knife when cutting the rolled dough to preserve the swirl pattern.
Don’t skip the second rise. It gives height and fluffiness.
Pouring milk is essential — that’s the “magic softness step.”
Let it cool slightly before cutting; it keeps the slices neat.
Serving Ideas
Here are some delicious ways to serve your Nutella swirl roll:
Warm with a scoop of vanilla ice cream.
Fresh with a cup of coffee or cappuccino.
With a handful of berries on the side.
Drizzled with extra melted chocolate.
Brushed with a bit of honey for shine.
No matter how you serve it, this dessert always wins hearts.
Storing & Reheating
Storing: Keep it in an airtight container for up to 3 days.
Reheating: Microwave individual slices for 10–12 seconds — it becomes soft and warm again.
Freezing: You can freeze slices wrapped in foil for up to 2 months.
Final Thoughts
This Nutella swirl roll is more than just a recipe — it’s a moment of comfort, a little act of creativity, and a guaranteed dose of joy. Every step, from kneading to spreading Nutella to watching it rise, feels rewarding. And the final result is pure chocolate bliss that makes people smile the moment they see it.
If you want a dessert that looks impressive but feels homemade, comforting, and filled with love, this one will become your new favorite.
Happy baking!
Nutella Swirl Roll – Recipe Card
Prep Time: 25 minutes
Rising Time: About 1 hour 30 minutes
Baking Time: 40–45 minutes
Cooling Time: 20 minutes
Total Time: About 3 hours
Servings: 6–7 rolls
Pan Size: 20 × 20 cm ovenproof dish
Difficulty: Easy
Baking Required: Yes
Ingredients
Dough
- 450 g flour
- 3–4 tablespoons cocoa
- 1 packet dry yeast or 20 g fresh yeast
- 1 egg yolk
- 200 ml milk
- 1 tablespoon sugar
- ½ teaspoon salt
- Lemon zest to taste
- 20 ml oil
Filling
- 3–4 tablespoons Nutella
For Extra Softness
- 100 ml milk (poured during baking)
Decoration (Optional)
- 100 g white chocolate, melted
- Chopped hazelnuts
- Kinder chocolate pieces
Instructions
- In a large bowl, combine the flour, cocoa, sugar, and salt. Mix well.
- Warm the milk until lukewarm. Dissolve the dry yeast (or crumble the fresh yeast) into the milk and let it stand for a few minutes until activated.
- Add the yeast mixture to the dry ingredients, followed by the egg yolk, lemon zest, and oil.
- Knead the mixture until a smooth, soft, and elastic dough forms. Adjust with a small amount of flour or milk if necessary.
- Cover the dough and let it rise in a warm place until doubled in size, about 1–1.5 hours.
- Once risen, transfer the dough to a lightly floured surface and roll it out to approximately 0.5 cm thickness.
- Spread the Nutella evenly over the surface of the dough, leaving a small border around the edges.
- Roll the dough tightly into a log and cut it into 6–7 equal pieces.
- Arrange the rolls cut-side up in a greased 20 × 20 cm ovenproof dish.
- Cover and allow the rolls to rise again for 30 minutes.
- Preheat the oven to 200°C (390°F).
- Bake the rolls for 40–45 minutes. About 15 minutes before the end of baking, carefully pour 100 ml of milk evenly over the rolls to enhance softness.
- Remove from the oven and allow to cool slightly.
- Drizzle with melted white chocolate and decorate with chopped hazelnuts and Kinder chocolate pieces as desired.
- Serve warm or at room temperature.
Notes
- Make sure the milk used for the yeast is lukewarm, not hot, to ensure proper activation.
- Rolling the dough evenly helps achieve a consistent swirl and uniform baking.
- Pouring milk during baking is key for an extra soft and tender texture.
- Let the rolls cool slightly before decorating so the white chocolate sets nicely.
- Store leftovers in an airtight container at room temperature for up to 3 days.