There are desserts you make once and enjoy… and then there are desserts you make once and immediately start planning when you can make them again. Today, I’m sharing a treat that falls into the second category—a creamy, layered, no-bake Kinder dessert that tastes like your sweetest childhood memory wrapped in a velvety cloud of chocolate. It’s small, elegant, unbelievably easy, and dangerously good.
If you’re looking for a treat that checks all the boxes—quick, impressive, nostalgic, creamy, chocolatey, AND beginner-friendly—this is the one.
I’m going to walk you through how I made it, what makes it so magical, how to customize it, and why this little cup of joy might just become your go-to dessert for gatherings, cravings, celebrations, movie nights, or even “I deserve something amazing today” moments.
So grab your spoon and imagination, because this no-bake Kinder dessert is about to become your new obsession.
Why This Dessert Works Every. Single. Time.
Let’s be honest: some desserts look simple but require the patience of a saint. This one? Not even close. You don’t need an oven. You don’t need complicated tools. You don’t need to bake, whisk egg whites, temper chocolate, or pray to the dessert gods.
What you DO need is:
A few simple ingredients
A little melting and mixing
A nice glass or small dish
And a taste for indulgence
This dessert is foolproof, quick, and consistent—even if you’re the type who normally avoids kitchen experiments. The layers set beautifully, the texture stays creamy, and the flavors harmonize like they were meant to be together.
Seriously. When you combine Kinder chocolate + cream cheese + Digestive biscuits… what could possibly go wrong?
Ingredients You’ll Need
Here’s the exact list I used to create this silky little dessert masterpiece:
Base Layer
- 5 Digestive biscuits, crushed
- 30 ml milk
Creamy Kinder Filling
- 200 g cream cheese
- 4 Kinder chocolate bars, melted
Chocolate Topping
- 3 Kinder chocolate bars, melted
That’s it. No extra sugar, no butter, no whipping cream—just these humble ingredients transforming into a dessert that tastes like it belongs in a fancy pastry shop.
How I Made This Creamy No-Bake Kinder Dessert (Step-By-Step)
Let me take you through the process exactly as I made it—simple, quick, satisfying, and oh-so aromatic.
1. Preparing the Base Layer
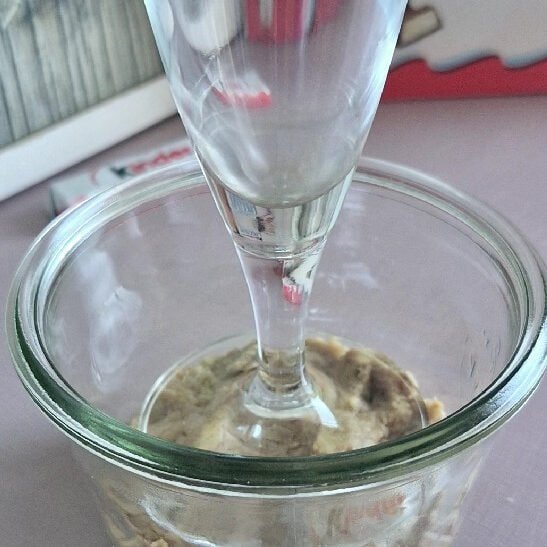
I started by crushing the Digestive biscuits until they resembled fine crumbs. You can pulse them in a grinder, but honestly, a simple zip-bag and a rolling pin works perfectly.
After that, I poured in the milk and mixed everything just enough to create a slightly sticky, cohesive mixture.
This mixture becomes the base—soft, but firm enough to hold the creamy layer without getting soggy.
I pressed it gently into the bottom of a small glass and already the dessert was starting to take shape.
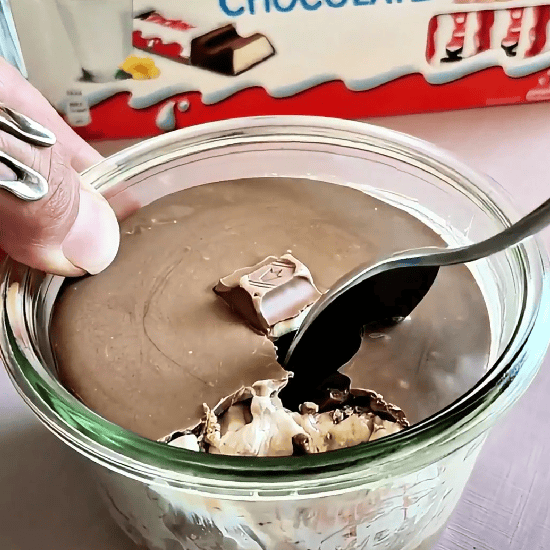
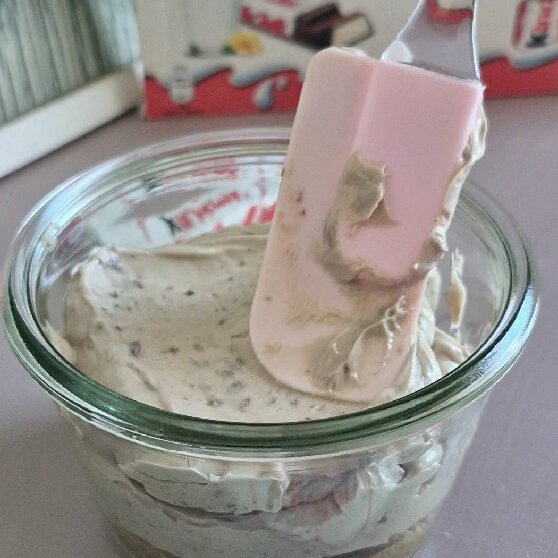
2. Making the Kinder Cream Layer
This is where the magic begins.
I melted 4 Kinder chocolate bars over gentle steam (always go slow—Kinder chocolate melts beautifully but prefers a tender touch). Once it cooled slightly, I combined it with 200 g of cream cheese.

The combination instantly transformed into the smoothest, dreamiest cream imaginable—a perfect mix of milky chocolate and tangy silkiness.
I spread this luscious layer over the biscuit base, and for a moment, the whole kitchen smelled like Kinder heaven.
3. The Final Touch: Kinder Chocolate Topping
The topping couldn’t be simpler. I melted 3 more Kinder bars, taking in the glossy shine as they softened into a luxurious chocolate blanket. When it was perfectly melted and fluid, I poured it over the cream layer.
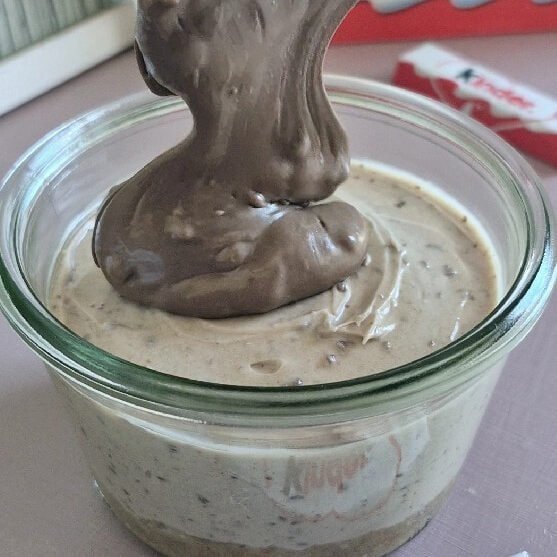
The warm topping slowly settled, coating the surface evenly and adding a shiny finish that made the dessert instantly irresistible.
At this point, you can decorate however you like—mini chocolate pieces, sprinkles, chopped hazelnuts, whatever matches your mood. I kept it simple, letting the Kinder glaze shine in all its glory.
Texture Breakdown: What Makes It So Addictive?
Let’s talk about textures because this dessert absolutely nails them:
The Base – Soft Crunch
Digestive biscuits naturally have a beautiful light sweetness and a grainy texture. Mixed with just a splash of milk, they stay firm but soft enough to blend effortlessly with the cream layer.
The Filling – Melt-in-Your-Mouth Creaminess
The partnership between cream cheese and melted Kinder chocolate is out of this world. Cream cheese adds body and a slight tang, transforming Kinder’s sweetness into something more mature and rich.
The Topping – Glossy, Smooth, Irresistible
The melted Kinder topping creates a thin shell that stays soft but solid enough to give that satisfying first-spoon breakthrough.
Every bite is a sensation. Every spoonful gives you a mini moment of joy.
No-Bake Desserts: Why They’re Pure Magic
Let’s take a moment to celebrate no-bake desserts.
There’s a special kind of happiness in preparing something that requires no oven, no baking tray, and no waiting for tests like “insert a toothpick to check doneness.”
With no-bake treats, especially layered ones like this, you’re fully in control:
You decide the thickness of each layer.
You choose the serving container.
You customize flavors endlessly.
You avoid the stress of baking failures.
Plus, they chill quickly, store beautifully, and taste even better after a few hours of rest.
This Kinder dessert is a perfect example of no-bake power—minimal work, maximum reward.
How to Serve This Dessert Beautifully
Presentation transforms this treat from “simple dessert” into “elegant mini masterpiece.” Here are some serving ideas:
1. Serve in Clear Glasses
This showcases the layers and makes the dessert look instantly professional.
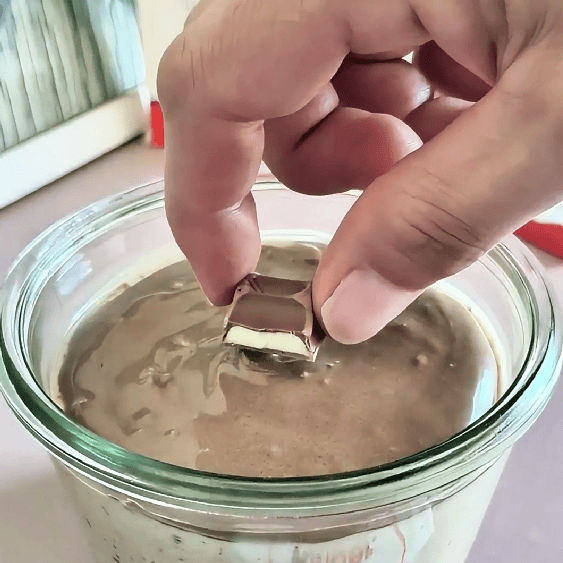
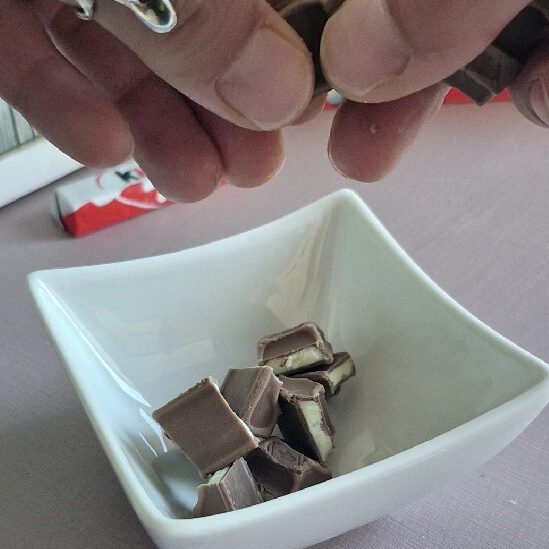
2. Garnish with Kinder Pieces
A small cube on top makes it instantly recognizable and more appealing.
3. Add Texture
Crushed hazelnuts, chocolate curls, or mini wafer crumbs add character.
4. Use Mini Dessert Cups
Perfect for parties, dinners, or events.
5. Add Fresh Fruit
Strawberries and banana slices go surprisingly well with Kinder chocolate.
Little details make a big difference.
Flavor Variations (In Case You Want to Experiment!)
Once you try the original, you might want to play with some flavor twists. Here are a few ideas I recommend:
Kinder Strawberry Dream
Add chopped strawberries between the cream and topping layers.
The fruity freshness + chocolate = unbeatable combination.
Hazelnut Crunch Kinder Cup
Sprinkle chopped hazelnuts into the cream mixture or over the topping.
This echoes the hazelnut note Kinder is famous for.
Dark Chocolate Contrast
Swirl in a spoon of melted dark chocolate into the topping for a deeper cocoa kick.
Oreo & Kinder Fusion
Replace the Digestive biscuits with crushed Oreos for a stronger chocolate base.
Frozen Kinder Delight
Let the dessert freeze slightly for a semi-frozen, ice-cream-like experience.
Endless possibilities. Endless joy.
Storage Tips
This dessert stores wonderfully:
- Keep refrigerated in an airtight container.
- Best enjoyed within 48 hours (if it lasts that long).
- Do not freeze the cream layer fully—it may alter the texture.
Perfect for Every Occasion
One of the reasons I love this dessert so much is how versatile it is. It fits into:
Family gatherings
Birthdays
Movie nights
Romantic dinners
Weekend treats
Kids’ celebrations
Last-minute dessert emergencies
It’s elegant enough to impress adults and comforting enough to make kids jump from excitement.
And because it’s so quick and easy, you can whip it up even when you’re short on time but want something luxurious.
Step-By-Step Recipe (For Easy Reference!)
Here’s the clean version of the recipe for quick use later:
Ingredients
Base:
- 5 Digestive biscuits, crushed
- 30 ml milk
Cream Layer:
- 200 g cream cheese
- 4 Kinder chocolate bars, melted
Topping:
- 3 Kinder chocolate bars, melted
Instructions
- Mix the crushed Digestive biscuits with milk until combined.
- Press the mixture into the bottom of a glass or small bowl.
- Melt 4 Kinder chocolate bars over gentle steam.
- Let cool slightly, then mix with cream cheese until smooth.
- Spread this layer over the biscuit base.
- Melt 3 more Kinder chocolate bars for the topping.
- Pour the chocolate topping over the cream layer.
- Decorate, chill, and enjoy!
Final Thoughts
This no-bake Kinder dessert is one of those sweet little creations you’ll want to make again and again. It’s simple, creamy, chocolaty, nostalgic, and incredibly satisfying. The layers melt effortlessly in your mouth, and the whole experience feels both cozy and luxurious.
Whether you’re making it for guests, for a special moment, or just to treat yourself, this dessert brings pure joy with every spoon.
If you’re a Kinder lover, a no-bake dessert fan, or simply someone who enjoys a delicious homemade treat, you NEED this recipe in your life. Trust me—one bite and you’ll understand why.